Lucky me!
My entire Rosh Hashanah celebration has changed for the better. I thought it would just be Ed and me, attending Zoom services and sharing a meal for two.
But my kids and grandkids are coming too! We will watch outdoors on the patio. And be together —- sort of — for a meal! Each family will have a separate place to eat.
I can’t tell you how thrilled I am, even though it won’t be normal and we can’t hug and kiss. But it’s something. And I am grateful.
Instead of the chicken dish I was planning to make, it’s going to be food for a family, not just the two of us: brisket (I was finally able to get one) and a turkey breast plus several sides, including this beet salad, which I can make in advance and scatter with seeds at the last minute.
This is better than the original plan. For sure.
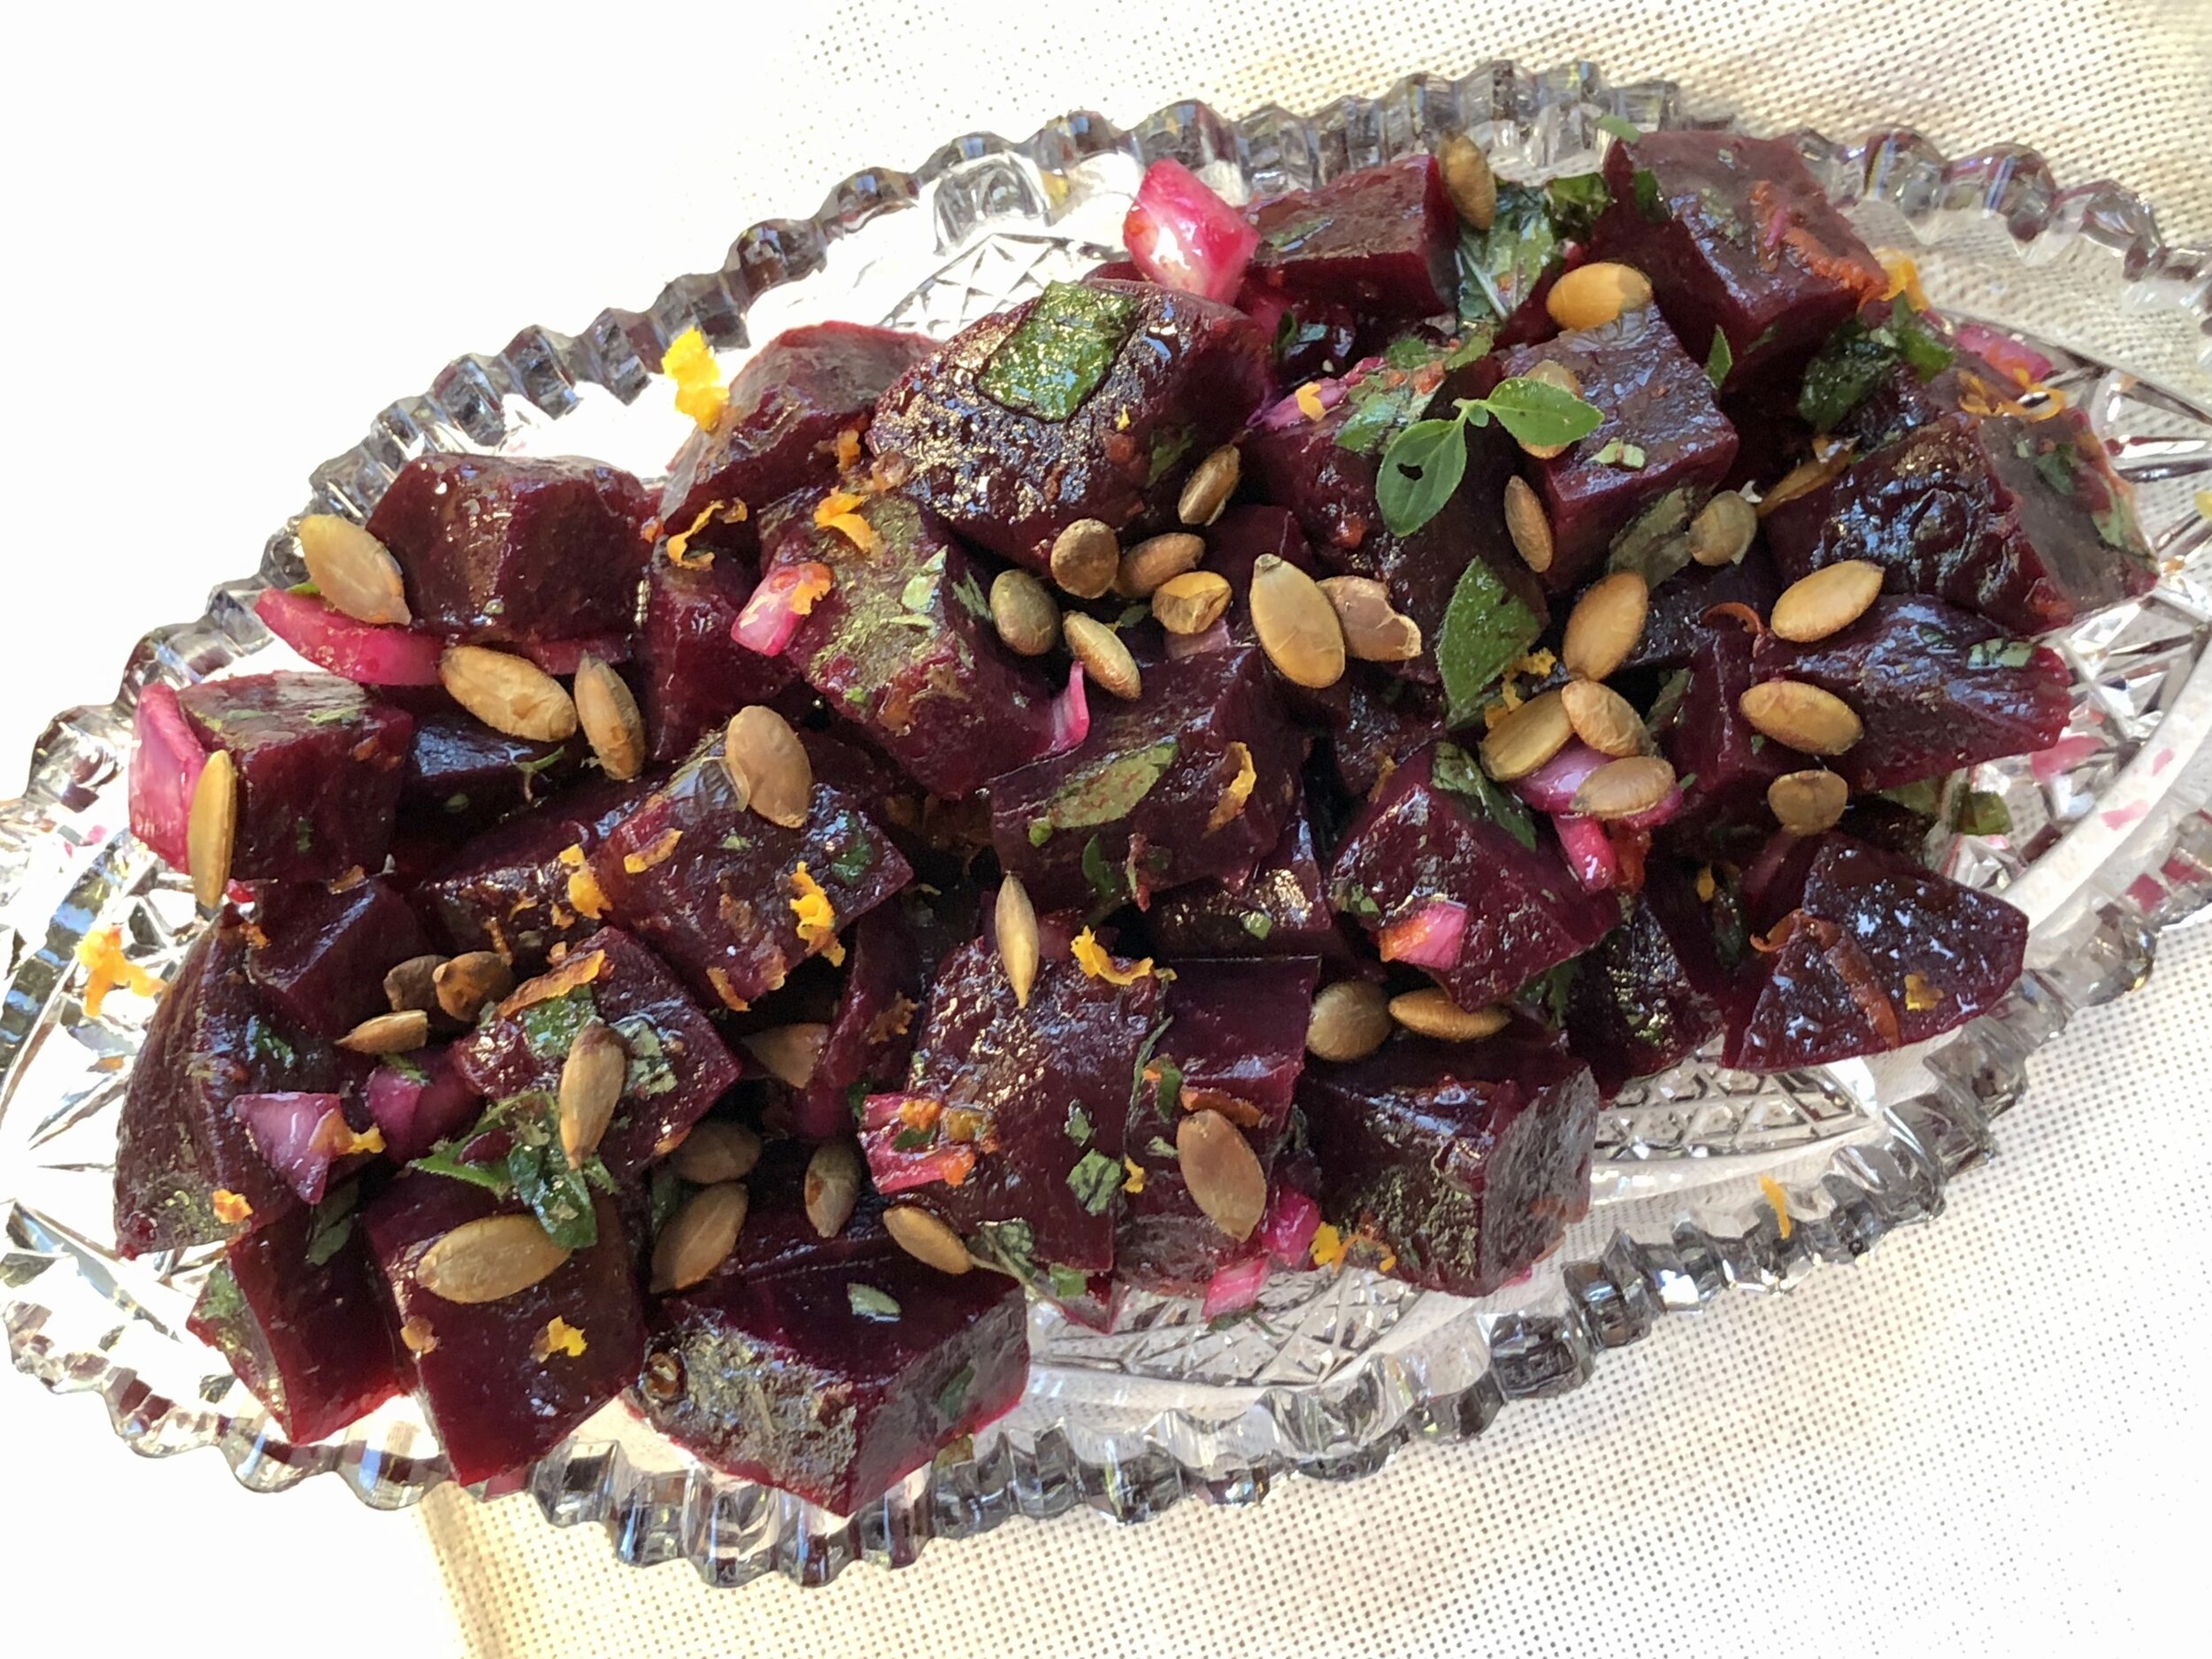
Beet Salad with Pepitas
3 large beets, trimmed
3 scallions, chopped (or one large shallot or 1/3-1/2 cup chopped red onion)
2 tablespoons olive oil
3 tablespoons orange juice
2 tablespoons chopped fresh mint
1 teaspoon grated fresh orange peel
salt to taste
2 tablespoons toasted pepitas
Preheat the oven to 425 degrees. Scrub the beets and wrap them tightly in aluminum foil. Roast until tender, about 45-75 minutes, depending on size. Unwrap the beets and when they are cool enough to handle, peel them. Cut the beets into bite size pieces. Place the beet chunks in a bowl. Add the scallions, olive oil, orange juice, mint and orange peel. Toss ingredients. Sprinkle with salt. Let rest for at least 15 minutes before serving. Sprinkle with pepitas. Serve at room temperature.
Makes 4-6 servings