birthday

Scallion Cakes - a Three-fer Celebration

Scallion Cake

It’s almost Chinese New Year and also Ed’s birthday and also Super Bowl. I can think of no food that would be more perfect for all three occasions than Scallion cake. Crispy. Delicious. Freezable.

SCALLION CAKES

  • 3 cups all-purpose flour

  • 1 cup boiling water

  • 1/3 cup cold water

  • vegetable oil

  • 4-1/2 teaspoons kosher salt

  • 3 scallions, finely chopped

Place the flour in the bowl of an electric mixer. Add the boiling water and mix at medium speed until a rough dough has formed. Let cool for 2-3 minutes. Pour in the cold water and mix until the dough forms into a ball. Knead for 4-5 minutes or until smooth and elastic (you can do all this in a food processor). Divide the dough into 6 pieces. Using a rolling pin on a lightly floured surface, roll one piece of dough into a 10-inch circle. Brush the dough with about 1-1/2 teaspoons vegetable oil. Sprinkle with about 3/4 teaspoon kosher salt. Sprinkle with about one tablespoon of the chopped scallion. Roll the circle jelly roll style. Form the rolled dough into a coil. Press down on the coil to flatten it slightly. Roll the coil into circles about 1/8-inch thick (don’t worry if some of the dough breaks and the scallions pop through slightly). Repeat with the remaining dough, salt and scallions. Keep the circles separated. Heat a small amount of vegetable oil in a skillet large enough to hold the circles. Cover the pan and cook each circle, one at a time, over medium-high heat for about 2 minutes per side, or until browned and crispy. Add more vegetable oil to the pan as necessary for each circle of dough. Drain the fried circles on paper towels. Cut each circle into 8 wedges. Serve hot. Makes 48 pieces

Applesauce Cake with Lemon Frosting

I decided to turn off the news today. I’m finding the world overly distressing and I realize that shutting my ears doesn’t really solve anything or make the news go away, but I need a temporary respite.

So I’ve been cooking and baking and I have some good news: this Applesauce Cake with Lemon-Cream Cheese Frosting is one of the best cakes I have tasted in a long, long time.

No need to tell me that eating cake and sweets won’t cure the world or that it is unhealthy. I know. But it’s good for the moment. Do try this.

Applesauce Cake with Lemon-Cream Cheese Frosting

  • 2 cups all-purpose flour 

  • 1-1/2 teaspoons baking soda 

  • 1/2 teaspoon baking powder 

  • 1/2 teaspoon salt 

  • 1 teaspoon ground cinnamon 

  • 1/2 teaspoon grated nutmeg

  • 1-1/2 cups sugar 

  • 1-1/2 cups applesauce 

  • 1/2 cup butter, slightly softened

  • 2 large eggs

  • 1 teaspoon vanilla extract 

  • Lemon-Cream Cheese Frosting

Preheat the oven to 350F. Lightly grease a 13”x9” baking pan. Place the flour, baking soda, baking powder, salt, cinnamon and nutmeg in a bowl and mix until the ingredients are blended. Set aside. Place the sugar, applesauce, butter, eggs and vanilla extract in the bowl of an electric mixer and beat at medium speed for 2-3 minutes, or until ingredients are moistened. Turn the mixer to medium-high and beat for 3-4 minutes, scraping the bowl occasionally, or until the batter is smooth and uniform. Add the flour mixture and beat at low speed to roughly combine the ingredients, then beat at medium for 2-3 minutes or until the ingredients are smooth and thoroughly blended. Spoon the batter into the prepared pan and bake for about 35 minutes or until a cake tester inserted into the center of the cake comes out clean. Let the cake cool completely. Frost with Lemon-Cream Cheese Frosting.

Makes 9-12 servings

Lemon-Cream Cheese Frosting

  • 12 ounces cream cheese at room temperature

  • 6 tablespoons butter at room temperature

  • 1-1/2 cups confectioners’ sugar

  • 2 teaspoons lemon juice

  • 1/2 teaspoon vanilla extract

  • 1 teaspoon grated fresh lemon zest

Beat the cream cheese, butter, confectioners’ sugar, lemon juice, vanilla extract and lemon zest together at low-medium speed until smooth, creamy and well blended.


Roasted Strawberry Ice Cream

Roasted Strawberry Ice Cream

Many years ago Ed and I were on a cruise with our cousins and there we were, lounging on a public deck, when we overheard a woman consoling another woman whose husband had died on board the night before.

It was so shocking that we still talk about it. I felt sorry for the widow of course and something she told the other woman has haunted me ever since.

She said “I told him not to eat the ice cream!” — as if that one dessert was responsible for the heart attack that killed him.

My first thought was “at least he had the ice cream.”

Next week I celebrate a big birthday. I mean big as in round numbers. I mean I have passed my grandparents round numbers. I’m about the age of that widow and her poor husband. And I now say:

Eat the ice cream!”

Because you never know.

For most of my married life, the food we usually eat at home — with indulgences here and there — is healthy. I make fresh food, have cut down on meat, fat and salt over the years, don’t serve processed foods or junk.

We’ve reached the age that an occasional ice cream — especially on vacation — won’t be the thing that kills us. And if it is, well, at least we had the ice cream.

So, for my big round birthday I am going to eat some ice cream.

I love strawberry ice cream so I already made some for the occasion. I would normally have preferred fresh strawberries but I haven’t found a good source yet for real strawberries, the kind I remember from the old days that were small, sweet and smelled like caramelizing sugar. So I roasted the best looking ones I could find with a bit of orange zest and brown sugar and this combo turned out to be absolutely scrumptious for ice cream.

Roasted Strawberry birthday Ice Cream

  • 1 pint strawberries

  • 1/4 cup orange juice

  • 2 tablespoons brown sugar

  • 2 teaspoons finely grated orange zest

  • 3 cups half and half, light cream or whipping cream

  • 1/2 cup sugar

  • 3 large egg yolks

  • 1/8 teaspoon salt

  • 1/2 teaspoon vanilla extract

Preheat the oven to 450 degrees F. Line a baking pan with parchment paper. Rinse the berries, remove the hulls and chop the berries into smaller pieces. Place the berries on the parchment. In a small saucepan, combine the orange juice, brown sugar and orange zest. Bring to a boil over high heat and cook for 2-3 minutes or until the liquid has thickened slightly. Pour the liquid over the berries and toss the fruit to coat all sides. Roast the berries for about 10 minutes or until softened and glazed. Remove from the heat and let cool. Heat 2 cups of the cream over medium heat until bubbles appear around the edges of the pan. Set aside. While the cream is heating, beat the sugar, egg yolks and salt at medium speed in an electric mixer (or with a hand mixer) for 3-5 minutes or until light and thick. Gradually add the heated cream and mix the ingredients until the mixture is uniform. Return the mixture to the saucepan and cook over medium heat, stirring constantly, for 5-6 minutes or until thickened enough to coat the back of a spoon. Pour in the remaining cream and blend it in thoroughly. Pour into a container and refrigerate until cold. Stir in the vanilla extract. Freeze in an ice cream freezer according to manufacturer’s directions, until almost firm. Add the strawberries plus any juices that have accumulated. Continue to freeze until firm.

Makes about 6 cups

Sweet and Sour Chicken

Ed’s birthday is coming up soon and even though we’ve dined on fancy food and feasted on multi-course meals at lovely restaurants; even though I’ve cooked fancy food and prepared multi-course meals, it’s not what he wants for his birthday.

He always wants Chinese food. Usually, old-fashioned Cantonese style Chinese food, the kind he remembers from his boyhood. Like this Sweet and Sour Chicken. It’s also a perfect dish for Lunar New Year which begins on Sunday January 22.

Sweet and Sour Chicken

  • 1/2 cup chicken stock

  • 1/4 cup apple cider vinegar

  • 1/4 cup sugar

  • 2 tablespoons ketchup

  • 1 tablespoon soy sauce

  • 1/4 cup flour

  • 1/4 cup cornstarch

  • 1/4 cup water

  • 1 large egg

  • 16-20 ounces boneless chicken, cut into bite-size chunks

  • Vegetable oil

  • 1/2 small green or yellow bell pepper cut into chunks

  • 1/2 small red bell pepper cut into chunks

  • 1 small onion, sliced

  • 1 large clove garlic, chopped

  • 1 cup pineapple chunks (fresh or canned)

  • 1 tablespoon cornstarch dissolved in 2 tablespoons water

Preheat the oven to warm. Make the sauce: place the chicken stock, vinegar, sugar, ketchup and soy sauce in a saucepan. Cook the ingredients over medium-high heat and bring to a boil. Mix the ingredients, turn off the heat and set aside.

Mix the coating ingredients: place the flour, cornstarch, water and egg in a bowl. Whisk thoroughly until a smooth batter has formed. Add the chicken pieces and stir to coat all the pieces.

Add enough vegetable oil to a deep saute pan to cover the chicken pieces halfway. Heat the oil until it is hot enough for a bread crumb to sizzle. Cook a few chicken pieces at a time (don’t crowd the pan) for about 4 minutes or until the pieces are browned and crispy. Drain on paper towels and place in the preheated warm oven. Repeat with the remaining pieces.

Drain all but 1-2 tablespoons of the vegetable oil from the pan. Add the bell pepper pieces, onion and garlic to the pan and cook over medium heat for 2-3 minutes or until softened. Add the pineapple chunks and cook for a minute to heat the pieces. Spoon the vegetables and pineapple into the sauce and reheat over medium heat for about 2 minutes or until hot. Mix the cornstarch/water together until smooth, add it to the sauce and stir until the sauce has thickened.

Place the chicken onto a serving platter. Pour the sauce on top and serve.

Makes 4 servings

Chocolate Sour Cream Bundt Cake

_DSC0080.jpg

Is it part of my Jewish DNA that whenever a holiday (religious or otherwise) comes I think — “what food do I cook for this one?”

So, Valentine’s Day is coming. Also Ed’s birthday.

What do I cook for this one?

Chinese food. Maybe Beef with Orange or Chicken with Peanuts.

Scallion cakes?

He loves those Duck Legs with Hoisin sauce…….

Definitely cake.

Thinking this one ………

Chocolate Sour Cream Bundt Cake

  • 4 ounces bittersweet chocolate

  • 2 cups flour

  • 1 teaspoon baking soda

  • 1 teaspoon baking powder

  • 1/2 teaspoon salt

  • 1 cup sugar

  • 1/2 cup butter

  • 2 eggs

  • 1 cup sour cream

  • 1-1/2 teaspoons vanilla extract

Preheat the oven to 350 degrees. Lightly grease a bundt pan. Melt the chocolate in the top part of a double boiler set over barely simmering water. When the chocolate has melted, remove the top pan and let the chocolate cool slightly. Mix the flour, baking soda, baking powder and salt in a bowl. Set aside. In the bowl of an electric mixer, cream the sugar and butter on medium speed for 3-4 minutes, or until the mixture is smooth and creamy. Add the eggs and beat for 2-3 minutes, until well blended. Add the flour mixture alternating with the sour cream. Stir in the vanilla extract. Stir in the melted chocolate and mix until the batter has a uniform color. Pour the batter into the prepared bundt pan. Bake for 45 minutes or until a cake tester inserted into the center comes out clean. Cool the cake in the pan for 10 minutes. Invert onto a cake rack to cool completely.


Makes 12-16 servings

Chinese Chicken with Peanuts (Kung Pao Gai Ding)

9E18D481-EC46-4AB0-92BB-63EBA5BF1377_1_201_a.jpeg

It just so happens that Chinese new year and my husband’s birthday (February 12) fall on the same day this year. And that’s grand because there is nothing he would like better than to have Chinese food for his birthday dinner.

Kung Pao Gai Ding — Chicken with Peanuts — is one of his favorites, so that’s what he’ll be getting.

CHICKEN WITH PEANUTS

sauce:

  • 1 tablespoon soy sauce

  • 1 tablespoon rice wine

  • 1/2 teaspoon white vinegar

  • 1/2 teaspoon kosher salt

  • 1 teaspoon sesame seed oil

  • 2 teaspoons cornstarch

  • 2 teaspoons water

the chicken:

  • 4 skinless, boneless chicken breast halves

  • 1-1/2 teaspoons cornstarch

  • 3 tablespoons vegetable oil

  • 4-6 dry red whole chili peppers

  • 4 large scallions, chopped

  • 1 teaspoon finely chopped fresh ginger

  • 1/2 cup roasted peanuts

Mix the soy sauce, rice wine, vinegar, kosher salt and sesame seed oil in a small bowl and set it aside. Mix the 2 teaspoons cornstarch and 2 teaspoons water in a small bowl and set it aside.

Cut the chicken into bite size pieces and place them in a bowl. Add the 1-1/2 teaspoons cornstarch and mix thoroughly to coat all the chicken pieces. Set aside.

Heat 2 tablespoons of the vegetable oil in a wok or stirfry pan over medium-high heat. Add the chicken and stirfry for 2-3 minutes or until all the pieces are white. Dish out the chicken and set the pieces aside. Heat the remaining tablespoon vegetable oil in the wok. Add the chili peppers, scallion, ginger and stirfry briefly. Add the chicken and stirfry for about a minute, distributing the ingredients evenly. Stir the sauce and pour it into the pan. Stirfry for about a minute. Add the peanuts and mix them in evenly. Stir the cornstarch mixture and pour it into the pan. Stirfry until the sauce has thickened. Serve immediately.

Makes 4 servings

Pumpkin Chocolate Chip Muffins

fullsizeoutput_a171.jpeg

Years ago I bought small, sweet “sugar” pumpkins, cut them, baked the pieces and mashed the roasted flesh to make pumpkin soup, quickbreads, pie, cake and muffins, and so on.

When I’m not busy I still do that, but these days, more often than not, I buy canned mashed/pureed pumpkin. NOT pumpkin pie filling (which has mixed-in spices).

Yes, I know that most canned “pumpkin” is a mixture of different varieties of winter squash. That’s fine with me — pumpkin is just a variety of winter squash after all. The point is, it tastes good and it works.

Canned pumpkin worked perfectly for the muffins in the photo, they’re dotted with mini-chocolate chips. These are a really good nosh for kids and parents coming in from the cold night out Trick-or-Treating.

Pumpkin Chocolate Chip Muffins

  • 3 ounces semisweet chocolate

  • 1 cup pumpkin puree

  • 3/4 cup sugar

  • 1/2 cup vegetable oil

  • 1/3 cup coconut milk

  • 2 large eggs

  • 1-3/4 cups all-purpose flour

  • 1 teaspoon baking soda

  • 3/4 teaspoon salt

  • 1/2 teaspoon ground cinnamon

  • 1/2 teaspoon grated fresh nutmeg

  • 1/2 cup mini-chocolate chips

Preheat the oven to 350 degrees. Lightly grease 10 muffin pan cups. Melt the chocolate and set it aside to cool. Combine the pumpkin puree, sugar, vegetable oil and coconut milk in a large bowl and whisk the ingredients for 1-2 minutes or until thoroughly blended. Whisk in the eggs. Combine the flour, baking soda, salt, cinnamon and nutmeg and add them to the pumpkin mixture. Whisk the ingredients for 1-2 minutes or until thoroughly blended. Fold in the melted chocolate, creating swirls — do not blend it in completely. Fold in the chocolate chips, reserving some for the tops. Spoon equal amounts of the batter into the prepared cups. Scatter some chocolate chips on top of each muffin. Bake for 25-30 minutes or until a cake tester inserted into the center of the muffins comes out clean.

Makes 10 muffins


Sauteed Strawberry Strawberry Shortcake

fullsizeoutput_a678.jpeg

My birthday is in a few days and usually we get together with the kids and grandkids to celebrate at my house. There’s always an apple pie for dessert at some point because I prefer homemade apple pie to birthday cake. And I always have apple pies in the freezer.

But this is an unusual year for our family: graduation and bat mitzvah celebrations, along with several birthdays, Father’s Day and so on — and so — no birthday get-together at my place.

(Actually, at some point during the week I will invite my sister-in-law Eileen and brother Jeff — and I’ll take out some pie for us to enjoy.)

In the meantime, for the two of us, I will celebrate with individual strawberry shortcakes. I made the biscuits already (they’re frozen). Whipped cream takes about 2 minutes in the mixer. I am hoping to find great strawberries — they are in season, so it should be easy.

Last week I actually couldn’t find wonderful berries, even at the Farmer’s market.

So I bought what they had and gave them a quick saute.

Which is what I will do again if the berries aren’t perfect.

This was quite delicious. Here’s the recipe, for strawberry shortcake when you can’t get the best berries.

Sauteed Strawberry Shortcake 

  • 2 tablespoons butter

  • 4 cups cut up fresh strawberries

  • 1 teaspoon sugar

  • 2 tablespoons orange flavored brandy or rum

  • Shortcake biscuits

  • Sweetened whipped cream

  • Fresh mint for garnish

Heat the butter in a saute pan over medium heat. When the butter has melted and looks foamy, add the berries, stir to coat them with butter and cook for one minute. Sprinkle with the sugar, toss and pour in the brandy. Stir, cook briefly and set aside. Cut the biscuits in half. Place the bottoms of each on dessert plates. Layer with some of the berries and some of the whipped cream (reserve some whipped cream for the top). Cover with the biscuit tops. Garnish with a blob of whipped cream and some mint leaves.

 Makes 8 servings


Biscuits 

  • 1-1/2 cups all-purpose flour

  • 1/2 cup cake flour

  • 2 teaspoons baking powder

  • 3/4 teaspoon salt

  • 1/2 teaspoon baking soda

  • 1 teaspoon finely grated lemon peel, optional

  • 8 tablespoons cold butter

  • 2/3 cup buttermilk

Preheat the oven to 400 degrees. Lightly grease a cookie sheet. Mix the flour, cake flour, baking powder, salt and baking soda into a bowl. Stir in the lemon peel, if used. Cut the butter into chunks and add it to the bowl. Work the butter into the flour mixture with your fingers or a pastry blender until the mixture resembles coarse crumbs (or use a food processor on pulse). Pour in the buttermilk and mix until you can form a soft ball of dough. The dough will be slightly sticky. Place the dough on a floured surface and knead a couple of times. Roll the dough gently to 1/2-inch thickness. Cut out circles with a doughnut cutter or the bottom of a glass. Place the circles on the cookie sheet. Bake for about 20-23 minutes or until they have risen and are lightly browned.

 Makes 8

Crispy Roasted Duck Legs with Hoisin-Orange Glaze

The one consistent thing my husband wants for his birthday, year after year, is Chinese food. Forget the gifts, don’t bother with cake. Just give him Chinese food and he’s happy.

So this is on the menu this week, for his birthday, which just happens to coincide with Chinese new year.

CRISPY ROASTED DUCK LEGS WITH HOISIN-ORANGE GLAZE

  • 4 duck legs

  • olive oil

  • 1 cup orange juice

  • 1/4 cup hoisin sauce

  • 3 tablespoons honey

  • 2 teaspoons grated fresh orange peel

  • 1 teaspoon grated fresh ginger

  • 2 cloves garlic, finely chopped

  • salt and freshly ground black pepper to taste

Preheat the oven to 425 degrees. Rinse and dry the duck legs and rub them with a light film of olive oil. Place them in a roasting pan, flat side up. Roast for 15 minutes. While the duck is roasting, combine the orange juice, hoisin sauce, honey, orange peel. ginger and garlic in a small saucepan and cook over medium heat briefly, stirring just until the honey has become blended in the liquid.. Set aside. When the 15 minutes are done, turn the legs round side up. Pour the orange juice mixture over the meat, cover the pan and roast for 30 minutes. Remove the cover. Reduce the heat to 350 degrees. Baste and bake for another 15 minutes or until the ducks are cooked through and the skin is crispy. 

Makes 4 servings


My Bat Mitzvah Chocolate Cake

fullsizeoutput_8490.jpeg

Today is the anniversary of my Bat Mitzvah. It took place a LONG time ago! In the 1950s to tell you the truth.

Back in the day Bat Mitzvahs were not such a thing. In fact, I was the first girl from our newly established synagogue to reach this momentous occasion.

I have to confess, our rabbi mentioned the notion when we first joined the synagogue and I told my parents I wanted to learn some Hebrew and prayers and do whatever I had to, not so much because I had any particular religious feelings, nor was it because I wanted a big party -- the big themed events we see today didn't exist back then -- but because my two older brothers had Bar Mitzvahs and I couldn't understand why a girl wouldn't be treated equally.

My mother always said that when I was born I came out a feminist.

Still am. (So was she.)

Girls are equal to boys, women to men. Let's not even contest that one.

Still, my brothers did have a Saturday Shabbat service Bar Mitzvah and I was only allowed to have one on Friday night. I was content with that, it was a start.

We had a small party at home. I was allowed to invite one friend, and of course my family was there -- aunts, uncles, cousins, including my cousin Leslie, who, to this day, is like a sister.

I remember my dress: white with red and black lines. 

I don't remember what my Mother made for food.

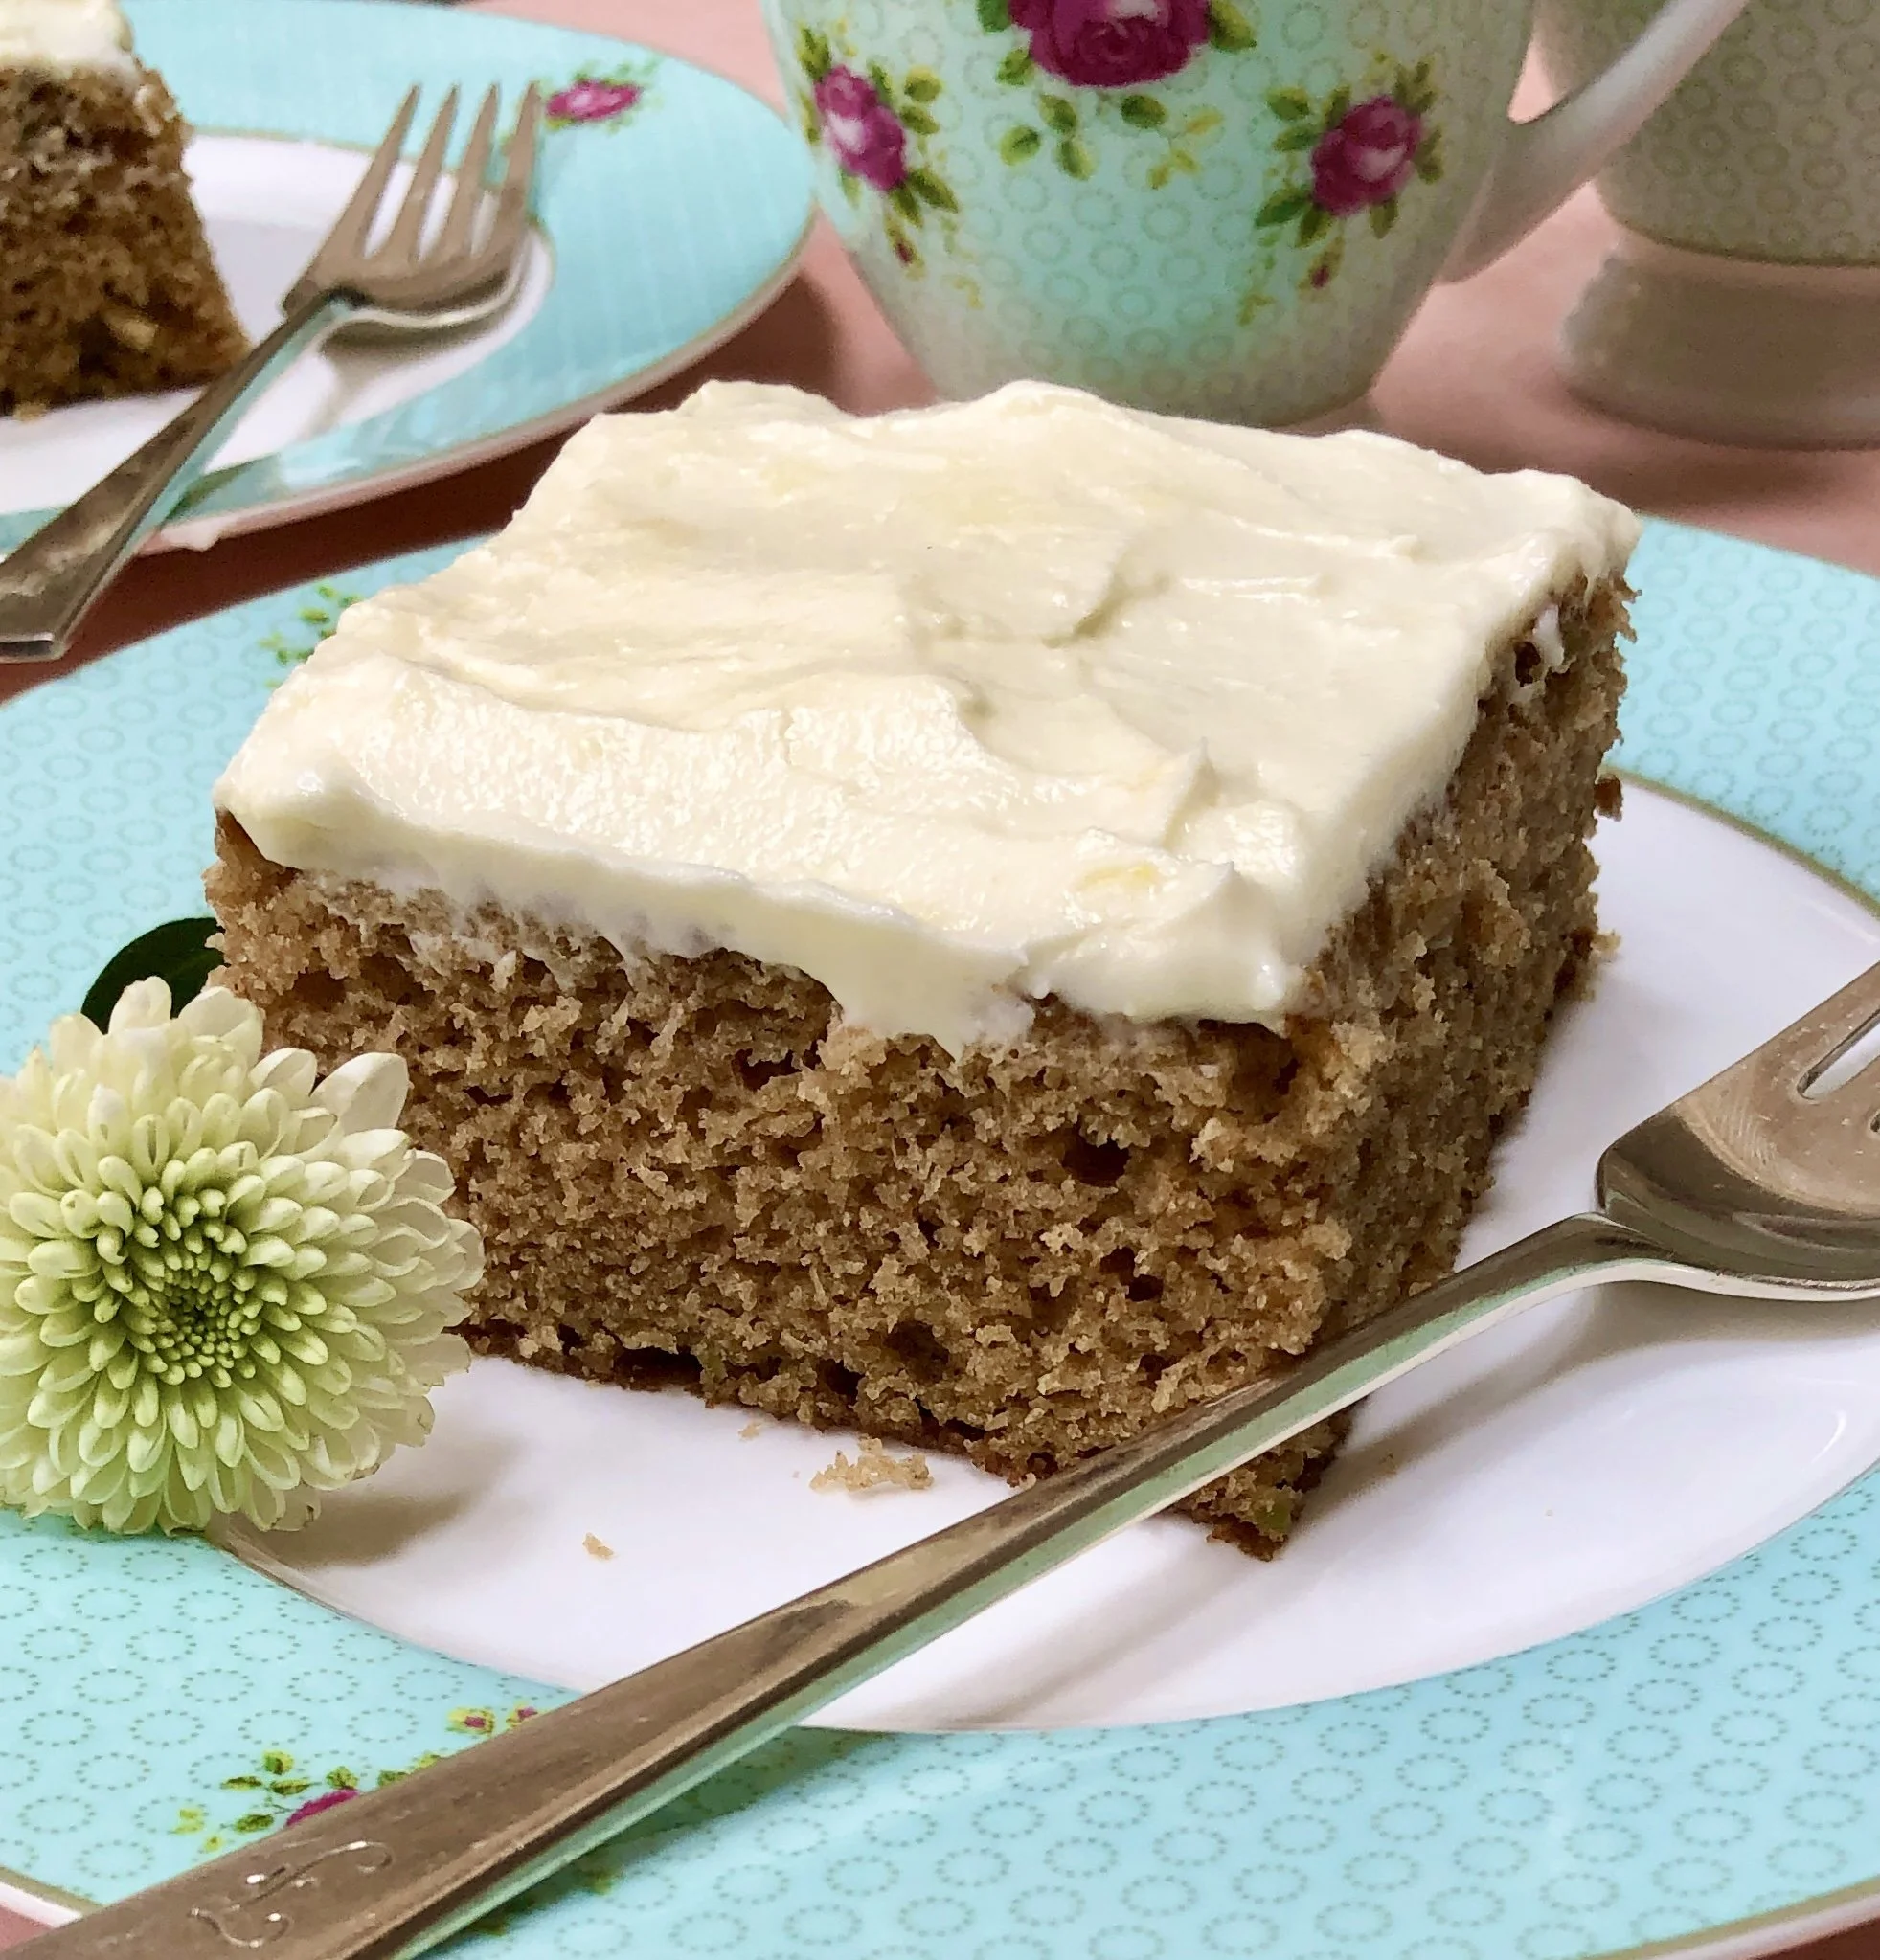
But I do remember dessert. Because I made it: a dark chocolate cake with fudge frosting.

I didn't keep the recipe. I don't actually know whose recipe I used. I just remember what it looked like and that it tasted fabulous and that I made the cake for my own Bat Mitzvah.

So today I celebrate with Chocolate Cake. This one is a riff on the famous Hershey Black Cake with a few changes to make it dairy-free, less sweet and more to my tastes (you can change the frosting to dairy using 12 tablespoons of butter in place of the coconut milk and coconut oil). 

This is a good cake for a festive occasion, even one's own Bat Mitzvah.

Black Chocolate Cake

  • 1 tablespoon lemon juice
  • water
  • 1-1/2 cups all-purpose flour
  • 1 cup unsweetened cocoa
  • 1-1/2 cups sugar
  • 2 teaspoons baking soda
  • 1 teaspoon baking powder
  • 1 teaspoon salt
  • 2 large eggs
  • 1 cup strong, cooled coffee
  • 1/2 cup vegetable oil
  • 2 teaspoons vanilla extract
  • frosting

Preheat the oven to 350 degrees. Lightly grease 3 9-inch cake pans. Pour the lemon juice into a liquid (pitcher) measuring cup and add enough water to measure one cup. Set aside. Place the flour, cocoa, sugar, baking soda, baking powder and salt in the bowl of an electric mixer and mix at low speed to combine the ingredients. Add the eggs, the lemon-water, coffee, vegetable oil and vanilla extract and beat the ingredients at medium speed for 2-3 minutes, scraping down the sides of the bowl occasionally, or until well combined and smooth. Pour equal amounts of the batter into the prepared pans. Bake for 22-25 minutes or until a cake tester inserted into the center comes out clean. Let cool for 10 minutes. Invert the layers onto a cake rack to cool completely. Frost and serve.

Makes 8-10 servings

Frosting

  • 1-1/2 cups dairy-free semisweet chocolate chips
  • 6 tablespoons coconut milk
  • 6 tablespoons coconut oil
  • 1-1/2 teaspoons vanilla extract
  • 1/4 cup confectioners’ sugar
  • pinch of salt

Place the chocolate chips, coconut milk and coconut oil in a saucepan and place over medium heat. Cook, stirring, for 2-3 minutes or until the chips have melted and the mixture is smooth and uniform. Remove the pan from the heat and whisk in the vanilla extract, confectioners’ sugar and salt. Let cool, whisking the ingredients occasionally. Refrigerate until firm enough to be spreadable.