Pumpkin Chocolate Chip Muffins

fullsizeoutput_a171.jpeg

Years ago I bought small, sweet “sugar” pumpkins, cut them, baked the pieces and mashed the roasted flesh to make pumpkin soup, quickbreads, pie, cake and muffins, and so on.

When I’m not busy I still do that, but these days, more often than not, I buy canned mashed/pureed pumpkin. NOT pumpkin pie filling (which has mixed-in spices).

Yes, I know that most canned “pumpkin” is a mixture of different varieties of winter squash. That’s fine with me — pumpkin is just a variety of winter squash after all. The point is, it tastes good and it works.

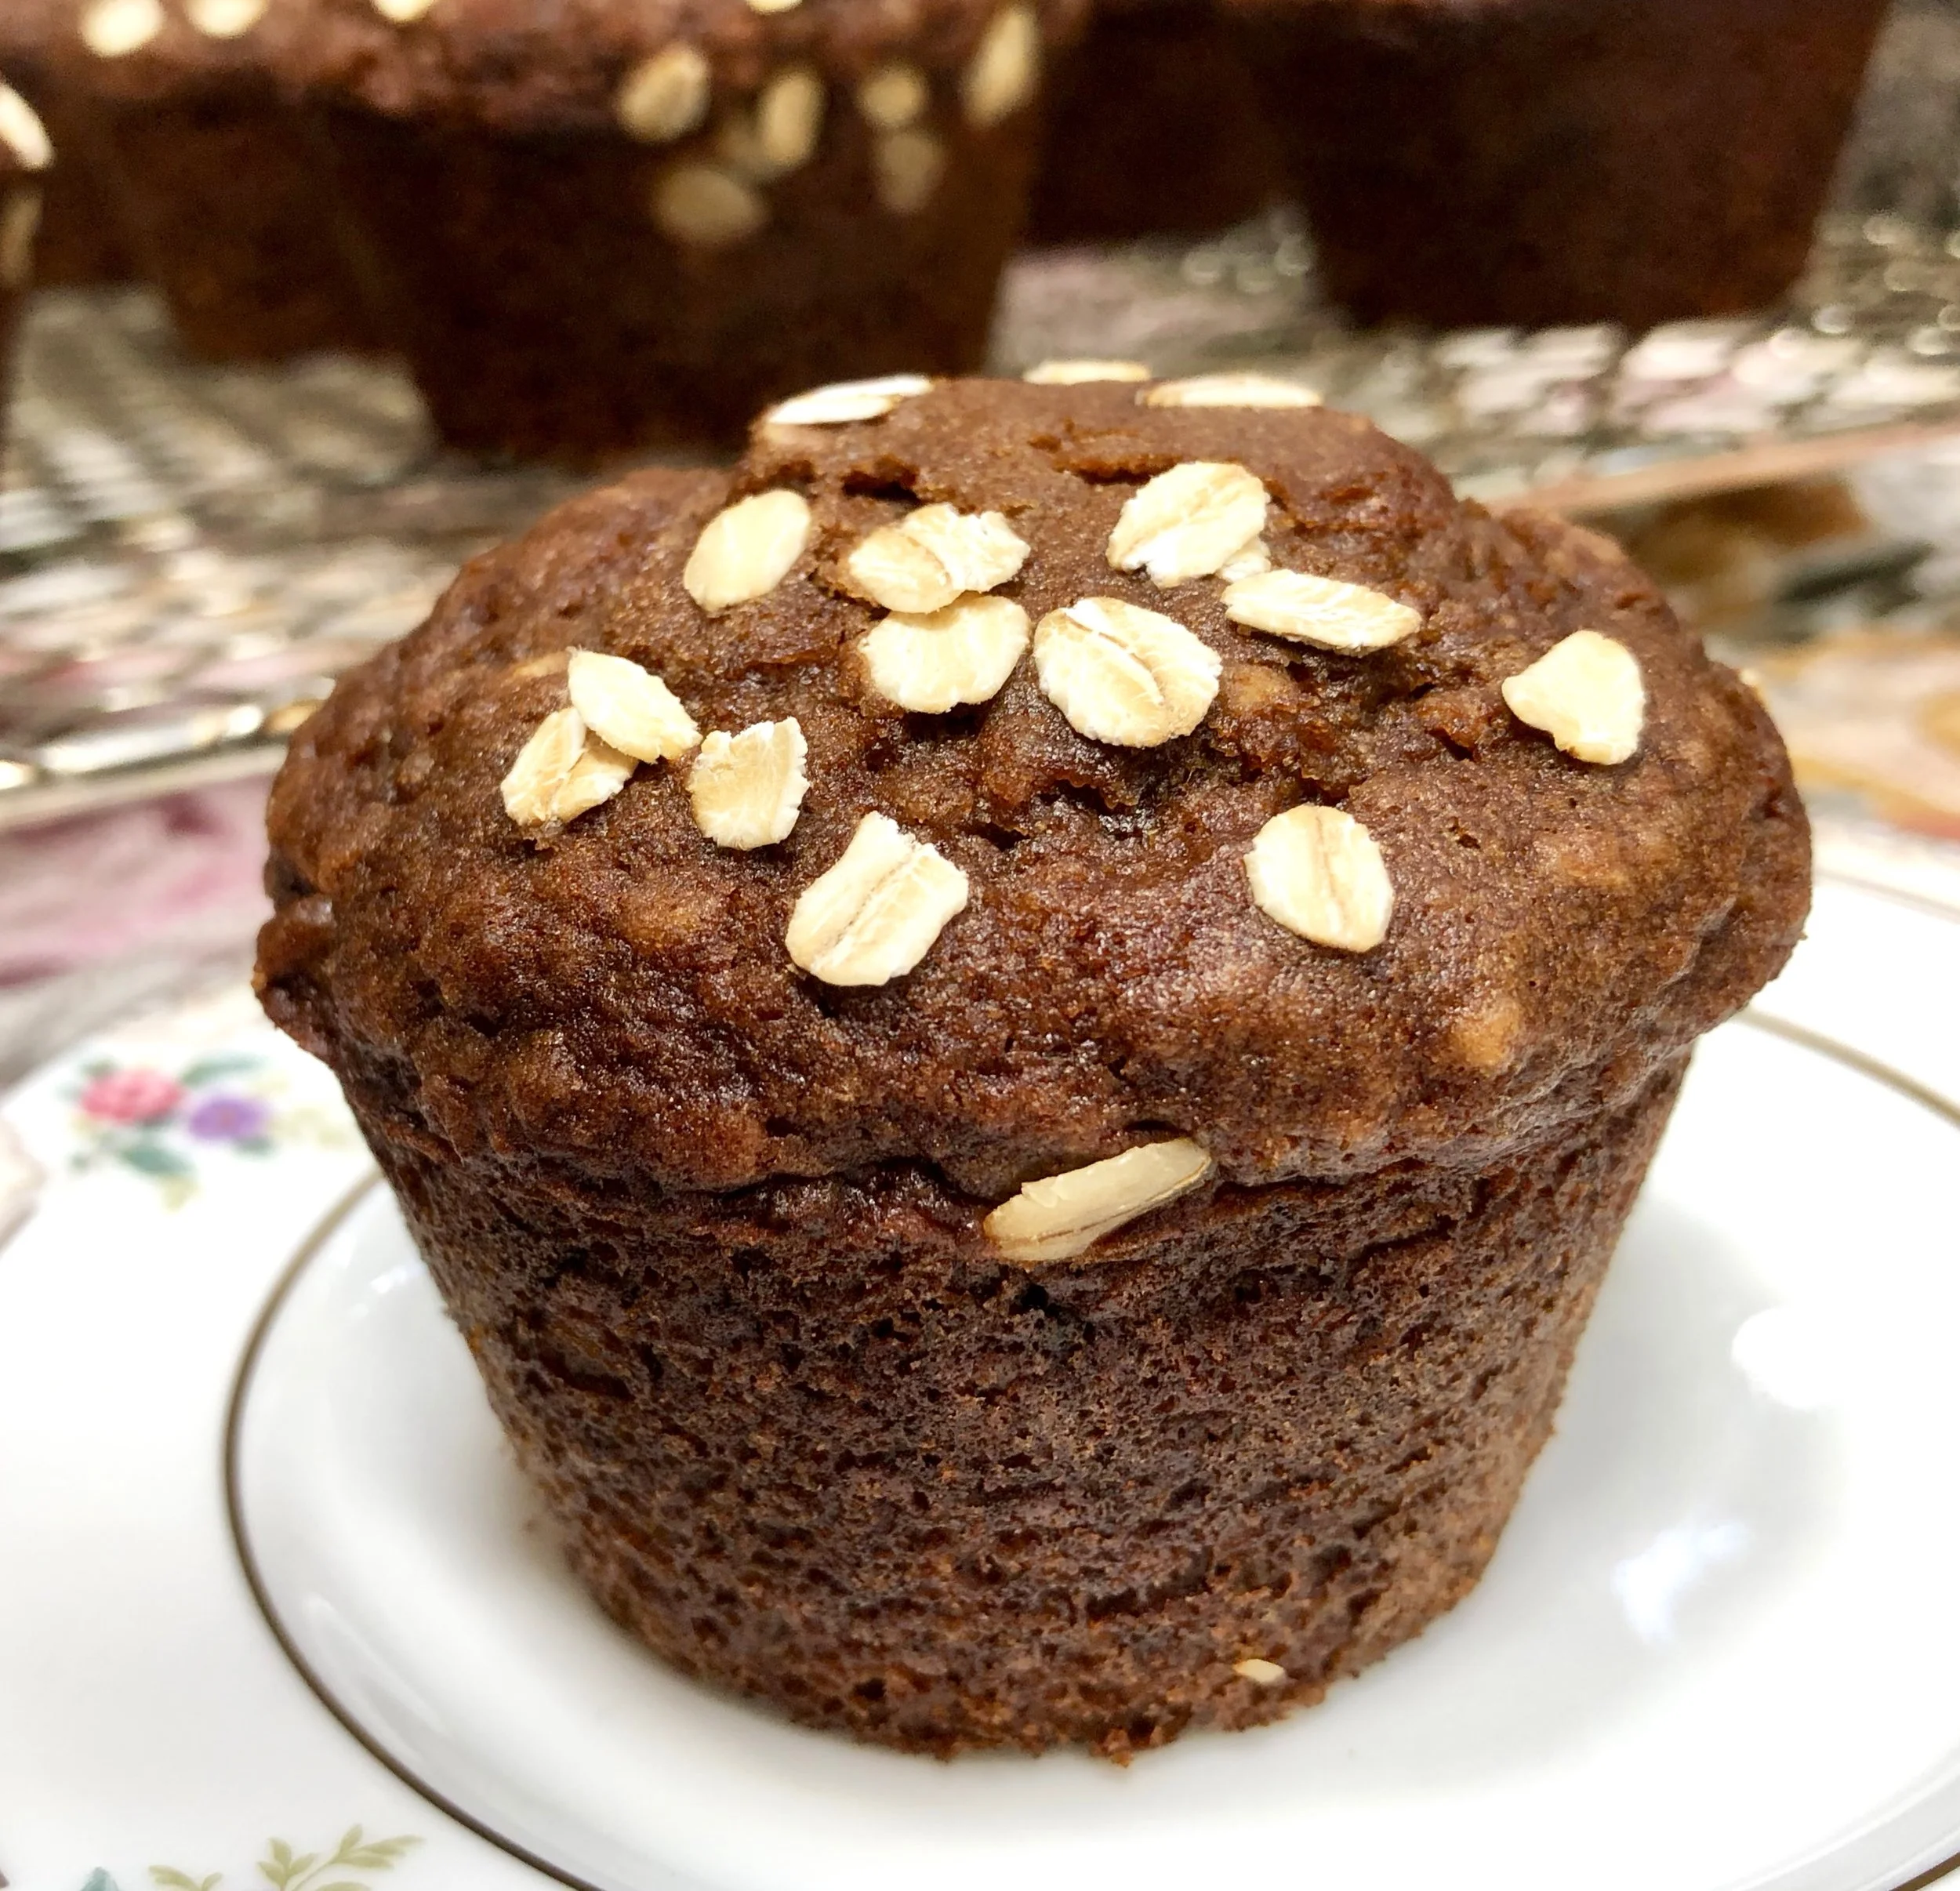
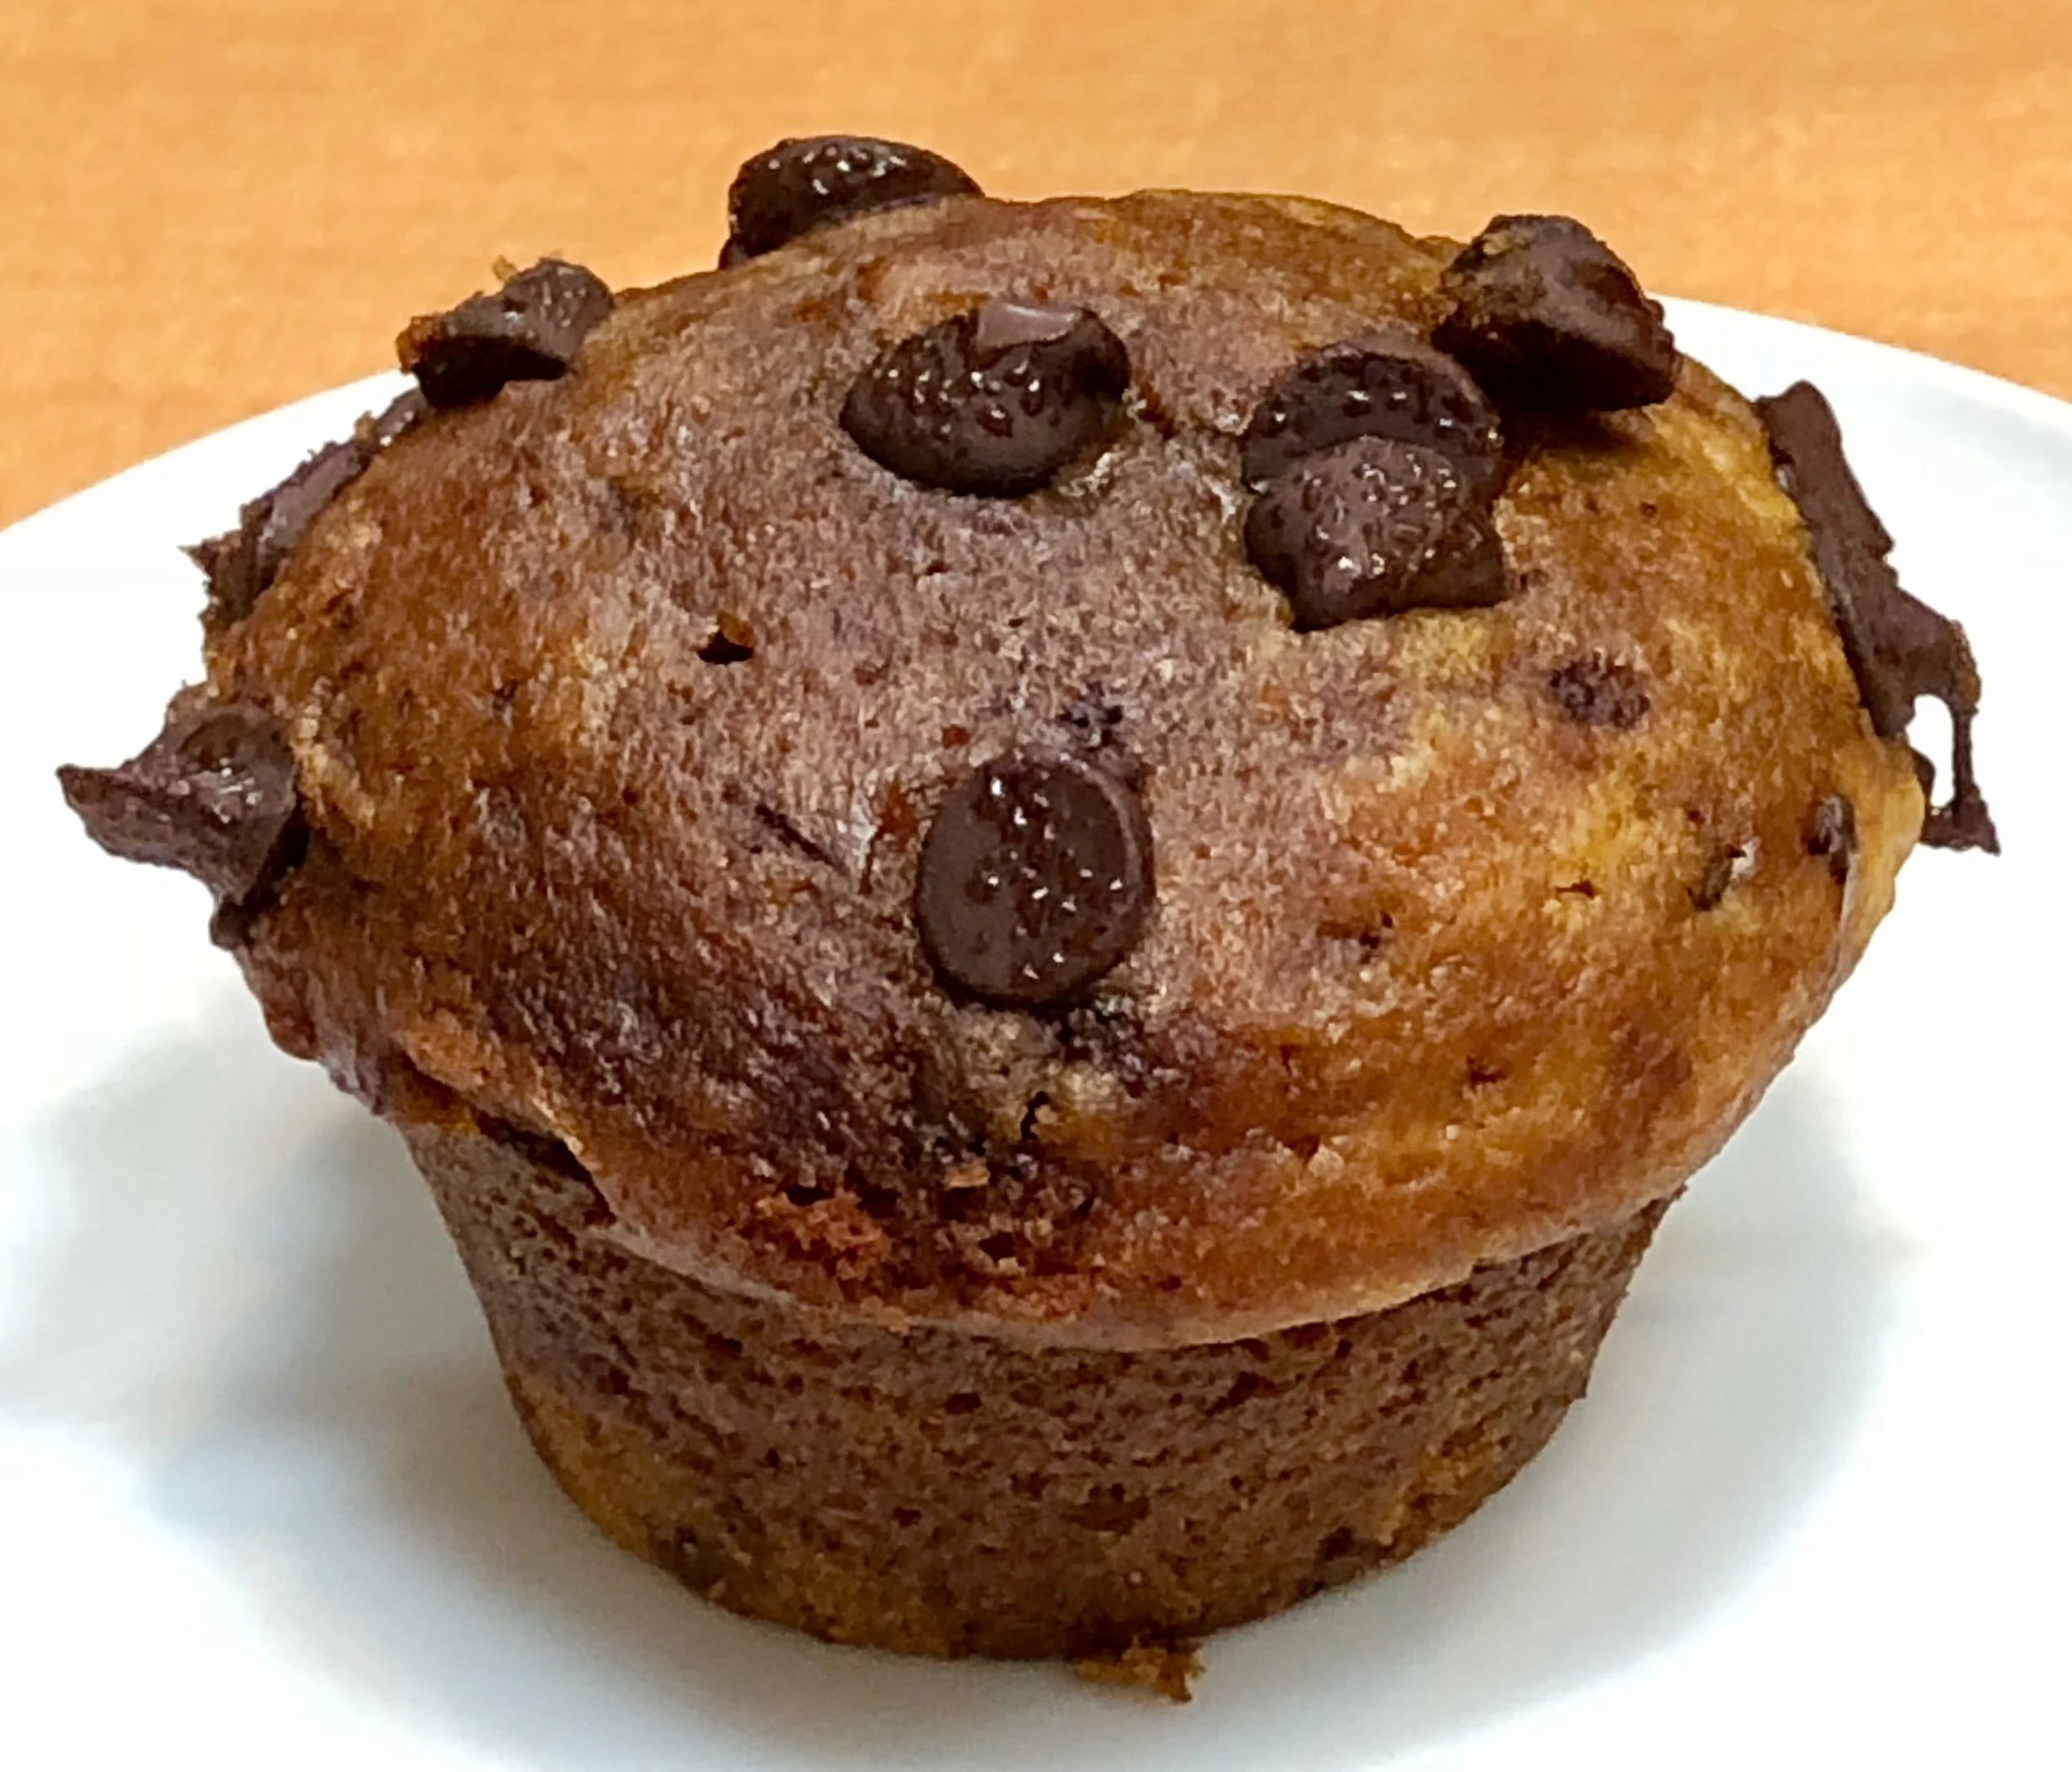
Canned pumpkin worked perfectly for the muffins in the photo, they’re dotted with mini-chocolate chips. These are a really good nosh for kids and parents coming in from the cold night out Trick-or-Treating.

Pumpkin Chocolate Chip Muffins

  • 3 ounces semisweet chocolate

  • 1 cup pumpkin puree

  • 3/4 cup sugar

  • 1/2 cup vegetable oil

  • 1/3 cup coconut milk

  • 2 large eggs

  • 1-3/4 cups all-purpose flour

  • 1 teaspoon baking soda

  • 3/4 teaspoon salt

  • 1/2 teaspoon ground cinnamon

  • 1/2 teaspoon grated fresh nutmeg

  • 1/2 cup mini-chocolate chips

Preheat the oven to 350 degrees. Lightly grease 10 muffin pan cups. Melt the chocolate and set it aside to cool. Combine the pumpkin puree, sugar, vegetable oil and coconut milk in a large bowl and whisk the ingredients for 1-2 minutes or until thoroughly blended. Whisk in the eggs. Combine the flour, baking soda, salt, cinnamon and nutmeg and add them to the pumpkin mixture. Whisk the ingredients for 1-2 minutes or until thoroughly blended. Fold in the melted chocolate, creating swirls — do not blend it in completely. Fold in the chocolate chips, reserving some for the tops. Spoon equal amounts of the batter into the prepared cups. Scatter some chocolate chips on top of each muffin. Bake for 25-30 minutes or until a cake tester inserted into the center of the muffins comes out clean.

Makes 10 muffins


Spinach and Tomato Egg Scramble

fullsizeoutput_acdb.jpeg

After the eating fest that takes place over Rosh Hashanah/Break-the-Fast through Sukkot and before the onslaught of a zillion-calorie Thanksgiving dinner plus leftovers, I need a break from heavy meals. Meaning, something other than a meat-and-potatoes type dinner.

For example? This omelet-y dish, only it’s scrambled eggs, which means it’s even easier to cook because you don’t even have to fold it. It’s filling enough for dinner if you include a hunk of crusty bread or challah. It’s versatile too: you can add diced cooked potatoes and use any green vegetable instead of spinach; substitute onions or shallots for the scallions; add some crumbled goat cheese or shredded hard cheese such as Swiss or Mozzarella.

But we like it as is. Simple. Tasty. Easy to make. Easy going down. Just right for between holiday feasts.

Spinach and Tomato Egg Scramble

  • 2 tablespoons vegetable oil (butter if you prefer; let it melt before adding ingredients)

  • 4 thick scallions, chopped

  • 1 tablespoon finely chopped fresh chili pepper

  • 2 cloves garlic, chopped

  • 1 large bunch spinach

  • 4 medium tomatoes, cut into quarters

  • 8 large eggs, beaten

  • salt and freshly ground black pepper to taste

Heat the vegetable oil in a large sauté pan over medium heat. Add the scallions, chili pepper, garlic and spinach and cook, stirring occasionally, for about 2 minutes. Add the tomatoes and cook for another minute. Pour in the eggs, let the eggs set partially, then mix gently to scramble the ingredients together and cook to desired consistency. Season with salt and pepper to taste.

 Makes 4 servings

Stuffed Zucchini Boats

fullsizeoutput_ac92.jpeg

There’s no particular food associated with the holiday of Simchat Torah, which begins on Sunday night (October 20, 2019), but lots of people make food that resemble torah scrolls.

Stuffed cabbage is a classic. But when I used up the last of my home garden zucchini and stuffed it with tomatoes and cheese I thought these look somewhat like torah scrolls too!

So, for me: Stuffed Zucchini boats are the order of the day for the holiday (or any other time).

Stuffed Zucchini Boats 

  • 2 medium zucchini

  • 2 tablespoons olive oil

  • 1 medium onion, chopped

  • 1 large clove garlic, chopped

  • 2 tomatoes, chopped

  • 2 tablespoons chopped fresh basil

  • 6-8 tablespoons shredded mozzarella

  • 2 tablespoons grated Parmesan

Preheat the oven to 400 degrees. Cut the zucchini in half lengthwise. Scoop out the seeds and part of the flesh, leaving a wall of at least ¼-inch next to the skin. Coat the outside surface of the zucchinis with a film of olive oil. Place them in a baking dish and bake for 15-20 minutes, depending on size, or until barely tender (use the tip of a sharp knife to test tenderness). While the zucchini boats are baking, pour the remaining olive oil in a saute pan over medium heat. Add the onion and garlic and cook, stirring occasionally, for 2-3 minutes, to soften the vegetables slightly. Add the tomatoes and basil, stir and remove the pan from the heat to cool slightly. When the zucchini boats are ready, remove them from the oven and fill the cavities with the tomato mixture. Sprinkle the mozzarella cheese evenly over the filling. Sprinkle the Parmesan cheese evenly over the filling. Bake for 12-15 minutes or until the cheese has melted and is beginning to brown.     

 Makes 4 servings

Beet and Chickpea Salad

fullsizeoutput_867c.jpeg

I realize beets are available throughout the year. We are a beet-loving family, so I buy them all the time. Throughout the year.

And yet, I still associate beets with autumn. In my memory, September, October, November — those months are the real “season” for harvesting beets. In fact, I remember them as an integral part of the meals during Jewish holidays.

Sukkot, the “harvest holiday” is a good time to include beets on the menu. Look for beets with the greens still attached — they are from a current harvest. They are sweeter and tastier. Lovely however you cook them, including this salad, which you can make ahead. Serve it at room temperature.

Beet and Chickpea Salad

  • 4 large beets

  • 1 15-ounce can chickpeas, drained and rinsed

  • 1 tablespoon olive oil

  • 2 teaspoons fresh thyme leaves

  • sea salt

  • 3 tablespoons olive oil

  • 3 tablespoons white wine vinegar

  • 2-3 tablespoons chopped fresh parsley

  • salt and freshly ground black pepper to taste

Preheat the oven to 450 degrees. Trim the beets, cutting away the greens, if any, and discarding any hard, fibrous parts of the stem. Wash and drain the greens and use them for other purposes. Scrub the beets, wrap them in aluminum foil and roast for 50-60 minutes or until they are tender. Peel the beets when they are cool enough to handle. Cut the beets into bite size pieces and place in a bowl. While the beets are cooking, place the chickpeas on a foil-lined baking sheet. Pour the one tablespoon olive oil on top and shake the pan to coat all the chickpeas. Sprinkle with thyme and sea salt to taste. Shake the pan again. Roast for 20 minutes, shaking the pan every 5 minutes or so, or until golden brown and crispy. Add the roasted chickpeas to the beets. Pour the remaining olive oil over the vegetables and toss, then pour in the white wine vinegar and toss again. Sprinkle with parsley and salt and pepper to taste. Let rest for 10-15 minutes before serving.

Makes 8 servings


Hummus with Aleppo Pepper

fullsizeoutput_8590.jpeg

When my Yom Kippur Break-the-Fast guests come in hungry from fasting, the first food they want is just a nibble, not the whole big meal I'm about to serve. Empty stomachs need some time to adjust.

Hummus works perfectly for that. Soft, easy-on-the digestion, in small amounts on a cracker or a wedge of pita or maybe even some cut up carrot.

I always have hummus at the ready for my break-the-fast feast.

Here is this year's version, made with dried chick peas.


Hummus with Dried Chick Peas and Aleppo Pepper

  • 1 cup dried chick peas

  • 1/2 teaspoon baking soda

  • 1/2 cup tahini

  • 6 tablespoons fresh lemon juice

  • 2 tablespoons olive oil

  • 3 cloves garlic

  • 1/2 teaspoon ground cumin

  • 1/2 teaspoon Aleppo pepper plus more for garnish

  • 1/2 teaspoon salt

  • cooking liquid from chick peas

  • 2 tablespoons chopped fresh parsley

  • cut up pita wedges or fresh vegetables

Place the chick peas in a bowl, cover them with water and let soak overnight or about 10 hours. (Or, place the chick peas in a pot, cover with water, bring to a boil, lower the heat and simmer the peas for 4 minutes. Remove the pan from the heat, cover the pot and let the chick peas soak for 1 hour.) Drain the chick peas. Place them in a pot, stir in the baking soda, bring the water to a boil, lower the heat and simmer for about one hour or until the chick peas are tender. Drain the chick peas but reserve the water. Place the chick peas, tahini, lemon juice, olive oil, garlic, cumin, Aleppo pepper and salt in a food processor. Add about 1/2 cup reserved bean liquid and process until well blended. Add the parsley and process briefly. Add more bean liquid depending on desired consistency. Place the hummus in a serving dish and sprinkle with Aleppo pepper. Serve with cut up pita wedges or fresh vegetables.

Makes about 1-1/2 cups


Honey Cake Muffins

fullsizeoutput_9422.jpeg

I make honey cake every year for Rosh Hashanah, using my Aunt Belle’s family-famous recipe.

Every once in a while I change the recipe — a different honey, an additional spice (or less seasoning), and so on, just to see if we like it better or I should just stick to the original. I’ve even adapted the recipe to make it with date honey.

They’re all delicious. I love honey cake and I look forward to it every year as a special holiday treat.

Last year I decided to make honey cake into muffins. So — breakfast or afternoon snack instead of for dessert. They are sweet — it is honey “cake” after all — but not as sweet as the recipe I use for dessert. The muffins are also mellowed a bit with oats.

During the year I made these muffins again, several times, using several different spice blends. The recipe below is the more traditional Rosh Hashanah flavor, but you could delete the cinnamon and nutmeg and use one teaspoon Hawaij spice instead. They’re a convenient riff on honey cake; freezable too.

Honey Cake Muffins

  • 1-1/3 cups all-purpose flour

  • 2/3 cup quick oats

  • 2 teaspoons baking powder

  • 1-1/2 teaspoons baking soda

  • 1/2 teaspoon salt

  • 2 teaspoon grated fresh orange peel

  • 1/2 teaspoon cinnamon

  • 1/2 teaspoon grated nutmeg

  • 3/4 cup honey

  • 1/2 cup cold coffee

  • 6 tablespoons vegetable oil

  • 2 large eggs

  • old fashioned oats, optional (or use chopped nuts)

Preheat the oven to 375 degrees. Grease 10 muffin tins. In a bowl, mix the flour, oats, baking powder, baking soda, salt, orange peel, cinnamon and nutmeg together until uniform in color. Heat the honey and coffee together over low heat briefly, so that they are easy to blend with a whisk. Add the vegetable oil and eggs and whisk the ingredients until they are uniform in color. Stir in the flour mixture and mix until thoroughly combined. Spoon the batter into the greased muffin tins. Top, if desired, with old fashioned oats or chopped nuts. Bake for about 18 minutes or until a cake tester inserted into the center comes out clean.

Makes 10


Fried Green Cherry Tomatoes

fullsizeoutput_adfb.jpeg

This year my tomato crop was such a bonanza that we ate tomato-something almost every day!

I am not complaining. Fresh garden tomatoes are among the treasures of the food world.

But it’s getting on in the season, the weather is turning, the Jewish holidays are around the corner and hundreds of those little things will never ripen from green to red in time.

I made some chutney of course.

I like fried green tomatoes in a sandwich but the cherry tomatoes are too small for slicing, coating and frying.

So I tried making them whole.

Yes!

Crunchy outside — and when you bite in, you get spurts of sweet-tart juicy tomato.

Terrific as an hors d’oeuvre. If you have extra, little, green tomatoes, try this:

Fried Green Cherry Tomatoes

  • 1/2 cup mayonnaise

  • 2 tablespoons chopped fresh basil

  • lemon juice

  • 18-24 small green cherry tomatoes

  • 1/4 cup all-purpose flour

  • 1 large egg

  • 1/4 teaspoon Sriracha or other hot sauce

  • 1/2 cup matzo meal or breadcrumbs

  • salt, freshly ground black pepper and garlic powder to taste

  • vegetable oil

Combine the mayonnaise, basil and a teaspoon or two of lemon juice in a small bowl. Taste and add more lemon juice if desired. Set aside. Wash and dry the tomatoes. Place the flour in a bowl, add the tomatoes and toss them around to coat them completely. Beat the egg and hot sauce together. Immerse the tomatoes into the egg and roll them around to coat each one completely. In a bowl, combine the matzo meal with salt, pepper and garlic powder to taste. Add the egg-coated tomatoes a few at a time and roll them around to coat them completely. Place the coated tomatoes on a cake rack or other surface for at least 20 minutes, to “air dry” slightly. Heat vegetable oil in a deep pan to a depth of about 2-inches. When the oil is hot enough to make a crumb sizzle quickly, add the tomatoes, a few at a time and cook them, turning them occasionally, for 4-5 minutes, or until golden brown. Remove the tomatoes and set the on paper towels to drain. When all the tomatoes are fried, serve them with the basil mayonnaise.

Makes 6-8 servings

Chick Pea and Carrot Salad

DSC08424.jpg

Of course, of course we will be slicing apples and dipping them in honey on Rosh Hashanah. (which begins at sunset on September 29th).

But chickpeas are on the menu too. In his Encyclopedia of Jewish Food, the late rabbi and food authority Gil Marks wrote that “chickpeas are a traditional Rosh Hashanah food, a symbol of fertility, abundance and a wish for a well-rounded year to come.”

I usually make chickpeas into hummus, but sometimes I serve them whole, as a snack, roasted, the way my mother made them when I was growing up – a recipe called nahit. She coated the chickpeas with vegetable oil, sprinkled them with salt and paprika and baked them until crispy.

I changed her recipe somewhat -- I use olive oil, kosher salt and fresh thyme, or sometimes za’atar, as seasonings. Nahit is a delicious snack and a healthy one too: chickpeas are a good source of protein, minerals (including calcium) and fiber.

For this coming holiday though I’ll be making a chickpea and carrot salad to serve with dinner. Carrots are another symbolic ingredient of the holiday, so this recipe is a double-up of special ingredients of festive food for the holiday table. It’s a dish that can be made in advance, which makes it a good choice at such a busy time. And it is colorful too, fit for any celebration, including Break-the-Fast. 

Chick Pea and Carrot Salad

  • 1 15-ounce can chickpeas

  • 4 medium carrots, sliced thin

  • 1/2 chopped red onion

  • 1/4 cup chopped fresh parsley

  • 1/4 cup chopped fresh mint

  • 1 teaspoon ground cumin

  • 1/8 teaspoon cayenne pepper

  • 1/4 cup olive oil

  • 3 tablespoons lemon juice

  • salt to taste

Rinse the chickpeas under cold running water; let drain and place in a bowl. Add the carrots, onion, parsley, mint, cumin and cayenne pepper and toss to distribute the ingredients evenly. Pour in the olive oil and lemon juice. Toss to coat the ingredients evenly. Taste for seasoning and add salt to taste.

Makes 6 servings

Chocolate Oat Bars

fullsizeoutput_ae23.jpeg

Back in the day — when I was a kid, that is — my brother and I walked home from school at 3:00 and knew it was our responsibility to practice the piano (our teacher required an hour a day), do our homework and get dinner ready.

Ours was a working Mom; she taught us how to set the table; she prepared the food and we put it in the oven at the appropriate time.

She was responsible for making sure there were cookies and milk when we got home — to feast on before said chores and stuff.

Sometimes she left us store-bought cookies. I have memories of fig bars, Hydrox and shortbread.

But mostly she baked. Butter cookies. Peanut butter cookies. Oatmeal-Raisin.

By the time I had my own children, life was very different. They took a school bus home and walked down the hill to our house. I was a working Mom, but my job as a food writer meant I worked at home.

I didn’t usually give them cookies and milk. Food styles had changed, so snacktime meant granola bars or those peanut-butter filled cheese crackers (I bought those because I mistakenly thought they were healthy). Sometimes a frozen burrito.

Looking back — I really like the milk and cookies thing. I miss those days. I miss the milk and cookies. Especially the dunking of cookies in the milk and then trying to bite off a soft milk-drenched piece before it fell into the bottom of the glass.

Cookies really are much better than frozen burritos and peanut-butter filled cheese crackers.

So, for all the parents of all the kids who are coming home from school now that the new term has begun — here are some cookies to consider for snacktime after school, before the piano practice or homework or whatever they have to do before the day is done.

Chocolate-Oat Bars

Cookie layers:

  • 1 cup butter

  • 2 cups packed brown sugar

  • 2 large eggs

  • 2 teaspoons vanilla extract

  • 3 cups quick-cooking oats

  • 2-1/2 cups all-purpose flour

  • 1 teaspoon salt

  • 1 teaspoon baking soda

  • 1/2 teaspoon ground cinnamon

chocolate layer:

  • 1 can (14 ounces) sweetened condensed milk

  • 12 ounces semisweet chocolate, chopped

  • 2 tablespoons butter

  • 1/4 teaspoon salt

  • 2 teaspoons vanilla extract

  • 1 cup raisins

Preheat the oven to 350 degrees. Grease a 15-inch x 1-inch jelly roll pan.

To make the cookie layers: beat 1 cup of the butter with the brown sugar in the bowl of an electric mixer set at medium for 2-3 minutes or until smooth and well blended. Add the eggs and 2 teaspoons vanilla extract and blend them in thoroughly. Add the oats, flour, salt, baking soda and cinnamon. Beat for 1-2 minutes or until the ingredients are evenly distributed. Press about two-thirds of the mixture into the prepared pan.

To make the chocolate layer, place the condensed milk, chocolate, butter and salt in a saucepan over low heat and cook, stirring frequently, for about 2-3 minutes or until the chocolate has melted. Remove the pan from the heat, stir in the vanilla extract and raisins. Spread this mixture evenly over the cookie layer. Sprinkle with the remaining cookie crumb mixture. Bake for 20-24 minutes or until lightly browned. Let cool and cut into squares.

 Makes about 48


Pomegranate Chicken Wings

IMG_5502.jpg
E22F1200-0325-4D94-BE34-A495A7FECEB3.jpg

I know that Labor Day is not the end of grilling season, but somehow it's a reminder that so much in our lives is about to change. In the month or so ahead, leaves turn to red and gold. School begins. There's a vague chill in the air at night. The sun sets earlier and nighttime comes sooner.

I also realize that many people continue to grill outdoors throughout the year.

I'm not one of them. If it's below 45 I don't feel like slaving over a hot grill in the cold night air.

So, knowing how way leads on to way, I am making the most of the grilltime that's left.

These wings will be on my menu soon, before I close up shop for the winter.

Fyi, you can use the glaze for other chicken parts and bake the pieces n the oven or broil them in an oven broiler. It’s also fine to use for basting a whole roasting chicken.


Pomegranate Wings

  • 2 pounds chicken wings

  • olive oil (about one tablespoon)

  • 1/2 cup pomegranate jelly

  • 2 tablespoons orange juice

  • 1 tablespoon cider vinegar

  • 1 tablespoon brown sugar

  • 1 teaspoon chopped fresh ginger

  • 2 cloves garlic, finely chopped

  • 2 scallions, chopped

  • pinch or two cayenne pepper

  • salt to taste

Preheat an outdoor grill or oven broiler. Wash and dry the wings and cut them into separate pieces. Brush with olive oil and grill, turning once, for 8-10 minutes or until lightly browned. While the wings are cooking, mix the pomegranate jelly, orange juice, cider vinegar, brown sugar, ginger, garlic, scallions cayenne pepper and salt to taste until well blended. Brush this glaze on the wings and cook for another 10-12 minutes, turning the wings occasionally and brushing with remaining glaze, until crispy and fully cooked.

Makes about 24