Many years ago I was one of three judges at a cheese cake contest sponsored by a local cookware shop. We were told that 50 people had entered and would be bringing their cakes over.
Fifty cakes!
Fortunately only 32 people showed up. My first thought was about what might have happened to those other people. Did they just decide not to bother or had their cakes not come out right?
My second thought -- how am I going to eat -- even small samples -- of 32 cakes!
But, I was younger and thinner then and so I soldiered on.
There were some incredibly elaborate versions -- one was swirled with gorgeous white chocolate leaves, another was drizzled with thick, viscous drippings of autumn-leaf-colored caramel.
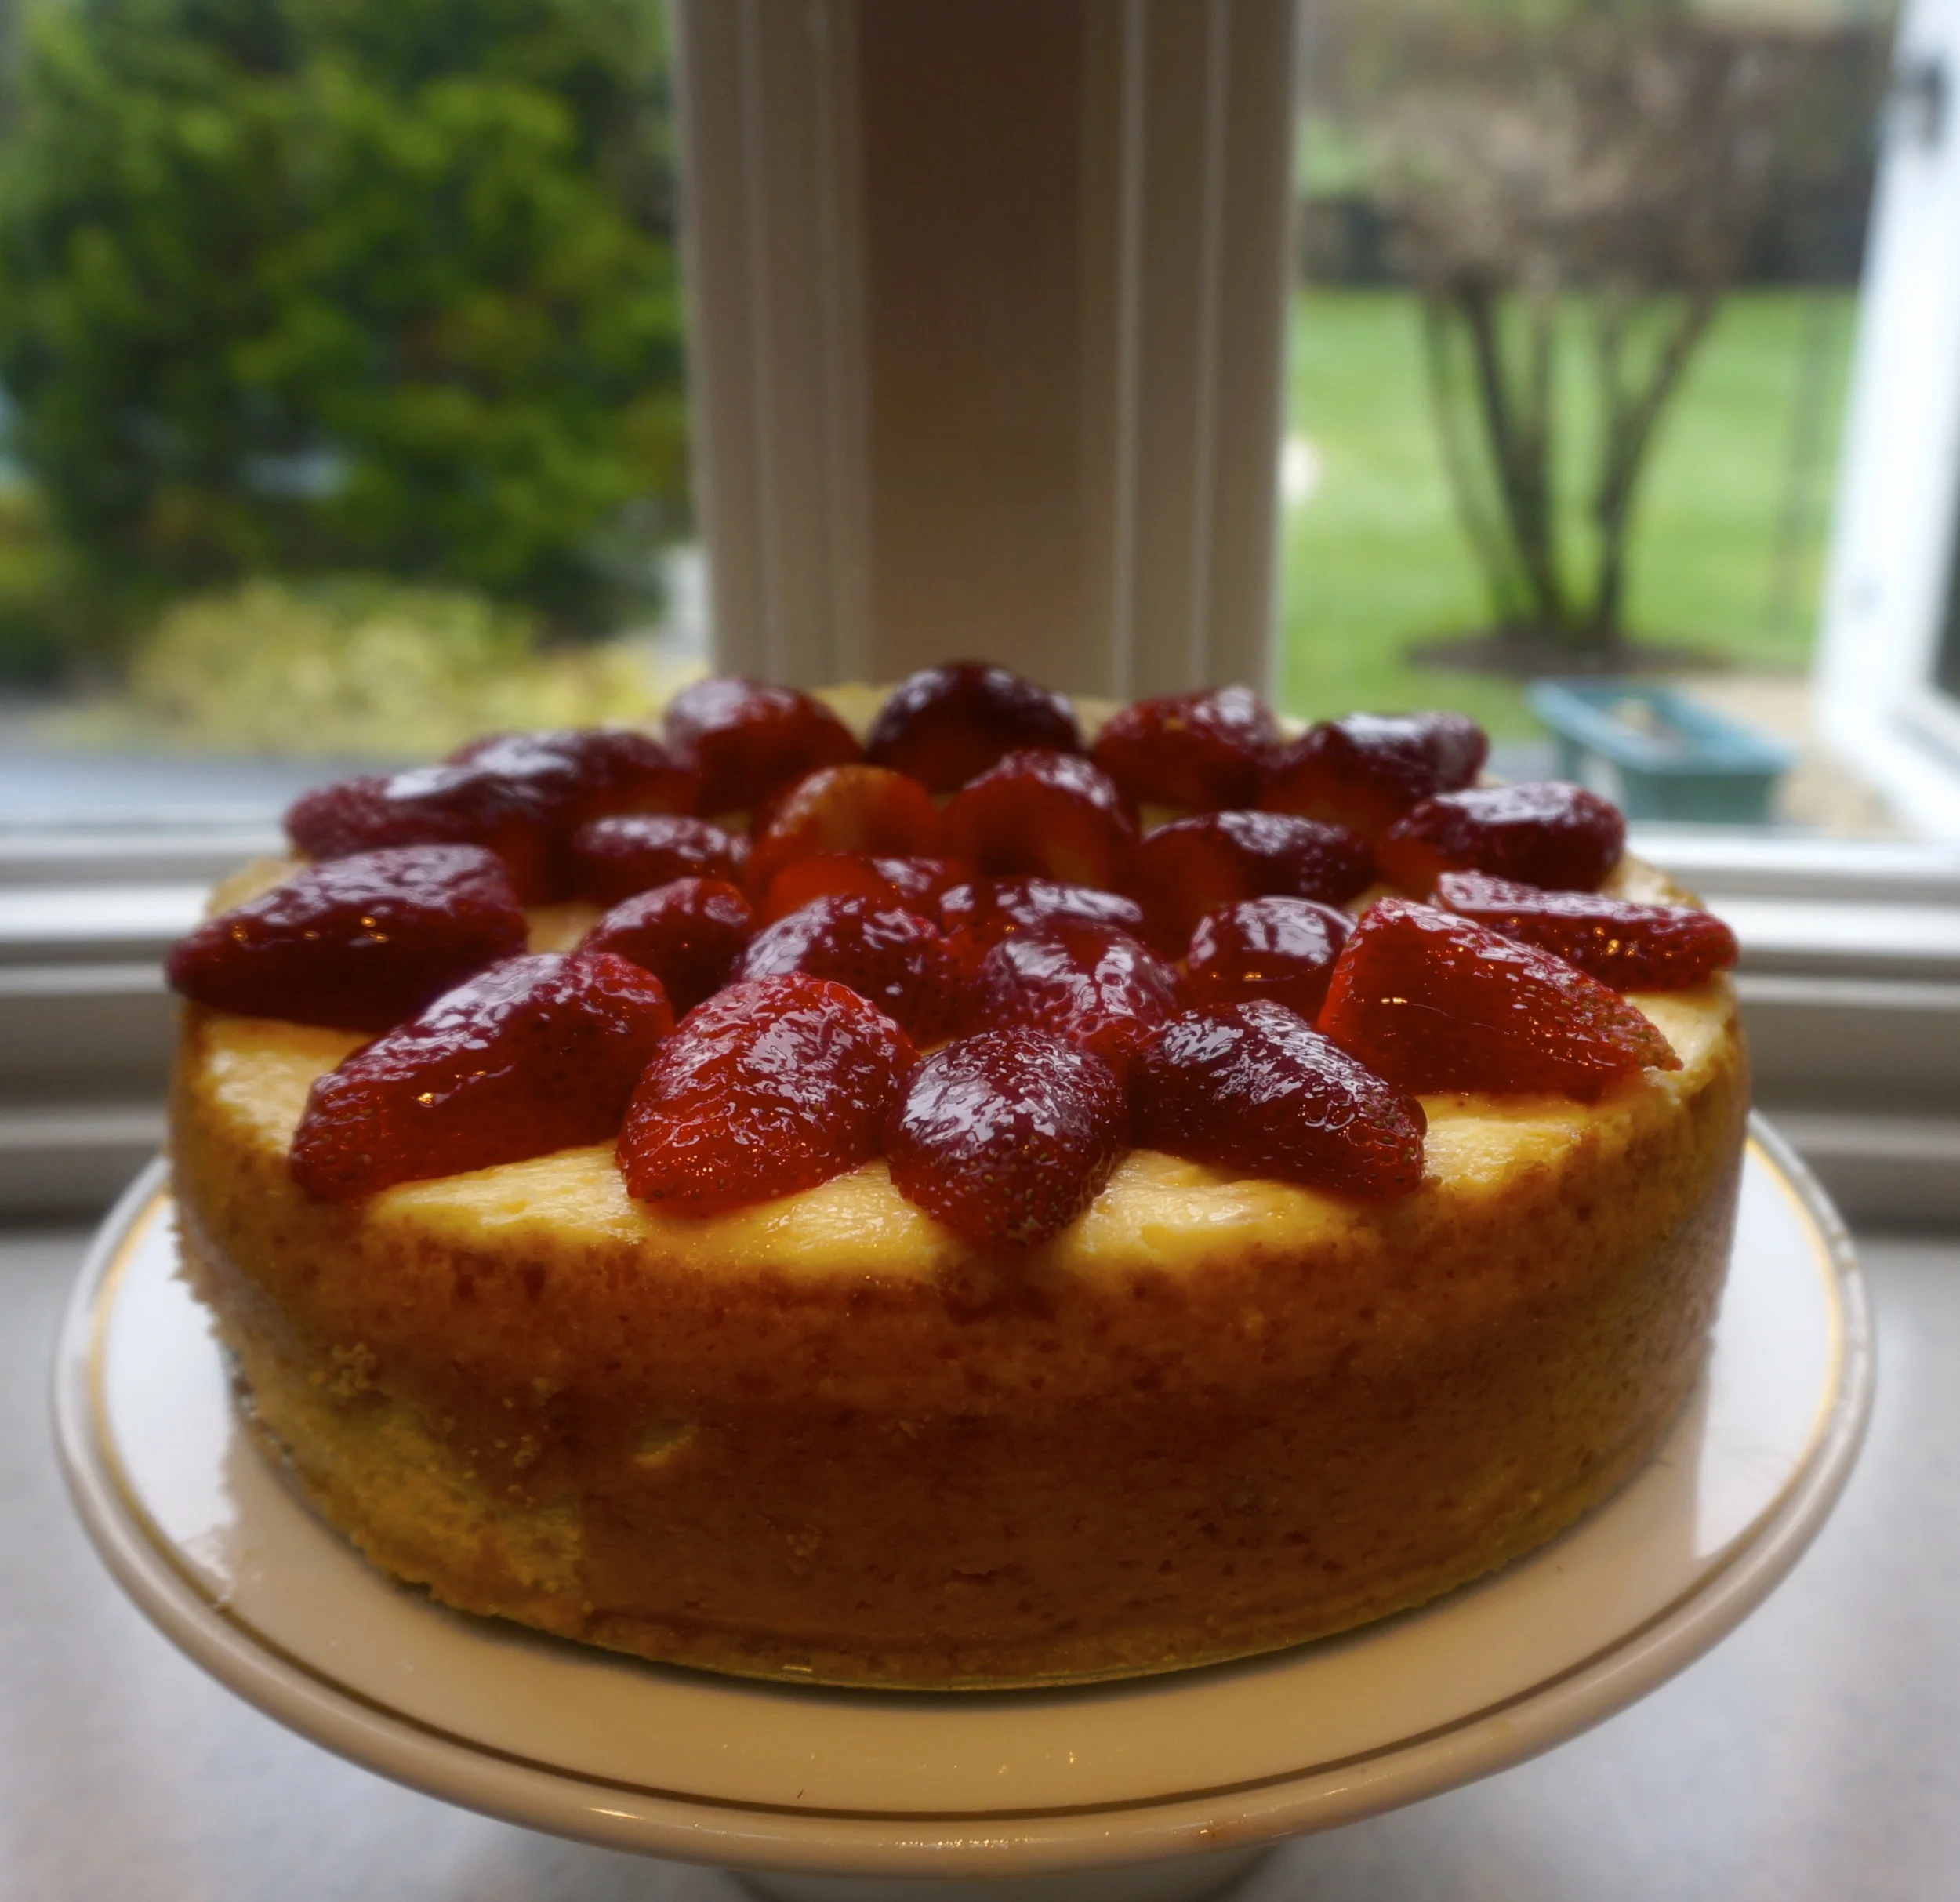
But frankly, we all thought the best cakes were the simplest ones. The ones where you could actually taste the cheese in the cheese cake. Like classic New York Cheese Cake. Or, if adorned, only simply, with some glazed fresh fruit.
And so, in this season of cheese cakes (it's the number one food for Shavuot), I offer a simple cheese cake. You can absolutely taste the lush, creamy cheese. It isn't overloaded with sugar or chocolate. There is a fruit top, made with fresh cranberries, which are tart and acidic and do a fabulous job balancing out the dense, rich cake beneath.
Or, you can serve the cake plain, maybe garnishing with a sprinkle or two of confectioner's sugar.
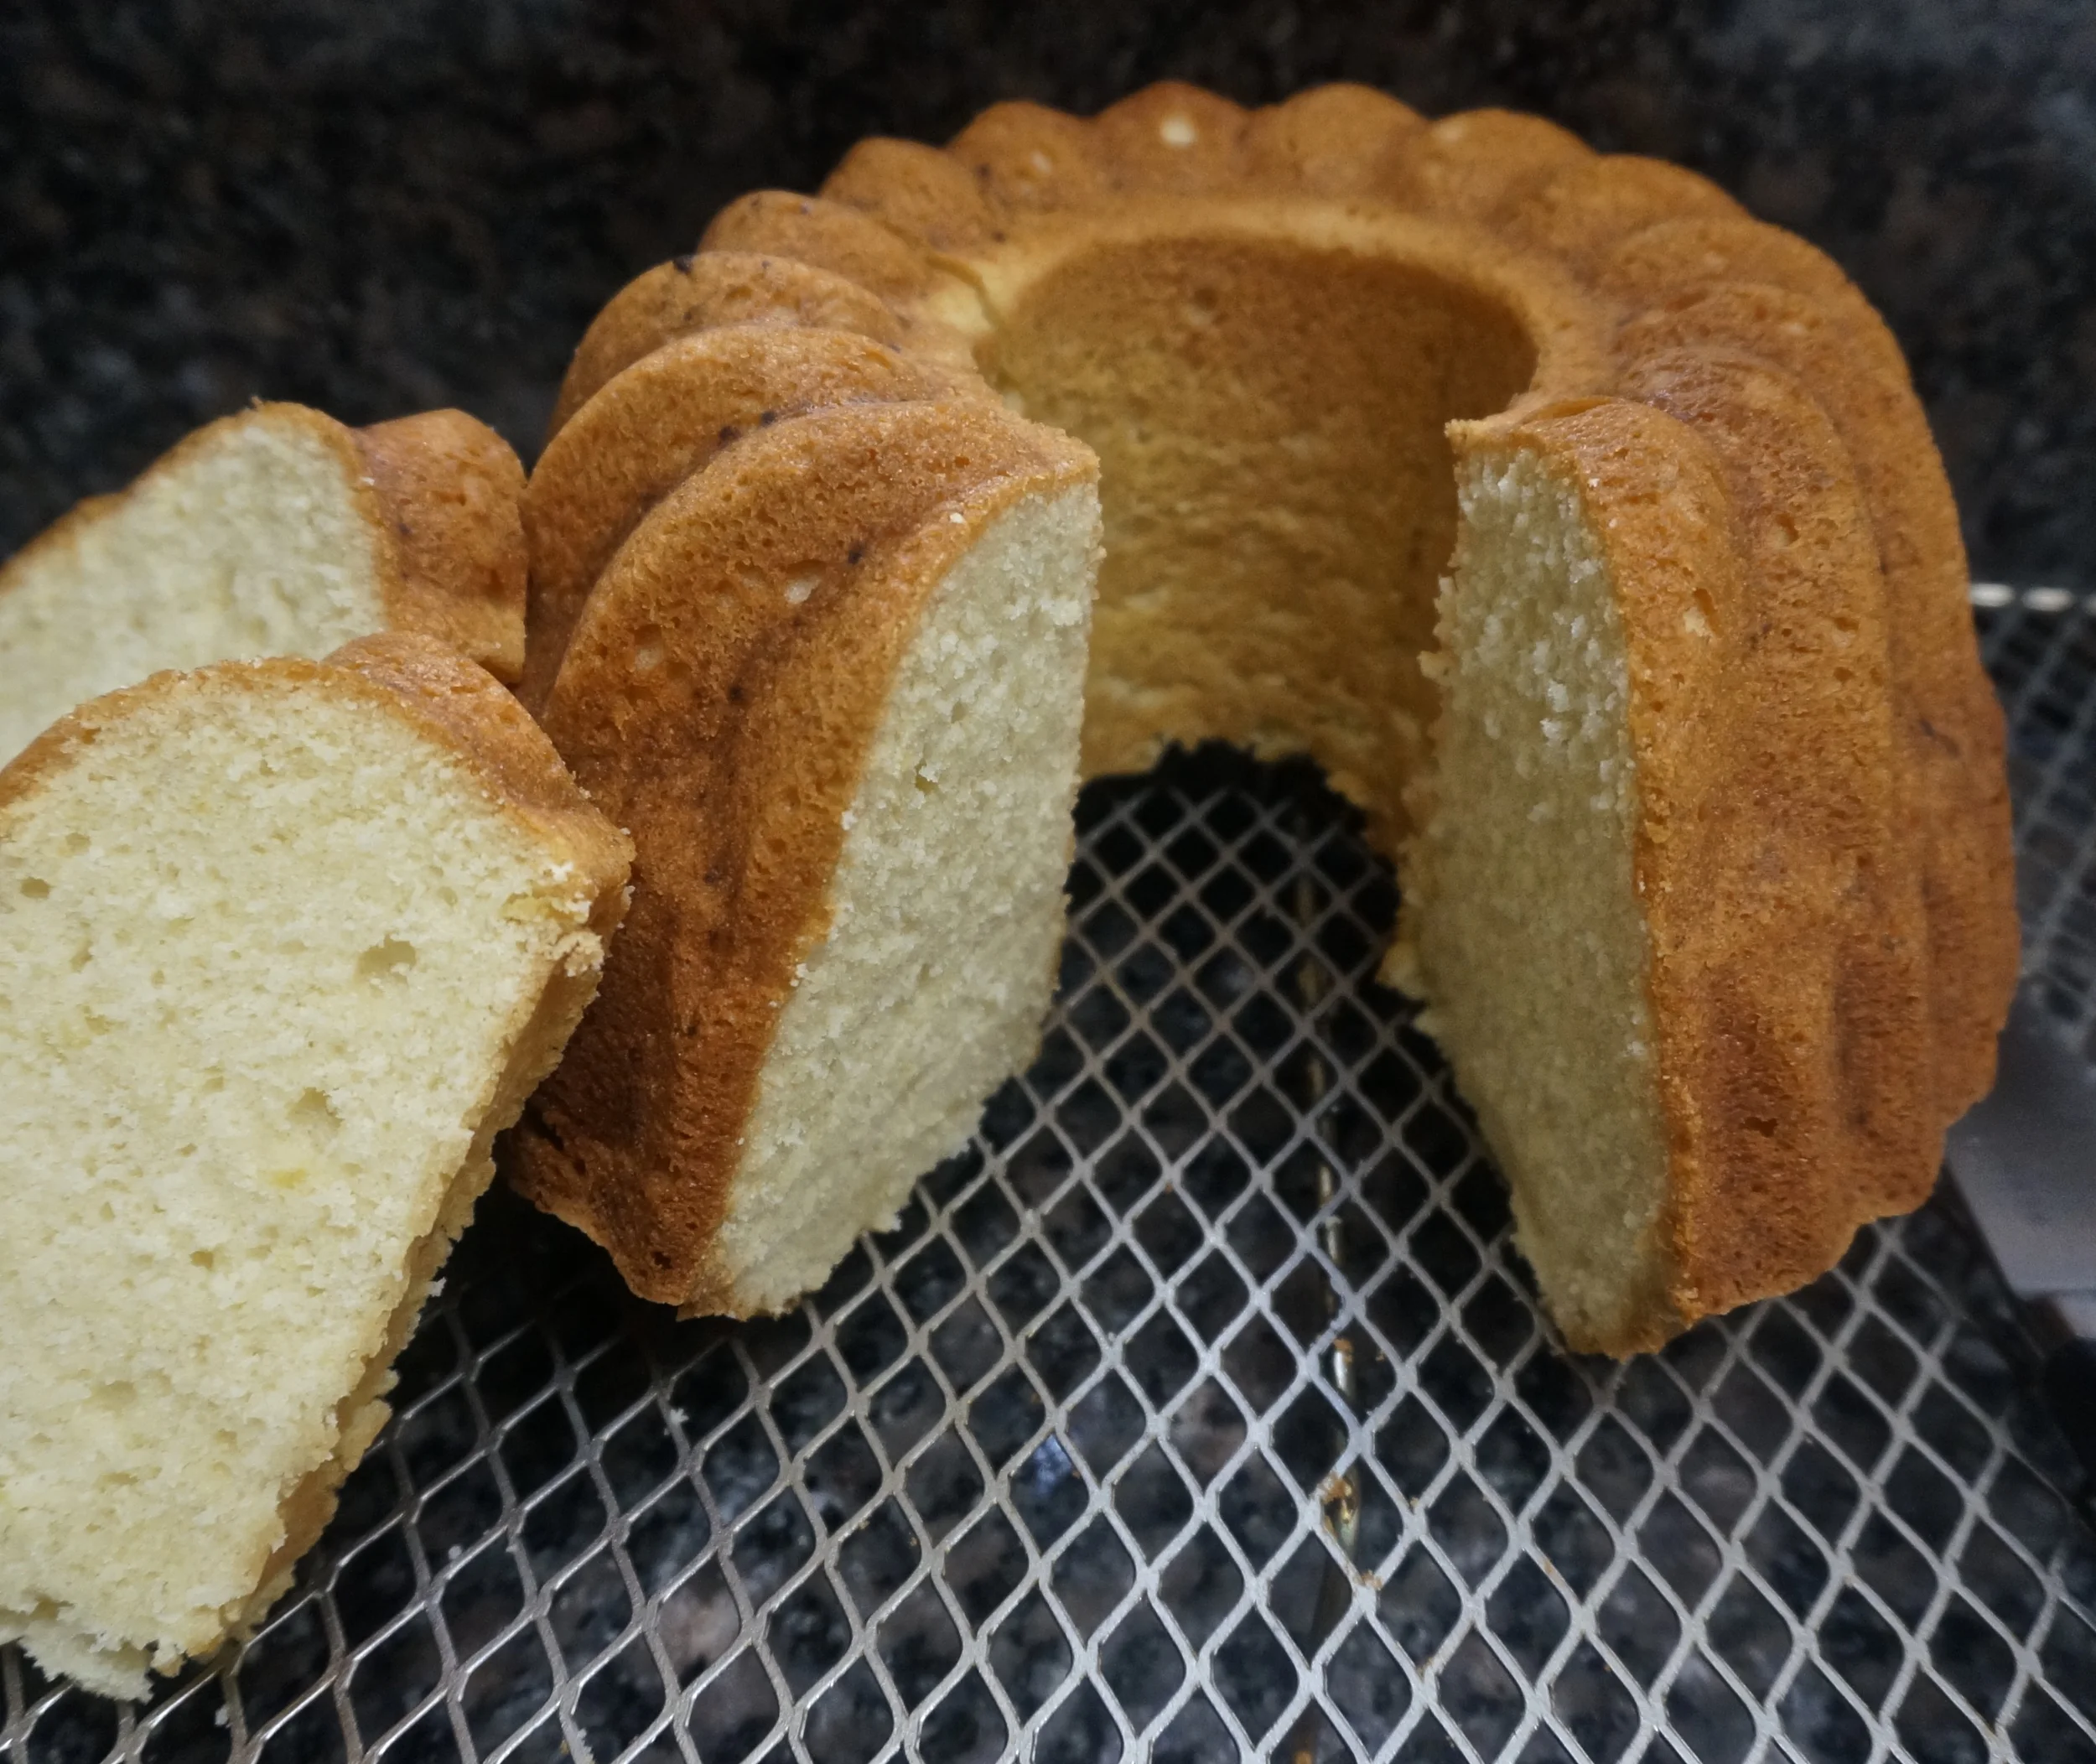
Cranberry Cheese Cake
- 1-1/2 teaspoons butter
- 1/3 cup graham cracker crumbs
- 1-1/2 pounds cream cheese (3-8 ounce packages)
- 2 teaspoons grated orange peel
- 1 teaspoon vanilla extract
- 1/2 cup whipping cream
- 1 cup sugar
- 4 large eggs
- 1/3 cup dairy sour cream or unflavored yogurt
Topping:
- 2 cups fresh cranberries
- 1/3 cup sugar
- 3 tablespoons water
- 1 teaspoon cornstarch dissolved in one tablespoon water
- 1 teaspoon grated orange peel
Preheat the oven to 350 degrees. Spread the butter on the bottom and sides of a 9-inch springform pan. Sprinkle the inside of the pan with the graham cracker crumbs. Shake the pan to coat it evenly. Beat the cream cheese in an electric mixer at medium speed for 1-2 minutes or until softened and smooth. Add the orange peel, vanilla, cream and sugar and beat for 2-3 minutes or until the mixture is smooth, scraping down the sides of the bowl occasionally with a rubber spatula. Add the eggs one at a time, beating after each addition. Stir in the sour cream. Pour the batter into the prepared pan. Place the springform pan inside a larger pan. Fill the larger pan with enough hot water to come at least 1-inch up the sides of the baking dish. Bake for 70-75 minutes or until the top of the cake is tanning lightly. Remove the springform pan from the water and let the cake cool. When the cake is at room temperature, refrigerate it at least 4 hours or until thoroughly chilled. Remove the sides of the pan. Spread the topping over the cake.
Topping:
Place the cranberries, sugar and water in a small saucepan. Bring to a boil and cook over medium-high heat, stirring often, for about 3 minutes or until cranberries start to pop. Stir the cornstarch mixture and add it to the pan. Mix for about one minute or until the topping thickens. Stir in the orange peel. Let cool.
Makes one cake serving 8-10