I realize beets are available throughout the year. We are a beet-loving family, so I buy them all the time. Throughout the year.
And yet, I still associate beets with autumn. In my memory, September, October, November — those months are the real “season” for harvesting beets. In fact, I remember them as an integral part of the meals during Jewish holidays.
Sukkot, the “harvest holiday” is a good time to include beets on the menu. Look for beets with the greens still attached — they are from a current harvest. They are sweeter and tastier. Lovely however you cook them, including this salad, which you can make ahead. Serve it at room temperature.
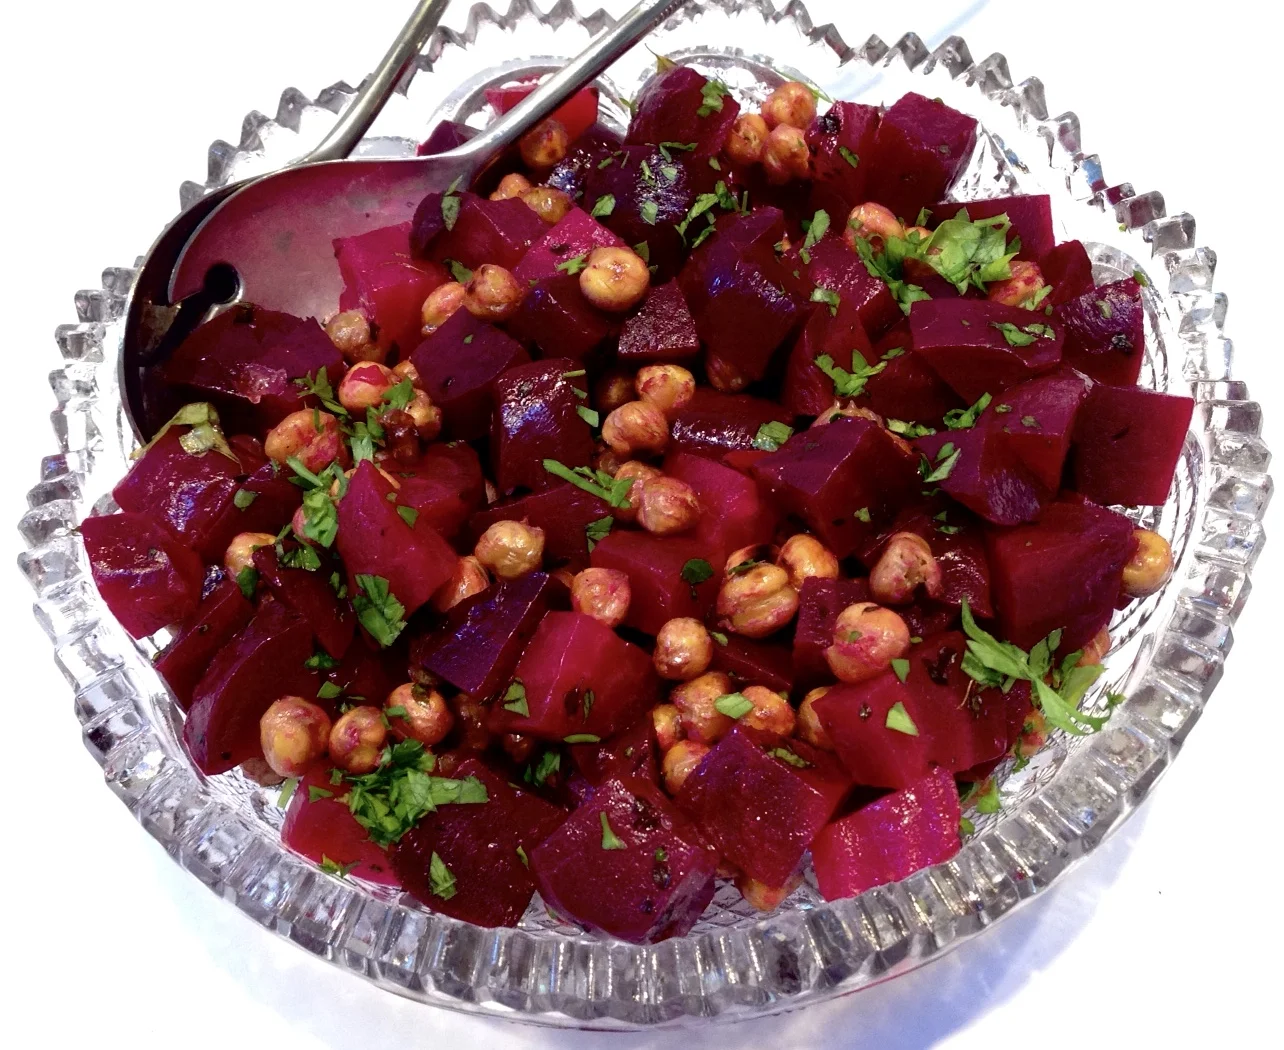
Beet and Chickpea Salad
4 large beets
1 15-ounce can chickpeas, drained and rinsed
1 tablespoon olive oil
2 teaspoons fresh thyme leaves
sea salt
3 tablespoons olive oil
3 tablespoons white wine vinegar
2-3 tablespoons chopped fresh parsley
salt and freshly ground black pepper to taste
Preheat the oven to 450 degrees. Trim the beets, cutting away the greens, if any, and discarding any hard, fibrous parts of the stem. Wash and drain the greens and use them for other purposes. Scrub the beets, wrap them in aluminum foil and roast for 50-60 minutes or until they are tender. Peel the beets when they are cool enough to handle. Cut the beets into bite size pieces and place in a bowl. While the beets are cooking, place the chickpeas on a foil-lined baking sheet. Pour the one tablespoon olive oil on top and shake the pan to coat all the chickpeas. Sprinkle with thyme and sea salt to taste. Shake the pan again. Roast for 20 minutes, shaking the pan every 5 minutes or so, or until golden brown and crispy. Add the roasted chickpeas to the beets. Pour the remaining olive oil over the vegetables and toss, then pour in the white wine vinegar and toss again. Sprinkle with parsley and salt and pepper to taste. Let rest for 10-15 minutes before serving.
Makes 8 servings