snack

Romanian Cornmeal Cheese Cake

fullsizeoutput_bfc6.jpeg

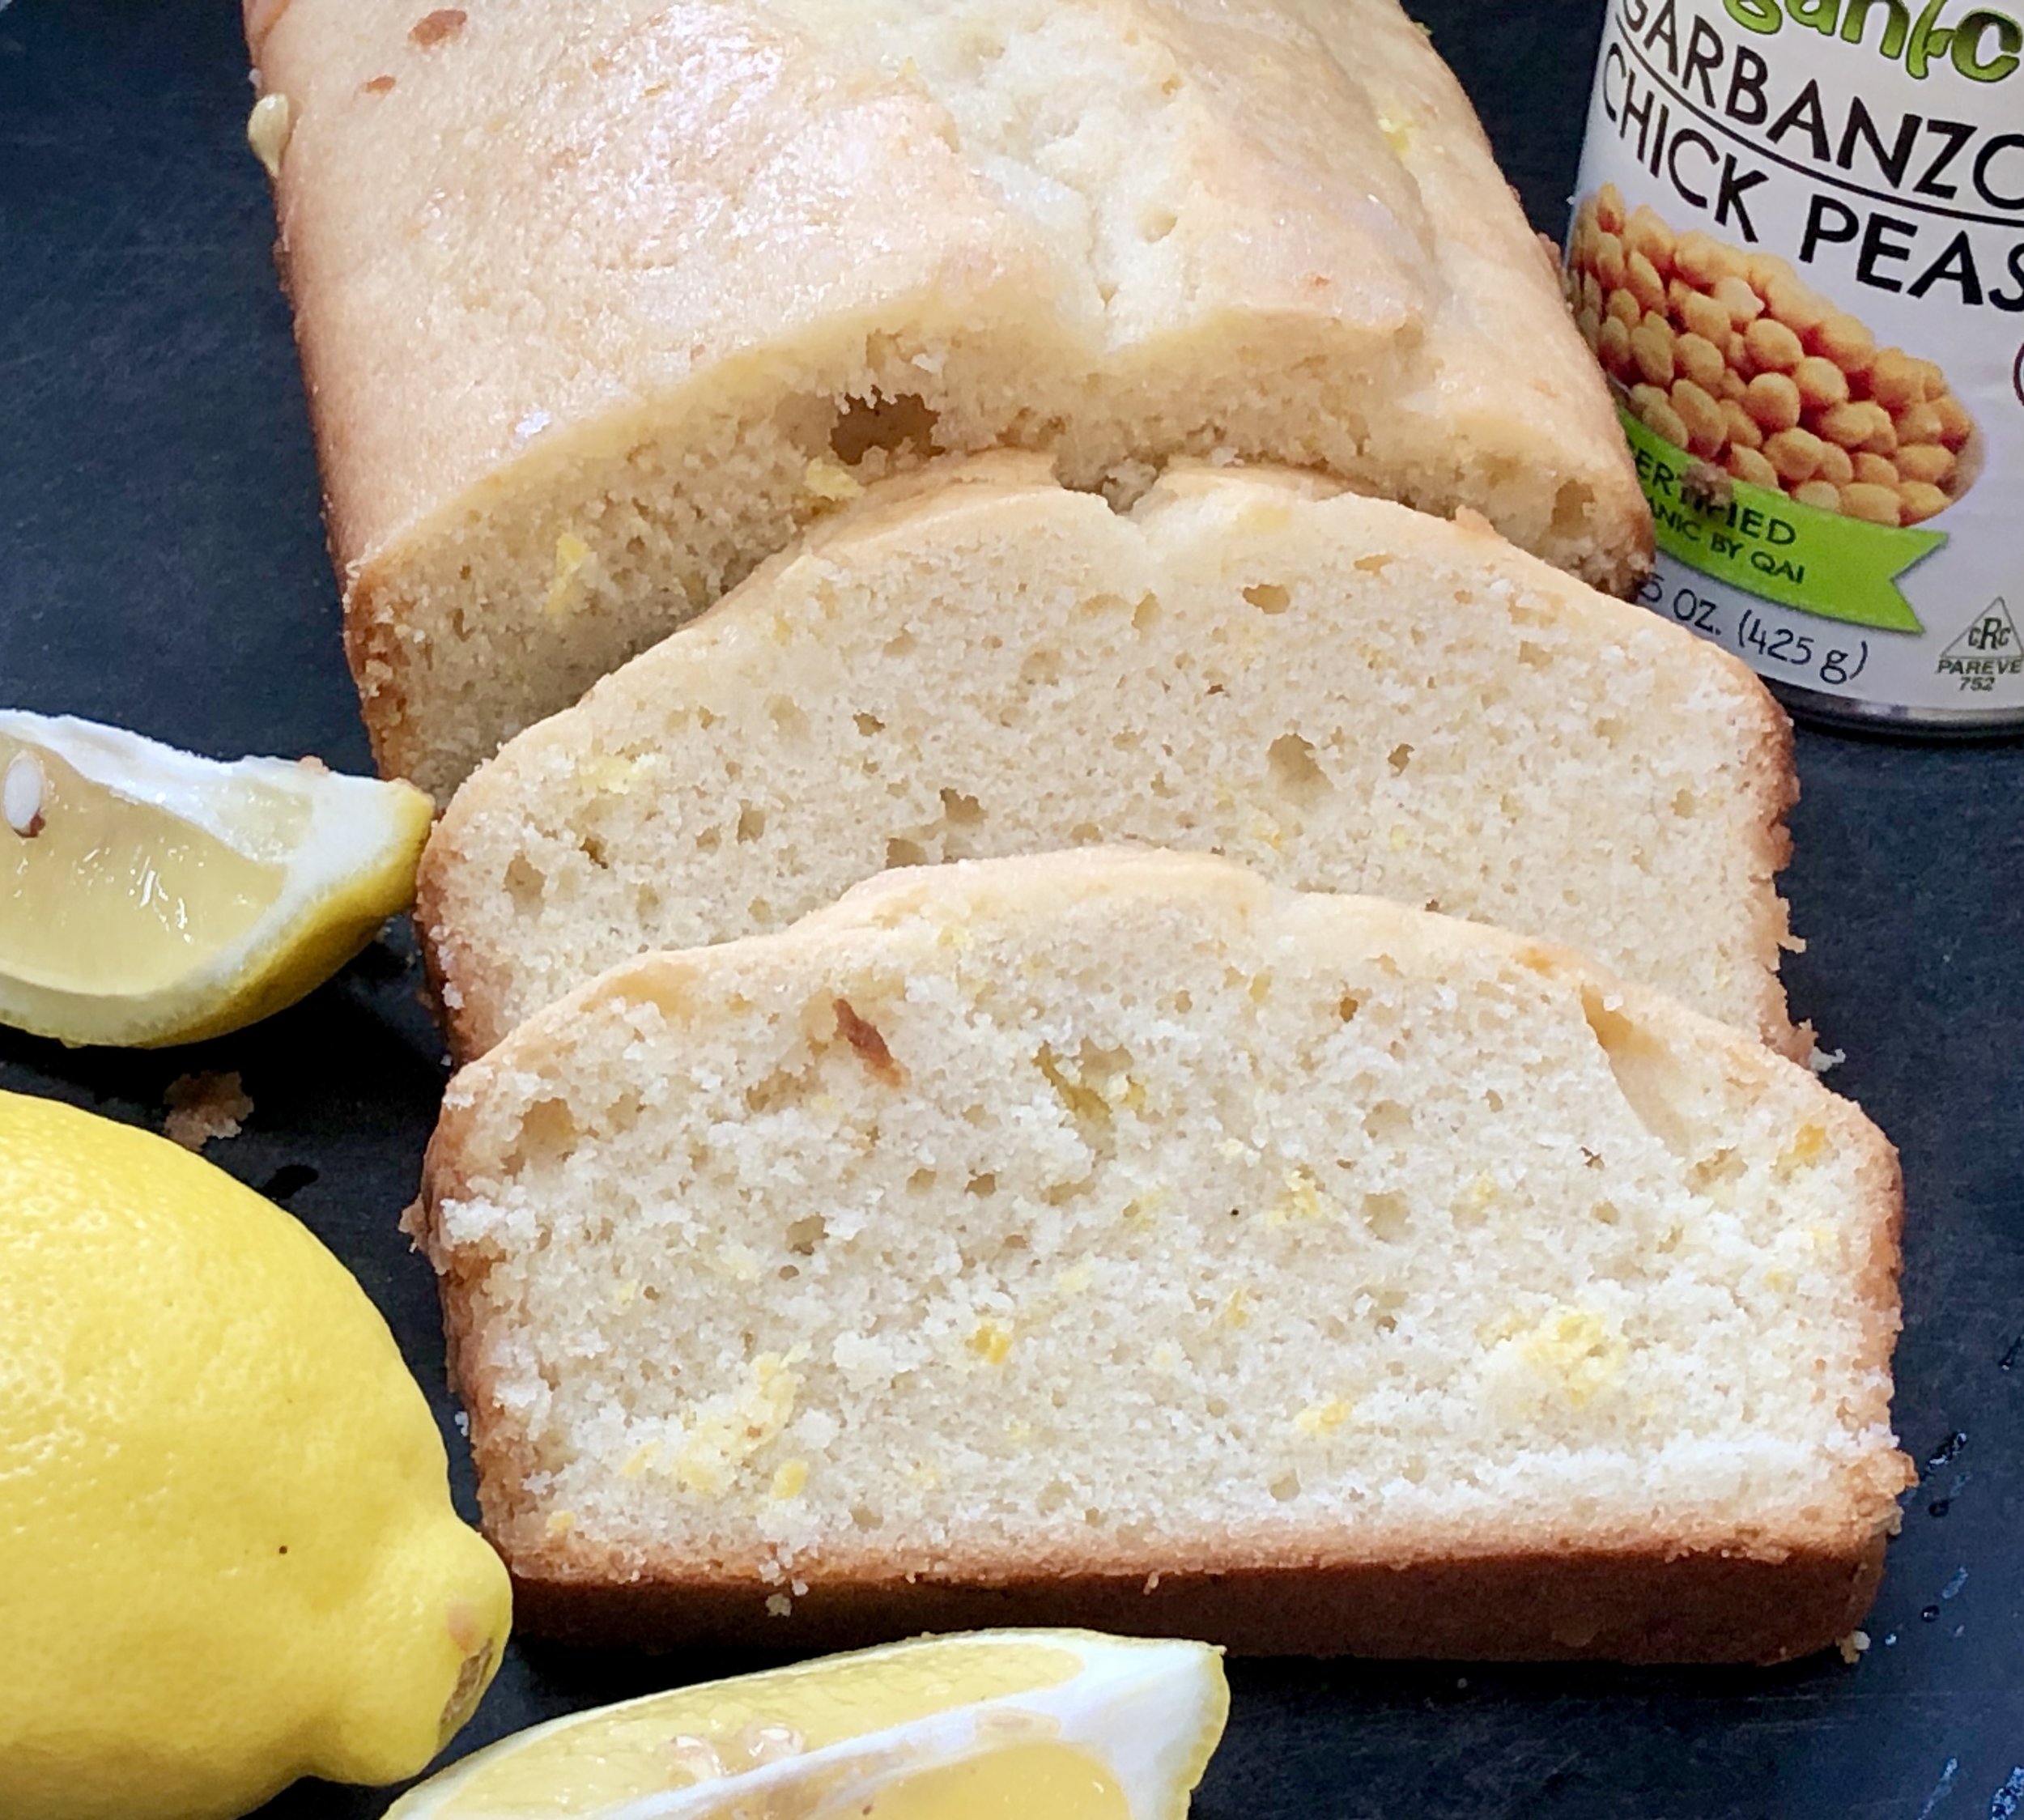
My grandmother occasionally made a fabulous cornmeal dish — she called it mamaliga, the national dish of Romania — and served it with sweetened, mashed farmer cheese and sour cream. Sometimes with a drizzle of maple syrup over everything.

I never knew it as Malai, a classic Romanian Shavuot treat, but that’s what it was. But it wasn’t her usual, plain “cornmeal mush” because it also had eggs and sugar mixed into the batter.

All I knew was how delicious it tasted.

So, over the years I experimented over and over until I made a version that tastes something like what I remember.

Here it is, in time for Shavuot.

Romanian MALAI

The Batter:

  • 6 tablespoons butter

  • 3/4 cup all-purpose flour

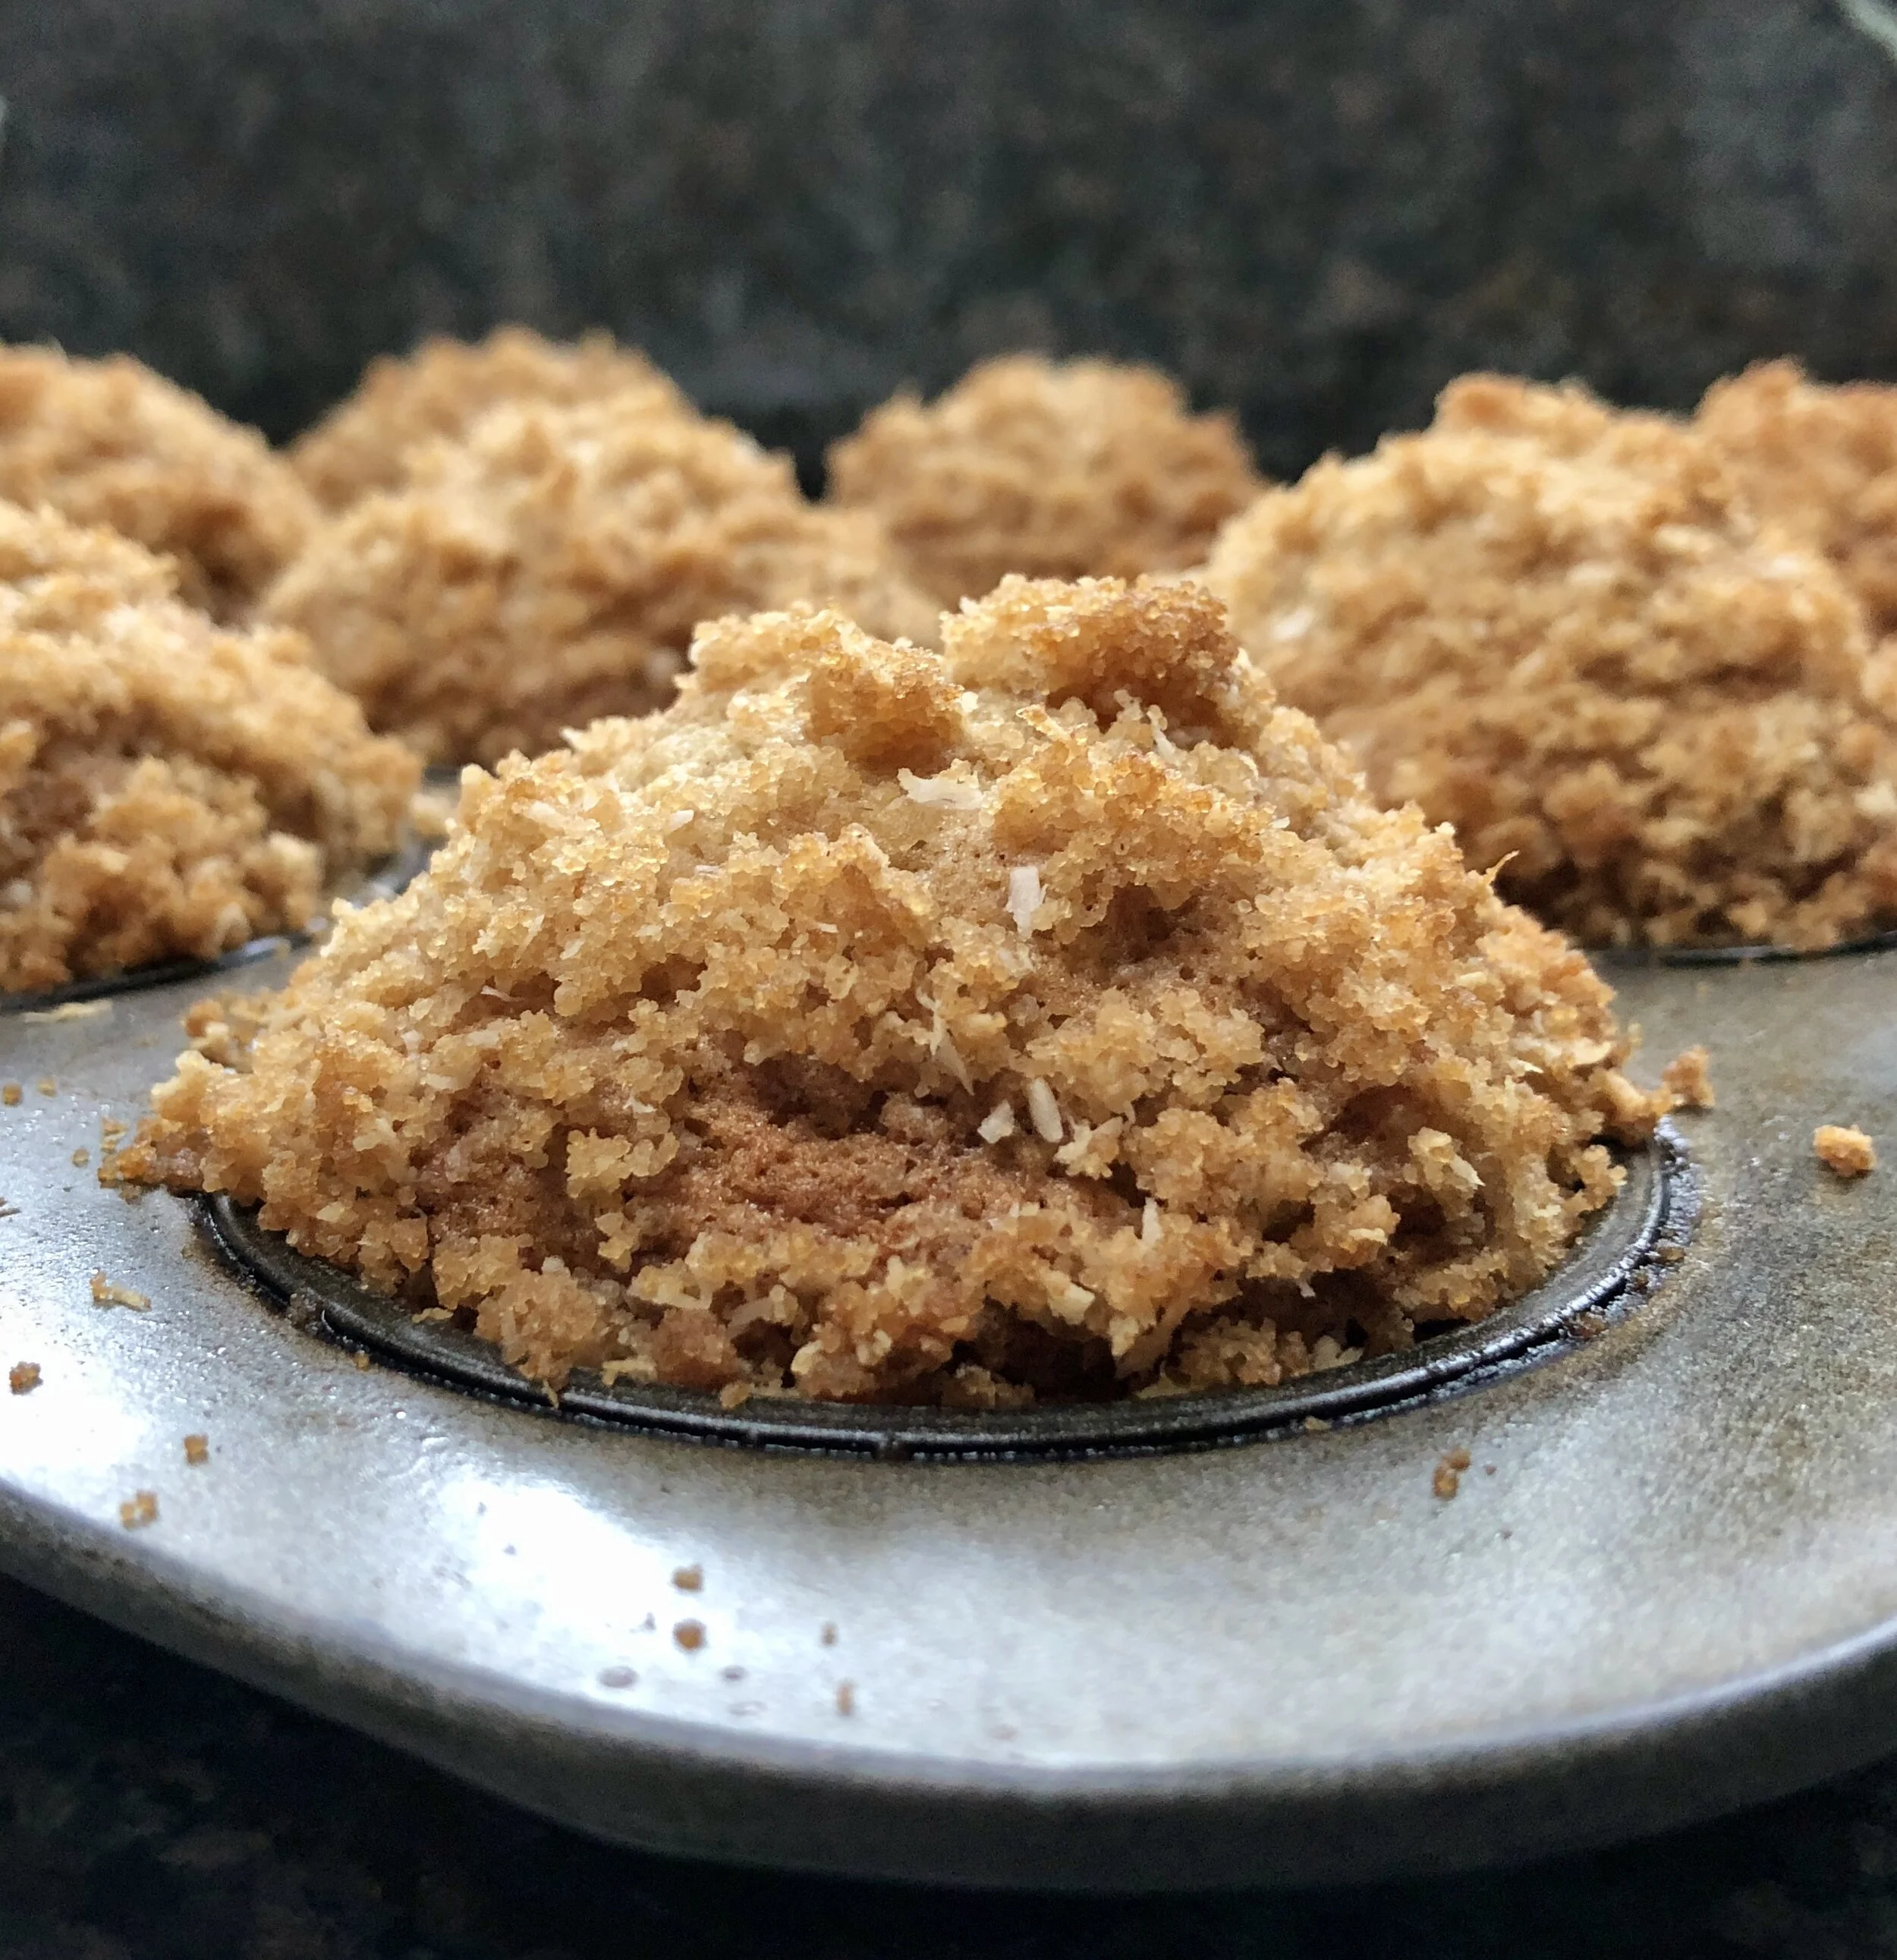
  • 3/4 cup finely ground cornmeal

  • 1/3 cup sugar

  • 2 teaspoons baking powder

  • 1/2 teaspoon salt

  • 2/3 cup milk, half-and-half or buttermilk

  • 2 large eggs

  • filling

  • sour cream, whipped cream, ice cream, etc. optional

  • extra sugar or maple syrup

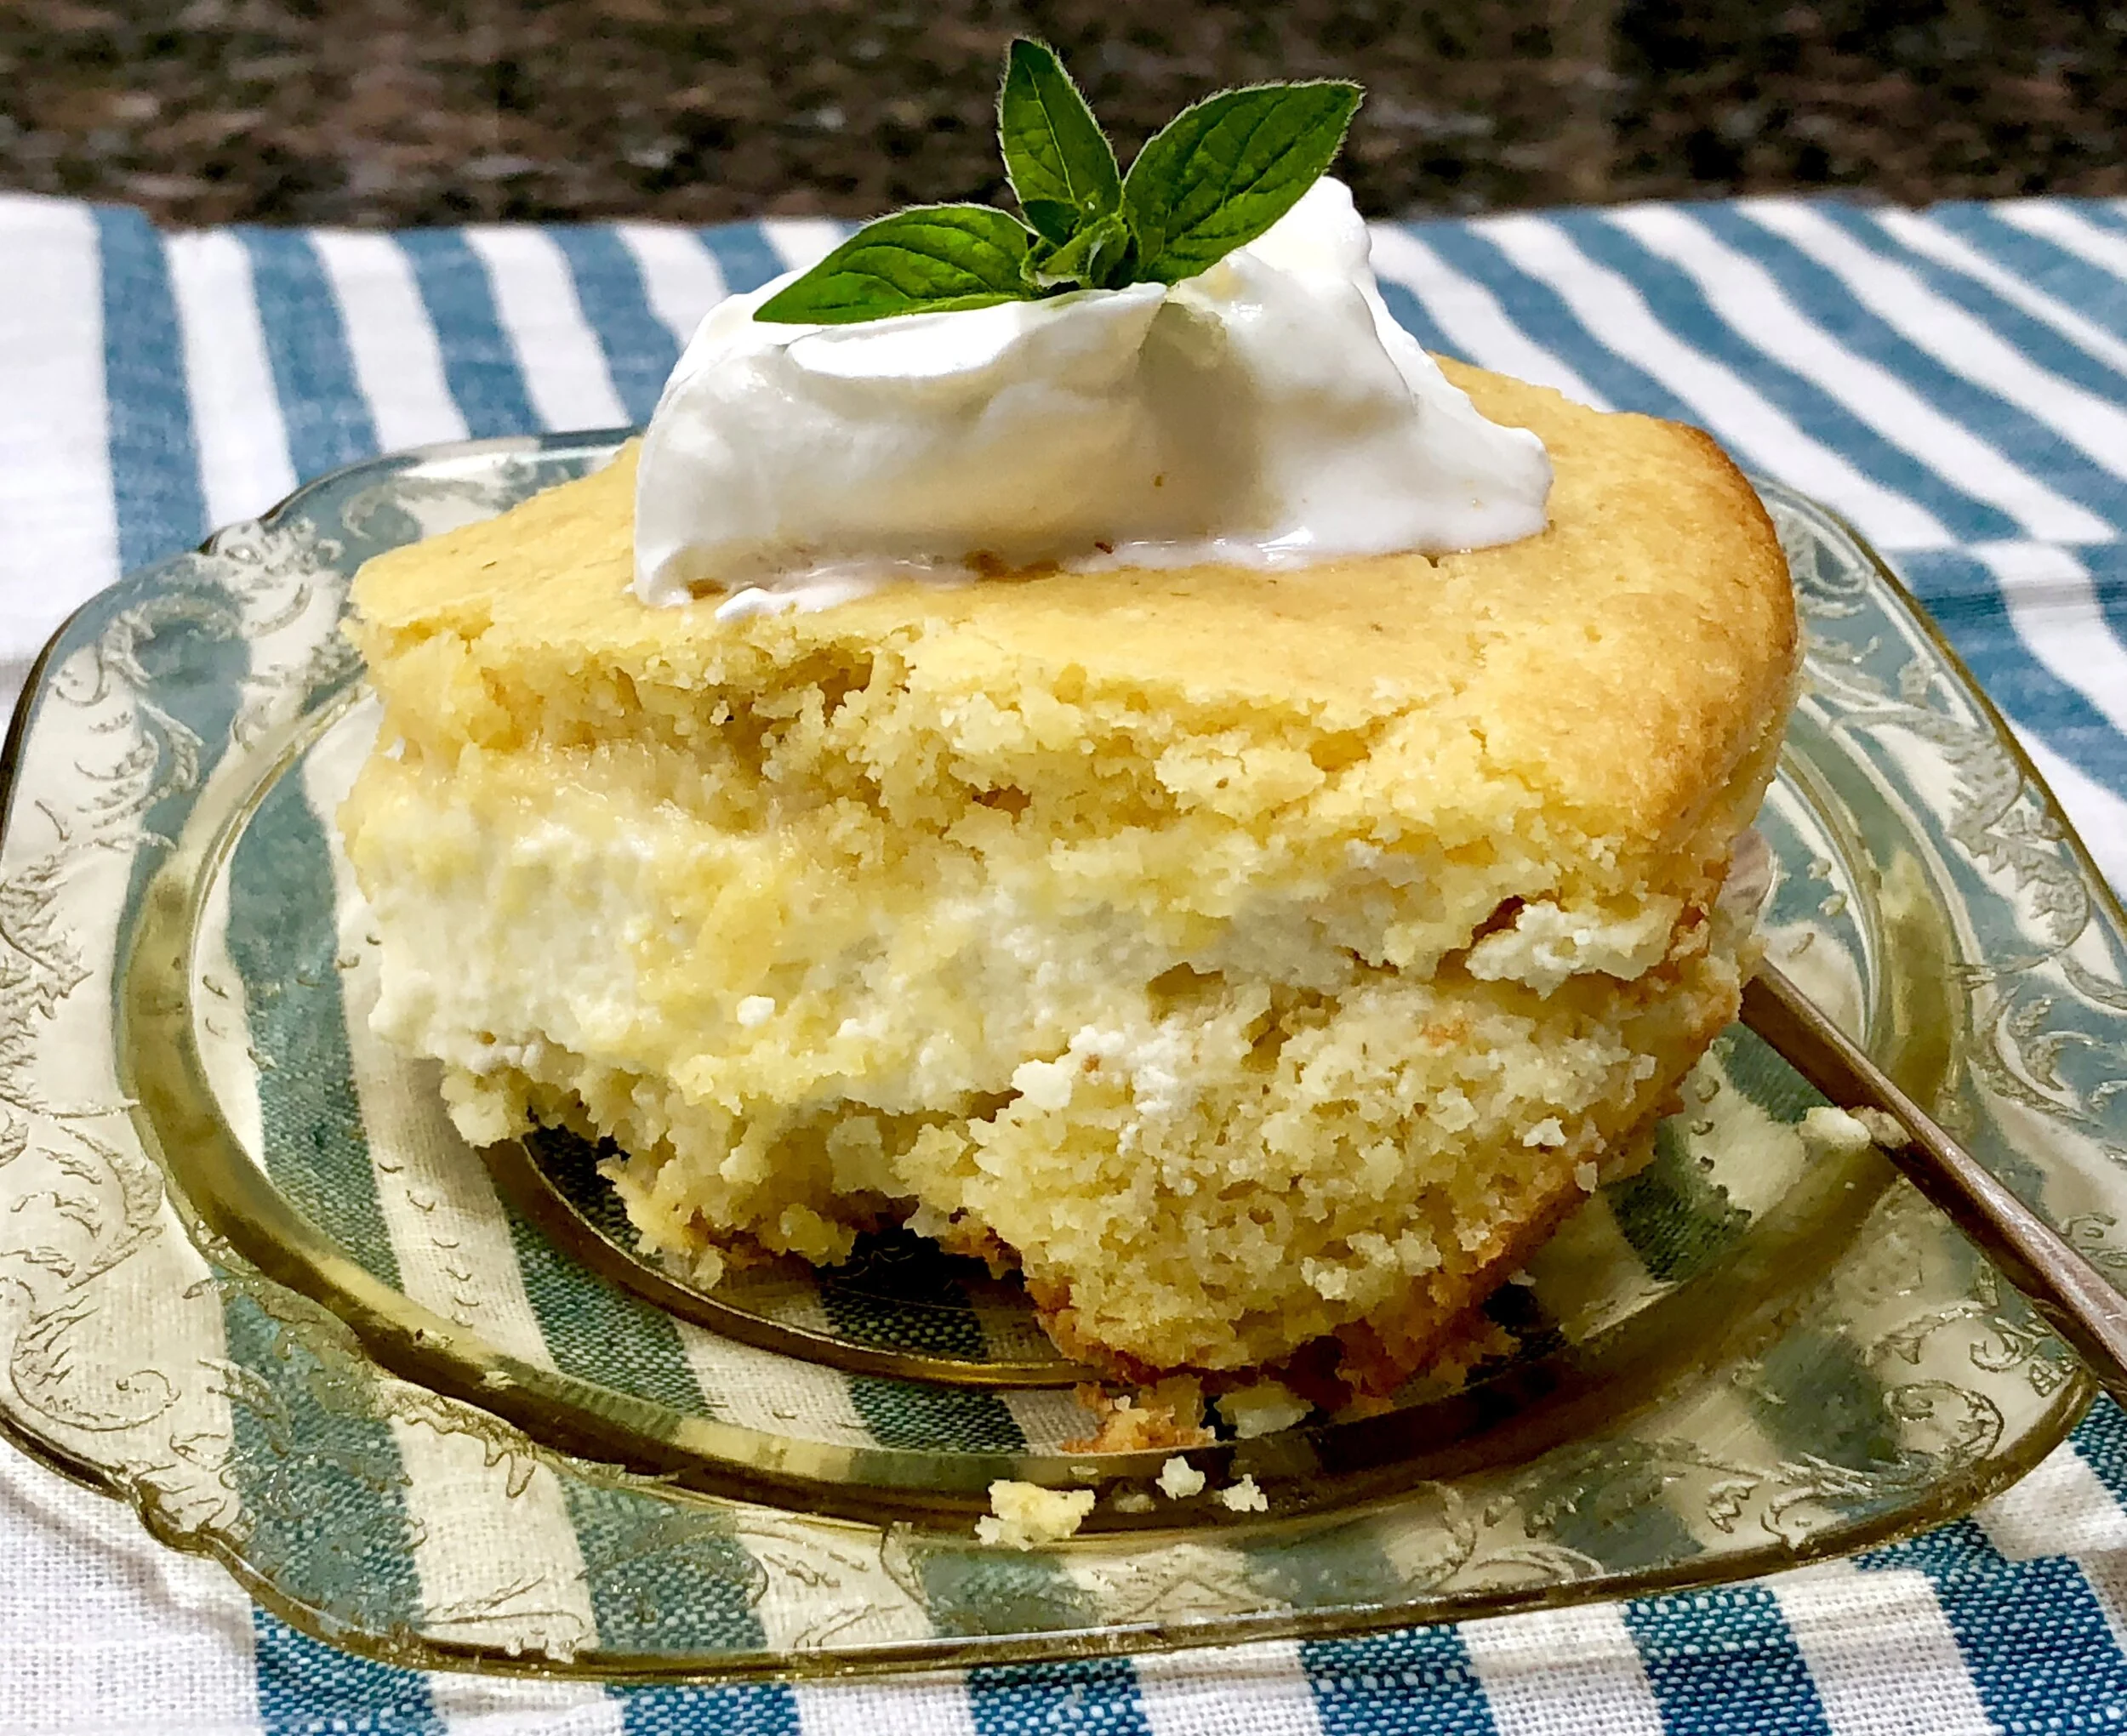
Preheat the oven to 350 degrees. Lightly grease an 8-inch cake pan. Melt the butter and set it aside to cool. In the bowl of an electric mixer, combine the flour, cornmeal, sugar, baking powder and salt and mix to distribute the ingredients evenly. Add the milk, eggs and cooled, melted butter and mix on medium speed for 1-2 minutes or until thoroughly blended. Spoon one half of the cornmeal mixture into the prepared pan and spread the batter to make it even. Top with the filling. Top with the remaining batter (spread the batter to make a smooth, even top crust). Bake for 35-40 minutes or until the top is golden brown and the cake is set.

Serve the cake warm, room temperature or slightly chilled. Serve plain or topped with sour cream (traditional), whipped cream or ice cream. (I add about 2 teaspoons of sugar for each cup of sour cream used as a garnish).

Makes 8-10 servings

THE Filling:

  • 1 pound farmer’s cheese

  • 1 large egg

  • 1/4 cup sugar

  • 1/2 teaspoon finely grated fresh lemon peel

Mix the farmer’s cheese, egg, sugar and lemon peel until the ingredients are well blended.

Marinated Avocados

92EA2280-5460-4CC9-9417-0E977794CC6D_1_201_a.jpg

Here’s a simple, easy-to-prepare, inexpensive nibble that’s terrific with cocktails or just for sitting around on a summer afternoon. Or for watching the Superbowl. Or as a first bite for break-the-fast.

It’s so easy to make stuff like this. I’m done relying on supermarket salads bars.

Marinated Avocados

  • 2 ripe Haas avocados

  • 1 medium clove garlic, finely chopped

  • 1 tablespoon chopped red onion

  • 1 tablespoon chopped fresh parsley

  • 1 tablespoon olive oil

  • 1 to 1-1/2 tablespoons lemon juice

  • salt and freshly ground black pepper to taste

Peel the avocados and cut the flesh into bite size pieces. Place the pieces in a bowl. Add the garlic, red onion and parsley and toss the ingredients to distribute them evenly. Pour in the olive oil and one tablespoon lemon juice; sprinkle with salt and pepper. Taste and add more lemon juice if desired. Let marinate for at least one hour. Best served at room temperature.

Makes 8 hors d’oeuvre servings

Banana Coconut Streusel Muffins

6E634D16-A32A-4592-B3B4-F5A5381A280D_1_201_a.jpeg

Another day, another leftover banana. Or two. Or three.

So I made these muffins.

The coconut shreds gave the streusel an even crispier texture than usual and was a really satisfying contrast to the soft cake part.

Remember these for Purim mishloach manot.

Banana Coconut Streusel Muffins

 Streusel:

  • 1/3 cup brown sugar

  • 3 tablespoons all-purpose flour

  • 2 tablespoons shredded coconut

  • 1/8 teaspoon cinnamon

  • 1-1/2 tablespoons solid coconut oil (or butter, shortening or margarine)

Make the streusel: mix the brown sugar, flour, coconut and cinnamon in a small bowl. Add the coconut oil and work it in with fingers or a knife until mixture is crumbly. Set aside.

 Muffins:

  • 1-1/2 cups all-purpose flour

  • 1 teaspoon baking soda

  • 1 teaspoon baking powder

  • 1/2 teaspoon salt

  • 1/2 teaspoon cinnamon

  • 3 bananas, mashed

  • 6 tablespoons vegetable oil

  • 1/2 cup sugar

  • 1 large egg

  • 1 teaspoon vanilla extract

Preheat the oven to 400 degrees. Lightly grease 10 muffin cups. Mix the flour, baking soda, baking powder, salt and cinnamon together in a bowl. In another bowl mix the bananas, vegetable oil, sugar, egg and vanilla extract until well blended. Spoon the banana mixture into the flour mixture and stir until just until combined. Spoon the batter into the prepared muffin cups. Top with the streusel mixture evenly over each muffin. Bake for 18-20 minutes, or until a cake tester inserted into center of muffin comes out clean.

Makes 10


Lemon Blueberry Bread

fullsizeoutput_8633.jpg

My cousins are coming for New Years! All is well. We have all quarantined and isolated and done what we had to, tested and so on. We are all set!

So — we will have our usual, long New Year sleepover celebration.

For us, New Year’s Eve is an hors d’oeuvre fest. I wrote about that last week.

But then life goes on with the usual meals. We usually have a late breakfast, mid-afternoon snack and then dinner.

Breakfast — smoked salmon, whitefish, bagels, pickled herring. You know the drill.

After a couple of days it gets to be a bit overkill, so breakfast boils down to eggs. Period. With some sort of bread. Usually quick bread. Usually lemon. Frequently with blueberries.

Here’s this year’s version:

Lemon Blueberry Tea Bread

  • 6 tablespoons butter or margarine

  • 1/2 cup sugar

  • 2 large eggs

  • 2 teaspoons finely grated lemon peel

  • 2 cups all-purpose flour

  • 2 teaspoons baking powder

  • 1/2 teaspoon baking soda

  • 3/4 teaspoon salt

  • 1 cup milk

  • 1 teaspoon vanilla extract

  • 1 cup fresh blueberries

Preheat the oven to 350 degrees. Grease an 8-1/2” x 4-1/2” x2-1/2” or  9" x 5" x 3" loaf pan. In the bowl of a mixer set at medium speed, beat the butter and sugar together for 1-2 minutes or until the mixture is well blended. Add the eggs and lemon peel and blend them in thoroughly. Mix the flour with the baking powder, baking soda and salt in a small bowl. Mix the milk and vanilla extract. Add the dry ingredients in thirds alternating with the milk mixture and beat to blend ingredients thoroughly. Fold in the blueberries. Pour the batter into the prepared pan. Bake for about 40-50 minutes or until a cake tester inserted into the center comes out clean. Cool the bread in the pan for 10 minutes, then invert onto a cake rack to cool completely.

Make one bread


Squash Bread with Cranberries

fullsizeoutput_9f01.jpeg

I’m thinking about Thanksgiving even though this year we won’t have our usual family get-together. We all know why. We’re just waiting this whole Covid era out. Then we will have a proper holiday celebration.

But I am roasting a turkey because roasted turkey is one of my favorite things to eat. Unfortunately my daughter, our family carver, won’t be around to slice her perfect slices.

I’m also making my usual baked cranberries, sweet potato casserole and a green vegetable, probably Brussels sprouts.

Not sure I’ll bother with stuffing.

But definitely making this squash bread with fresh cranberries, because it’s rich and gently seasoned and not-too-sweet so it’s perfect with dinner, but also is a good snack or breakfast treat the day after.

Dessert? Probably baked apples.

Squash Bread with Cranberries

  • 2 cups all-purpose flour

  • 1 teaspoon baking soda

  • 1/2 teaspoon baking powder

  • 1/2 teaspoon salt

  • 1 teaspoon ground cinnamon

  • 1/2 teaspoon grated nutmeg

  • 1/2 teaspoon ground ginger

  • 1/8 teaspoon ground cloves

  • 3/4 cup brown sugar

  • 6 tablespoons vegetable oil

  • 2 large eggs

  • 1 cup mashed cooked winter squash (such as butternut, acorn, kuri)

  • 3/4 cup fresh cranberries

  • 1/3 cup water

  • 1 tablespoon lemon juice

  • 1 teaspoon vanilla extract

Preheat the oven to 350 degrees. Grease a 9”x5”x3” loaf pan. Mix the flour, baking soda, baking powder, salt, cinnamon, nutmeg, ginger and cloves in a bowl and set it aside. Beat the brown sugar and vegetable oil with a handheld or electric mixer set at medium speed for 2-3 minutes or until the mixture is well blended. Add the eggs one at a time, beating after each addition. Add the squash and cranberries and beat the mixture to blend the ingredients thoroughly. Add the flour mixture, stirring only enough to blend in the dry ingredients. Mix the water and lemon juice and add it to the batter with the vanilla extract. Stir to blend the ingredients. Pour the batter into the prepared pan and bake for 50-55 minutes or until a cake tester inserted into the center comes out clean. Cool the bread in the pan 15 minutes, then invert onto a cake rack to cool completely.

Makes one loaf. 


Pumpkin Spice Ice Cream

IMG_5076.jpeg

I’ve been in a pumpkin spice mood. I made some pumpkin spice muffins. And some coffee cake.

But this week it’s ice cream, because, in addition to the yen for pumpkin spice, I’ve been in an ice cream kind of mood lately.

So - pumpkin spice ice cream, a flavor that suits the season and pleases my palate. I served it with dates, which was a delicious combo.

Treat yourself to some. It’s easy to make and because we all might be stuck in for a while maybe you have some time on your hands. It will give you something to do and something delicious to end a meal. Or have as a snack.

If you don’t have an ice cream machine, follow the directions here:

PUMPKIN SPICE ICE CREAM

  • 1 cup pureed pumpkin

  • 1/2 teaspoon ground ginger

  • 1/2 teaspoon ground cinnamon

  • 1/4 teaspoon ground nutmeg

  • 1/8 teaspoon ground cloves

  • 1/4 teaspoon salt

  • 2-1/2 cups cream

  • 1 cup brown sugar

  • 4 large egg yolks

  • 1 teaspoon vanilla extract

Place the pumpkin, ginger, cinnamon, nutmeg, cloves and salt in a bowl and stir the ingredients until thoroughly blended. Set aside. Heat 2 cups of the cream until the liquid is warm and bubbles appear on the side of the pan. While the cream is cooking, place the brown sugar and egg yolks in the bowl of an electric mixer (or use a bowl and hand mixer) and beat for 3-4 minutes, scraping the bowl occasionally, or until light, fluffy and well blended. Gradually add the warmed cream and stir for 1-2 minutes to blend the ingredients thoroughly. Pour the liquid into a saucepan and cook over medium heat, stirring frequently, for about 8-10 minutes or until the mixture has thickened enough to coat the back of a spoon. Remove the pan from the heat. Stir in the remaining cream, the vanilla extract and the pumpkin mixture. Mix until well blended; refrigerate for at least 2 hours or until chilled. Place in an ice cream maker and churn according to manufacturer’s instructions. When the ice cream has thickened but is still soft, add the cranberry mixture and continue churning until the ice cream is thick. Spoon the soft ice cream into a container. Place in the freezer until very cold and firm.

Makes about 6 cups

Back to School? Maybe. But there’s always Milk and Cookies, right?

592CAF6A-ADE6-4D4F-96AB-9D0739F7EB94_1_201_a.jpeg

Back in the day, when I was a young girl, I walked home from school and before I did any homework or piano practice I had a snack. My Mother was a cookie baker so invariably, the snack was milk and cookies. We didn’t have little bags of chips or puffs or granola bars back then.

I remember one time my mother veered away from her usual Fannies, peanut butter cookies and kichels. That was the day I brought my friend Joseph Lieberman (no, not that Joseph Lieberman) home to do homework together. I was happy my Mom had baked something new because Joseph had been to the house several times and maybe he was bored with the same old stuff. I had asked her if, sometime, she could bake something else. And so she did.

She made sugar cookies.

They were a great success. She made them occasionally after that but usually went back to the old favorites.

I’ve made my Mom’s recipe a few times over the years. Depending on the time of year I cut them into different shapes with cookie cutters (Hearts for Valentine’s Day usually).

This isn’t my Mom’s recipe though. I fiddled with it because hers included butter and I wanted to make it non-dairy. Also, I just bought some new jars of date honey (silan) and wanted to use that instead of the regular honey. She also added citrus peel and I didn’t.

But it is more or less her recipe.

Whether or not our children actually go back to school this season, milk and cookies is always a good treat.

In addition, these cookies, with the traditional holiday dates and honey, are a delicious choice for Rosh Hashanah (whether you use old fashioned honey or silan).

Shanah Tovah.

Date Honey Sugar Cookies

  • 1/2 cup vegetable shortening

  • 1/2 cup solid coconut oil

  • 3/4 cup sugar

  • 1/4 cup date honey

  • 2 teaspoons vanilla extract

  • 1 large egg

  • 1 large egg yolk

  • 3 cups all-purpose flour

  • 2 teaspoons baking powder

  • 1-1/2 teaspoons cornstarch

  • 1/2 teaspoon salt

  • 1/2 teaspoon ground cinnamon

  • Confectioners’ sugar

Preheat the oven to 350 degrees. Line a cookie sheet with parchment paper. Combine the shortening, coconut oil, sugar, honey and vanilla extract and beat at medium speed for 3-4 minutes or until light and fluffy. Add the egg and egg yolk and beat at medium speed for 1-2 minutes or until well blended. In a separate bowl combine the flour, baking powder, cornstarch, salt and cinnamon. Add the dry ingredients to the honey mixture and beat at medium speed until a soft dough forms. Roll the dough on a floured surface to 1/8-inch thickness. Cut out shapes with 2-inch round or heart-shaped cookie cutters. Place the cookies prepared cookie sheet. Bake for about 12 minutes or until the edges are lightly brown. Let cool. Sprinkle with confectioners’ sugar.

Makes about 36

Potlagela

fullsizeoutput_ad10.jpeg

I know I am not alone in in thinking I want “my old life back” —— seeing my kids and grandkids, giving them a hug. Seeing family and friends without having to sit at least six feet away, always outside. Going out for dinner. Going to the opera.

All that.

I’ve managed to find ways that help me through this stressful time. One of them is making foods that remind me of “the good old days.”

So I’ve baked some Apple Brown Bettys, because they remind me of my parents (z”l), who once lived nearby. It was my Dad’s favorite dessert, my Mom made it often and there was always some left for me when I’d visit, at least twice a week. (Apple Brown Betty is also good for socially distanced company because you can bake the ingredients in individual ramekins.)

Almond Crusted Chicken Nuggets have been on my menu recently because they remind me of my very special cousin and lifelong friend, Leslie. She and her husband Neil spend every New Year’s weekend with us and I always serve these for hors d’oeuvre. (Another winner for social distancing!)

There’s always a reason to make my grandma’s award-winning challah, so that’s nothing new in my house.

BUT, my other grandma used to make potlagela, a Romanian specialty. I hated this dish when I was a youngster but last year, when I grew my own eggplants, I decided to give her recipe a try and realized how delicious this dish is. That revelation also brought back some terrific memories.

SO, here it is. My Grandma Hoffman’s version of Potlagela. She used vegetable oil, but I prefer olive oil. Either will work. She also cooked her eggplant right on top of the cooktop burner, so if you have a gas burner, you can do it that way too. OR, you can cook it on an outdoor grill, which I’ve done many times.

This dip is so perfect for summer. Especially perfect for eating outdoors socially distanced because you can serve it in separate bowls for other people.

Serve with pita or bagel chips.

Potlagela

  • 1 large eggplant

  • 1-2 scallions or one shallot or small onion

  • 1 clove garlic, finely chopped

  • 1 tomato, chopped, optional

  • 2 tablespoons olive oil

  • 2 tablespoons lemon juice

  • salt and freshly ground black pepper to taste

  • parsley

Preheat the oven to 425 degrees. Wash the surface of the eggplant, then wipe it dry. Coat the surface with a thin film of olive oil. Prick the skin in a few places with the tines of a fork. Place the eggplant on a baking sheet and roast for about 25 minutes, turning the eggplant once or twice during the cooking. Remove the eggplant from the oven. When the eggplant is cool enough to handle, remove the skin and stem and place the flesh in a bowl. Mash the eggplant with the back of a fork. Add the scallion, garlic, optional tomato and olive oil and mix the ingredients to distribute them evenly. Add the lemon juice and mix again. Season to taste with salt and pepper; sprinkle with some parsley.

Makes 4 servings

Banana Marble Bread

fullsizeoutput_b6da.jpeg

Got some leftover bananas? Maybe a little chocolate (bar/chips/anything)?

Here’s a comforting treat. The swirl of chocolate makes plain old banana bread a bit more festive.

If you’re socially distancing at home like so many of us, this Banana Marble Bread is a tasty way to pass the time, use what you have and add a comforting fragrance to your home.

Banana Marble Bread

  • 3 ounces semisweet chocolate

  • 2 cups all-purpose flour

  • 1 teaspoon baking soda

  • 1/2 teaspoon baking powder

  • 1/2 teaspoon salt

  • 1 cup sugar

  • 1/2 cup vegetable oil

  • 2 large eggs

  • 3 medium ripe bananas

  • 1/4 cup fruit juice, oat milk or other non-dairy milk (or use dairy milk)

  • 1 teaspoon vanilla extract

Preheat the oven to 350 degrees. Grease a 9”x5”x3” loaf pan. Melt the chocolate and set it aside to cool. Mix the flour, baking soda, baking powder and salt in a bowl and set it aside. Beat the sugar and vegetable oil with a handheld or electric mixer set at medium speed for 2-3 minutes or until the mixture is well blended. Add the eggs one at a time, beating after each addition. Mash the bananas and add them to the sugar mixture. Beat thoroughly until the ingredients are well blended. Add the flour mixture and beat for 1-2 minutes to blend the ingredients thoroughly. Stir in the juice and vanilla extract. Pour the batter into the prepared pan. Pour the melted chocolate on top and use a knife or spatula to swirl it through the banana batter. Bake for 1 hour or until a cake tester inserted into the center comes out clean. Cool the bread in the pan 15 minutes. Remove the bread from the pan and let it cool on a cake rack.

 Makes one bread serving 10-12

Lemon Aquafaba Bread

fullsizeoutput_9516.jpeg

At this particular time, when we are going through a world-wide crisis, a terrifying pandemic, it can be therapeutic for many of us to cook and bake.

I am one of those people.

I have plenty of ingredients to cook with because over the years I’ve learned to keep shelf-stable foods on hand in case I can’t shop: ingredients such as canned beans, rice, frozen veggies, dried fruit, canned or packaged milk, and so on.

Equally important for me is — don’t waste food (I’ve talked about that often). I believe that it is important to use all resources — “food forage” as my colleague Susan Barocas calls it. Don’t throw out any ingredient that’s useable, including leftovers.

With all this in mind I offer this lemon bread.

I have lots of lemons in my crisper because of an article I am writing. I’ve developed the recipe for that, so I need to make use of the extra lemons.

I also needed to do something with the liquid leftover from a can of chick peas that I opened for a salad. Chick pea liquid is incredibly useful.

In case you aren’t familiar with this leftover liquid (also from canned beans), it is called aquafaba and it can be used in place of eggs. That makes it an ideal ingredient for vegans and anyone who is allergic to or otherwise can’t eat eggs.

When you beat chick pea liquid with a whisk, it traps air like eggs do, so baked goods have both structure and also a light, tender crumb.

I am trying not to use too many fresh eggs that I might need for meals, so I used the aquafaba instead to make this lemon bread.

Dee-lish!

To get the most out of the liquid in a can of chick peas, be sure to scrape the residue at the bottom of the can. For best results, reduce the liquid slowly over medium-low heat until it becomes the consistency of egg white. Use about 3 tablespoons of the liquid in place of each egg. 

For another delicious recipe (carrot bread) using aquafaba, click here.

Lemon Aquafaba Bread

  • 6 tablespoons aquafaba

  • 4 tablespoons coconut oil

  • 3/4 cup sugar

  • 1 tablespoon finely grated fresh lemon peel

  • 2 cups all-purpose flour

  • 2-1/2 teaspoons baking powder

  • 3/4 teaspoon salt

  • 1 cup coconut milk

  • 1/4 cup fresh lemon juice

  • 1-1/2 tablespoons sugar

Preheat the oven to 350 degrees. Grease a 9”x5”x3” loaf pan. If the aquafaba seems thin, boil it for a few minutes to thicken slightly to the consistency of egg white. Set aside to cool. In the bowl of an electric mixer, beat the coconut oil and 3/4 cup sugar at medium speed for 1-2 minutes or until well combined. Add the lemon peel and aquafaba and blend them in. Mix the flour, baking powder and salt in a small bowl. Add the dry ingredients to the creamed mixture in thirds, alternating with the coconut milk. Beat to blend the ingredients to a smooth, even batter. Spoon the batter into the prepared pan. Bake for 50-55 minutes or until a cake tester inserted into the center comes out clean. While the bread is baking, combine the lemon juice and 1-1/2 tablespoons sugar in a small saucepan and cook over medium heat for 1-2 minutes or until the sugar has dissolved. When the bread comes out of the oven, pour the lemon juice mixture on top. Cool the bread in the pan for 10 minutes. Invert onto a cake rack to cool completely.

Makes one bread