What do you do when you have finished preparing potato latkes for a Hanukkah party and you’re sitting in your family room watching TV and your husband comes in with a handful of the latkes you just made and says “I’m taking a down payment on our Hanukkah party on Saturday night.”
And you’ve cleaned up the kitchen and everything and you thought you were done with latkes and the entire house smells from fried so you had to make a kitchen bouquet (1/4 cloves, 3 broken cinnamon sticks, tablespoon or so cardamom pods, orange peel, water) so that anyone who comes to the house even the next day (like the UPS delivery man or the guy who is coming to repair the oven) isn’t blasted with stale fried smell?
Why, you get up the next day and make more latkes. Otherwise there won’t be enough. Because I know what happens when people see potato latkes. You can’t eat just one.
And so I did.
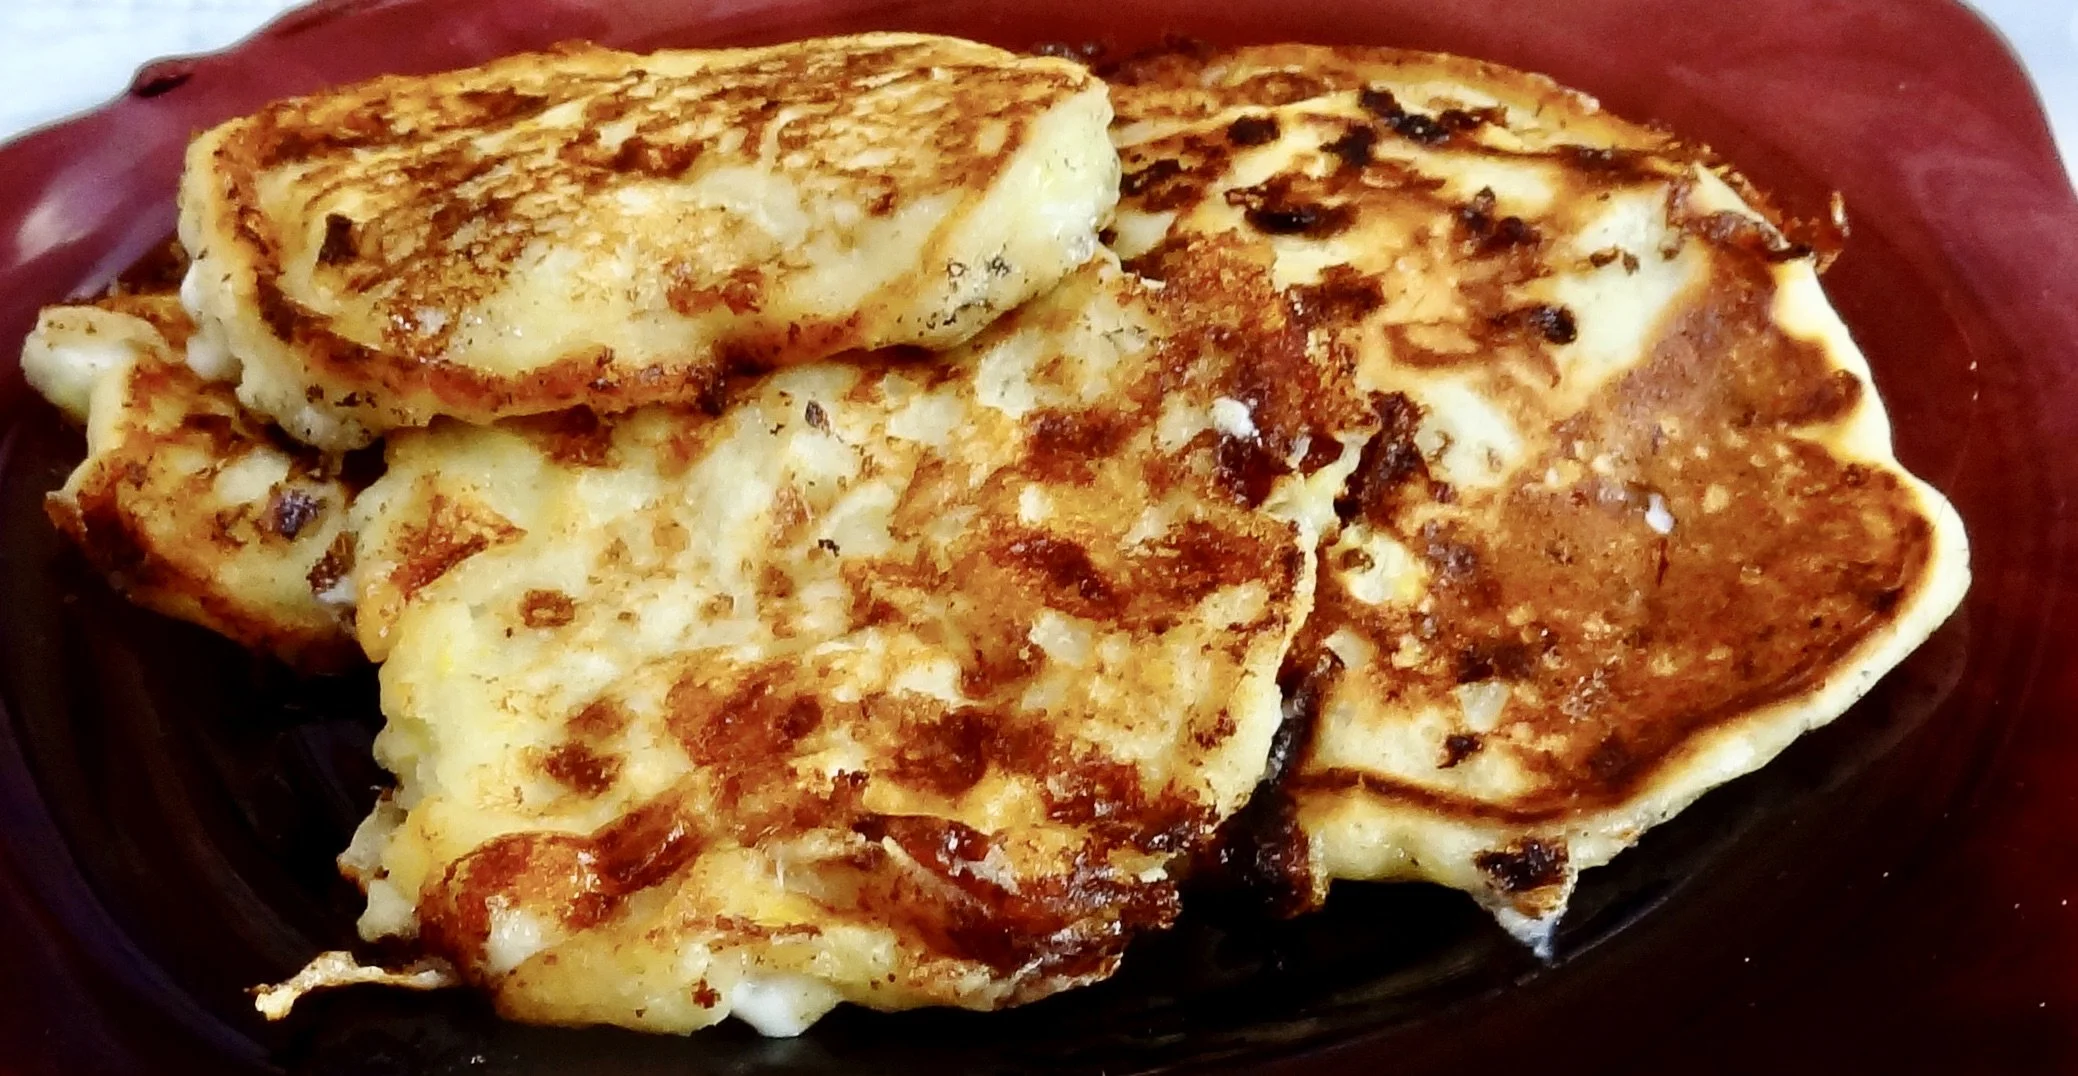
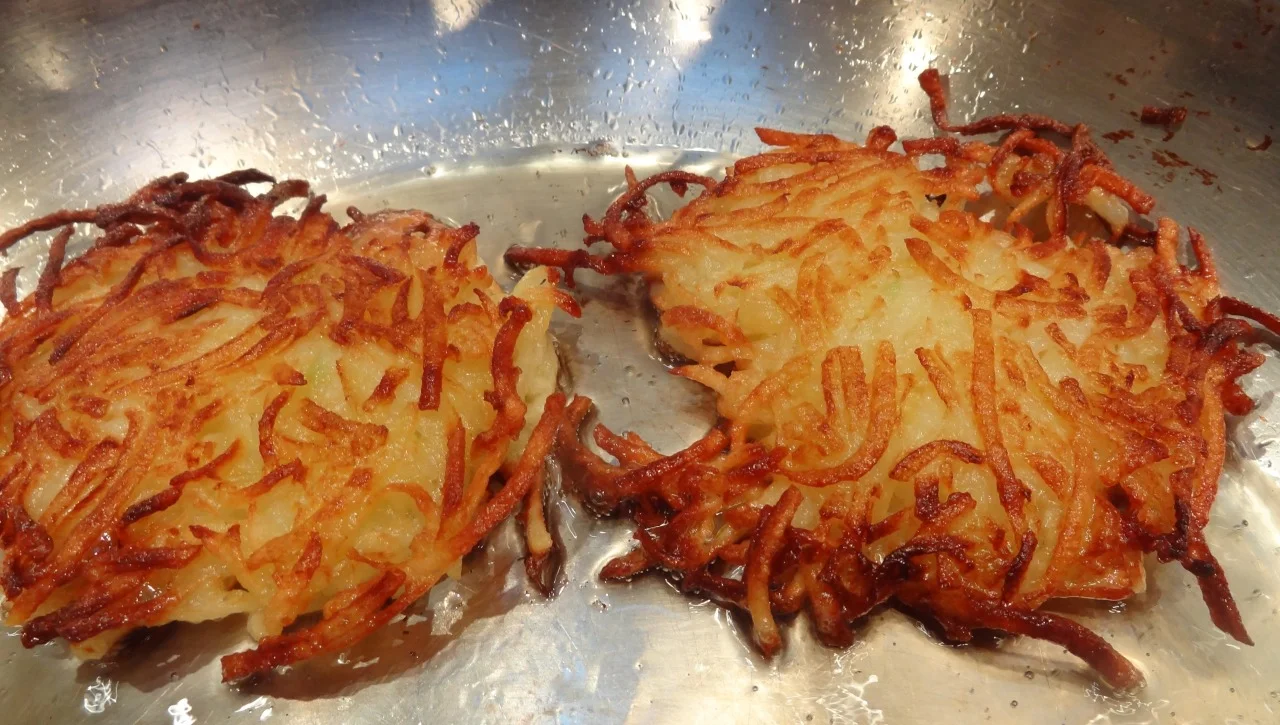
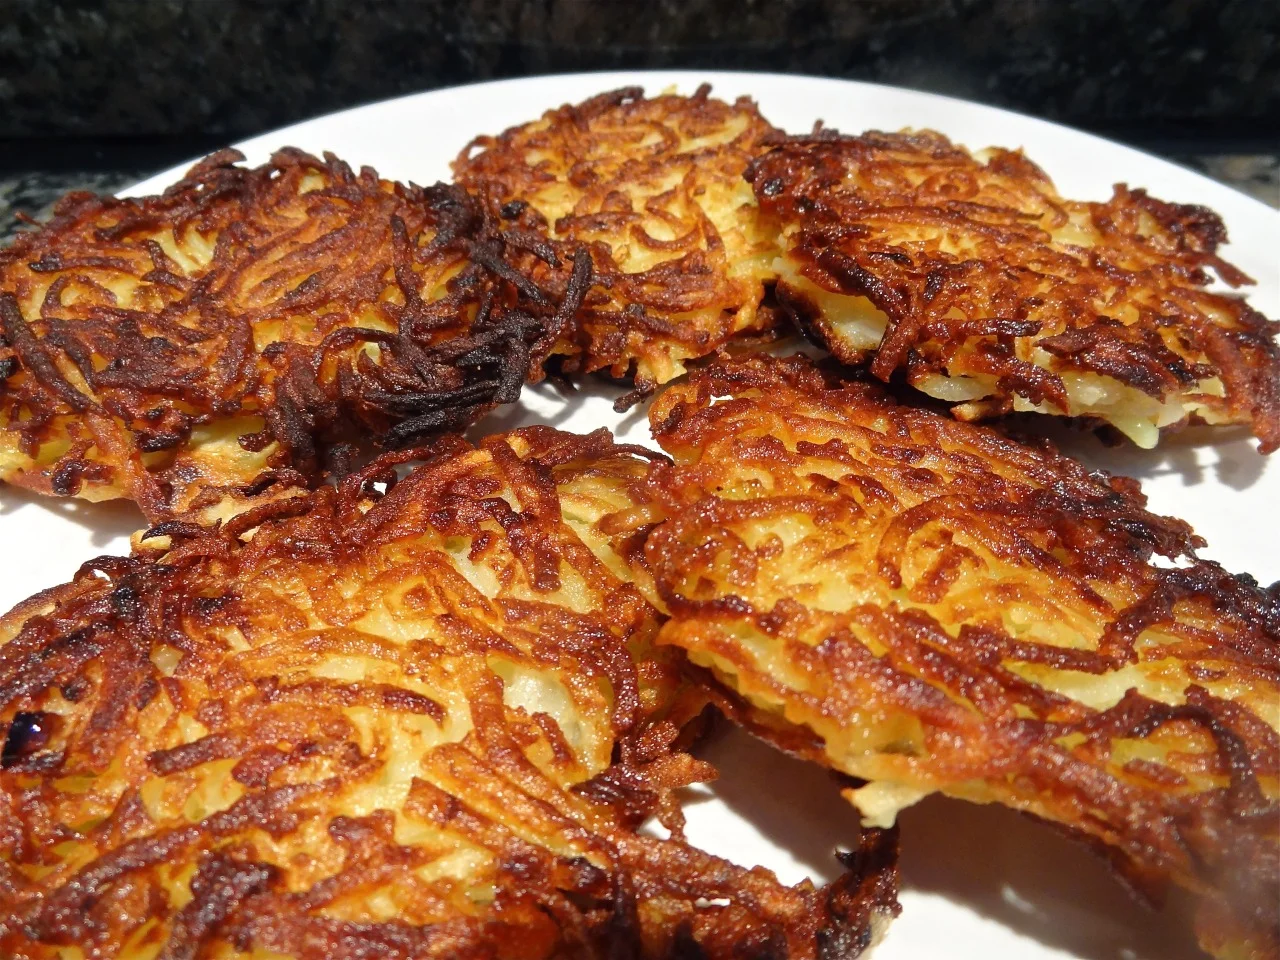
These:
Potato Latkes
4 large peeled baking potatoes
1 large onion
2 large eggs
3 tablespoons potato starch
1 teaspoon salt or to taste
freshly ground black pepper to taste
1/2 teaspoon baking powder
vegetable oil for frying
Shred the potatoes and onion in a food processor. Squeeze out as much of the liquid as possible (I put portions of the shreds in a kitchen towel and squeeze until they are practically dry). Place the shreds in a bowl. Immediately mix the eggs in (this helps keep the potatoes from browning). Add the potato starch, salt, pepper and baking powder. Heat about 1/4” vegetable oil in a heavy pan over medium-high heat. Shape latkes by hand, squeezing liquid out if there is any, and place them in the hot oil, leaving space between each one so that they brown well and become crispy (if they are too close they will “steam” and become soggy). Press down on the latkes to keep them evenly shaped. Fry for 2-3 minutes per side or until the pancakes are golden brown and crispy. Drain on paper towels. Makes 12-15