Last week I made the ideal dish.
By that I mean it is light and easy to eat during the scorching days of summer.
It’s meatless, so perfect for the Nine Days and any other time we don’t want to eat the usual meat-two-veggie or salad dinner.
I got to use up leftovers and bits of this and that (smoked salmon, cottage cheese, cream cheese).
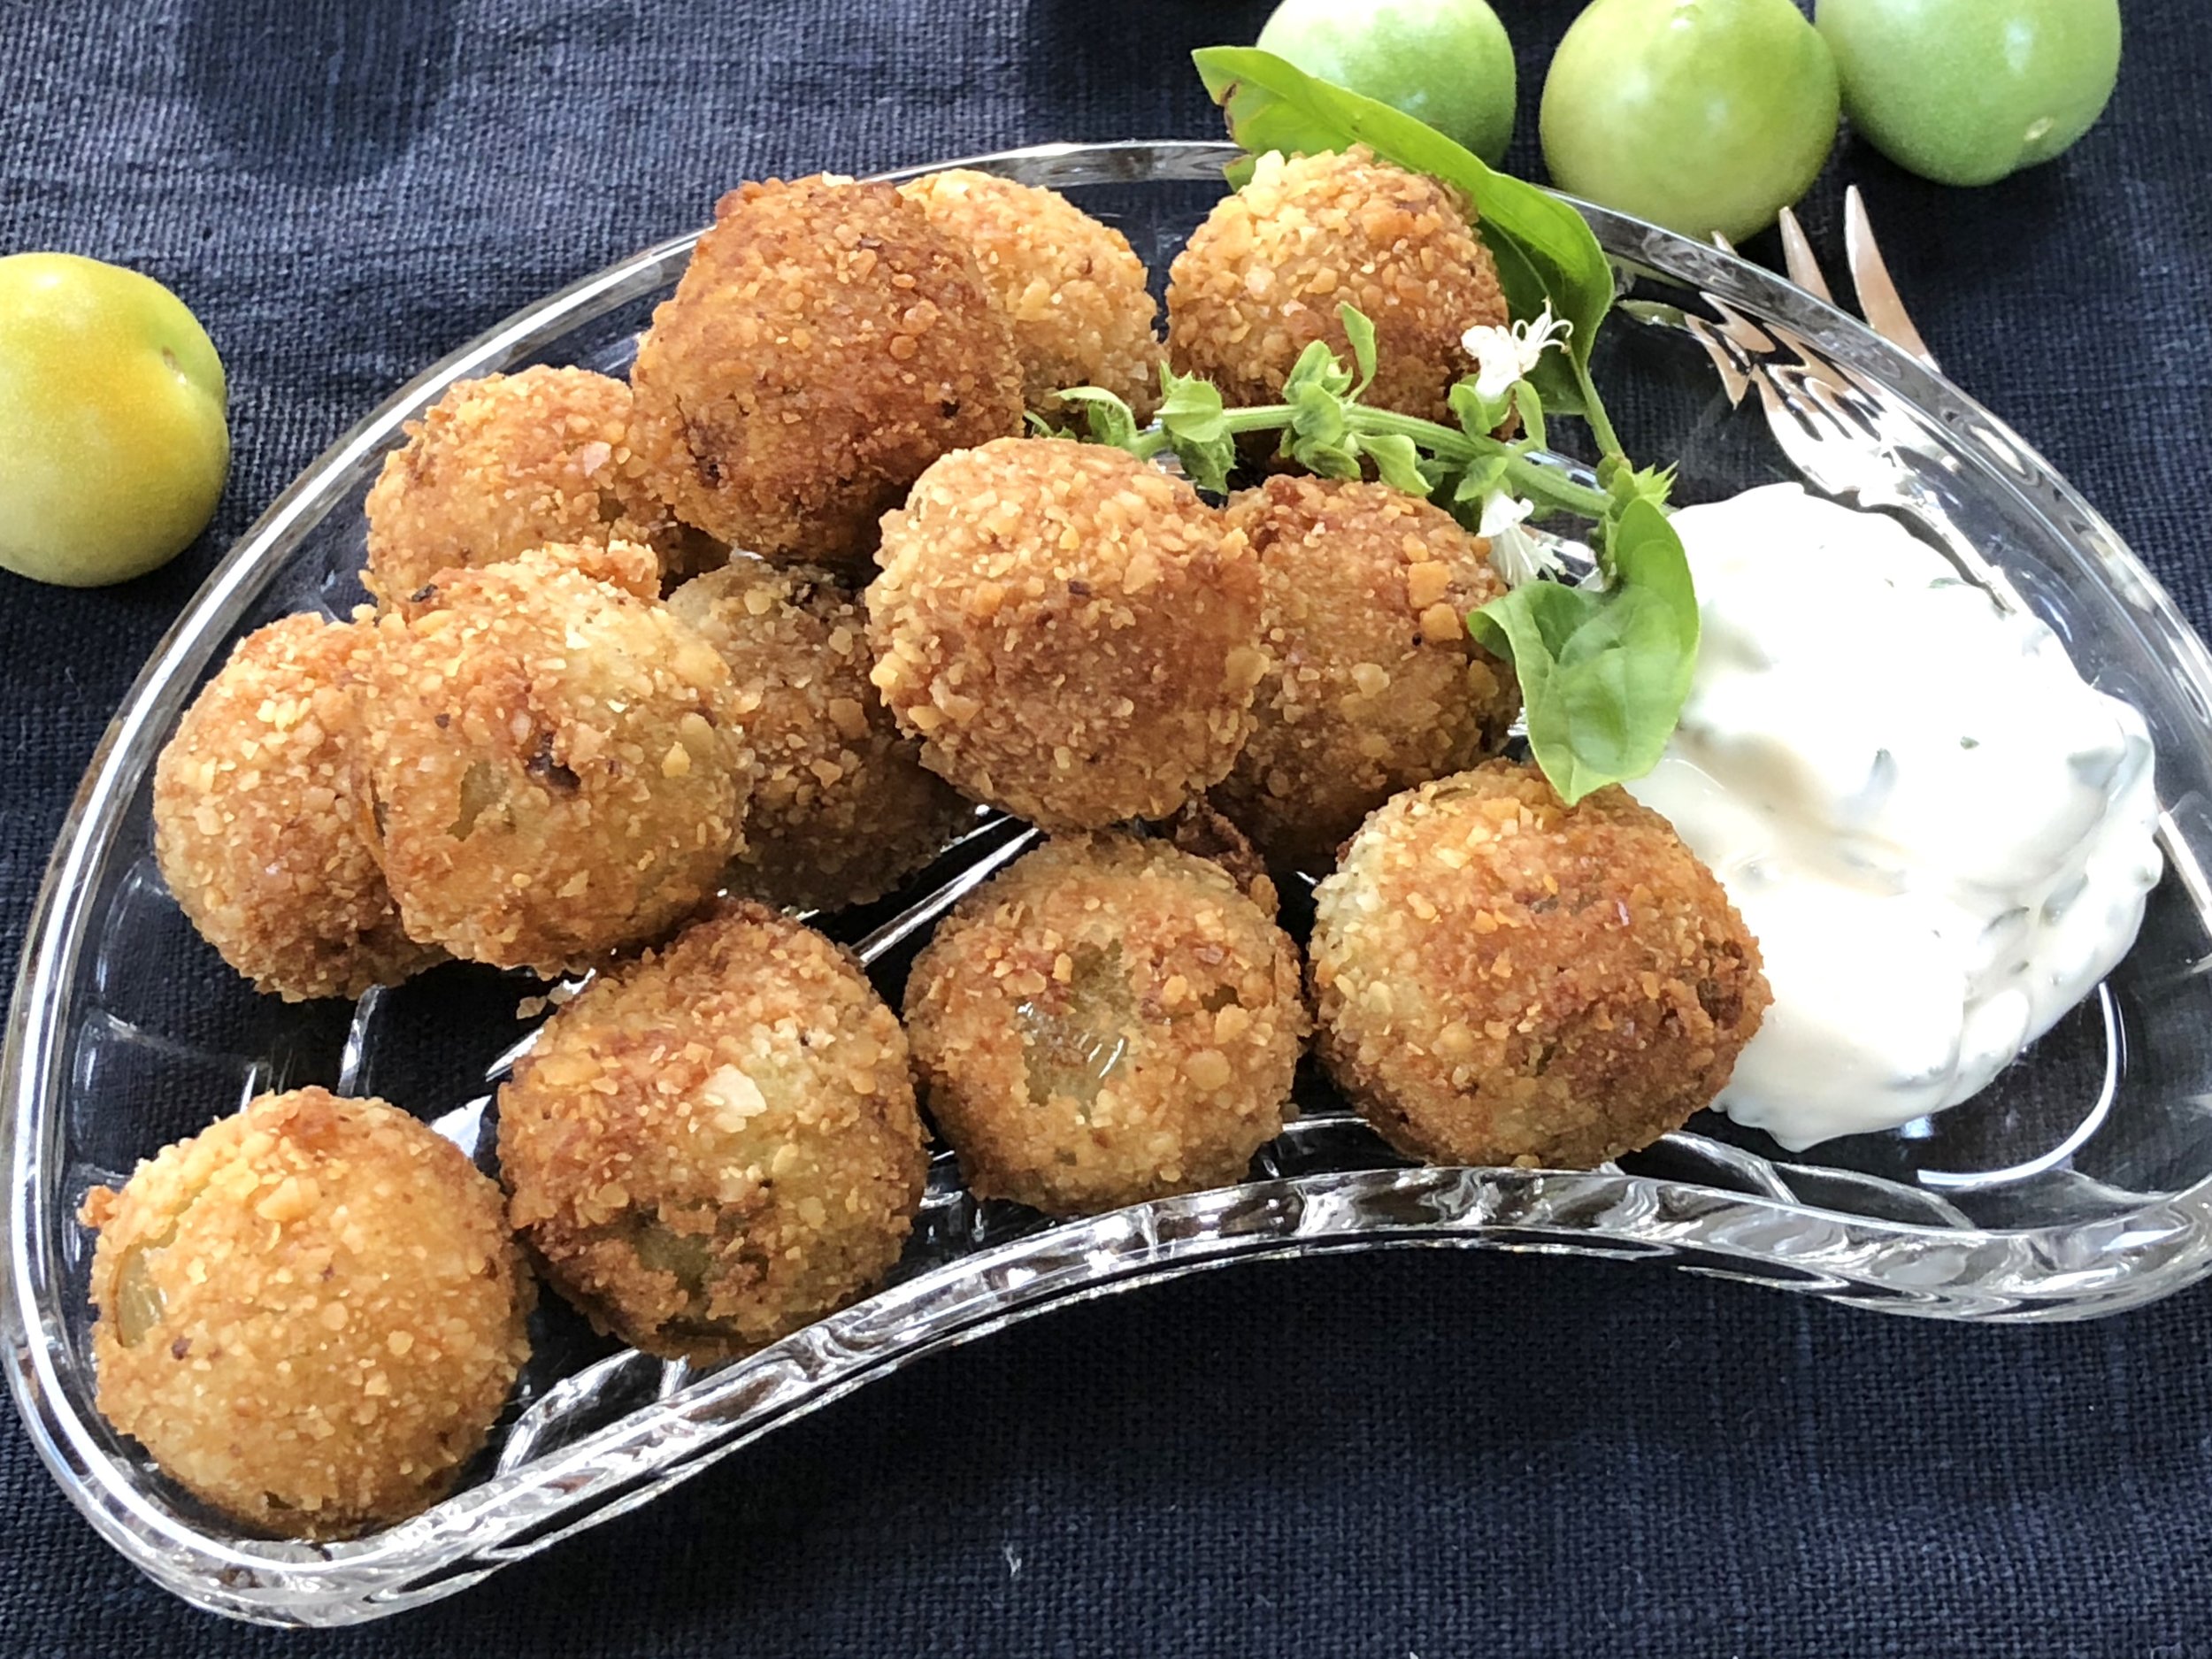
It served as dinner and also as hors d’oeuvre — I rewarmed the leftover portion and cut it into bite-size pieces for some socially distanced company.
You can use any leftover fish. I happened to have smoked salmon, so that’s what I used.
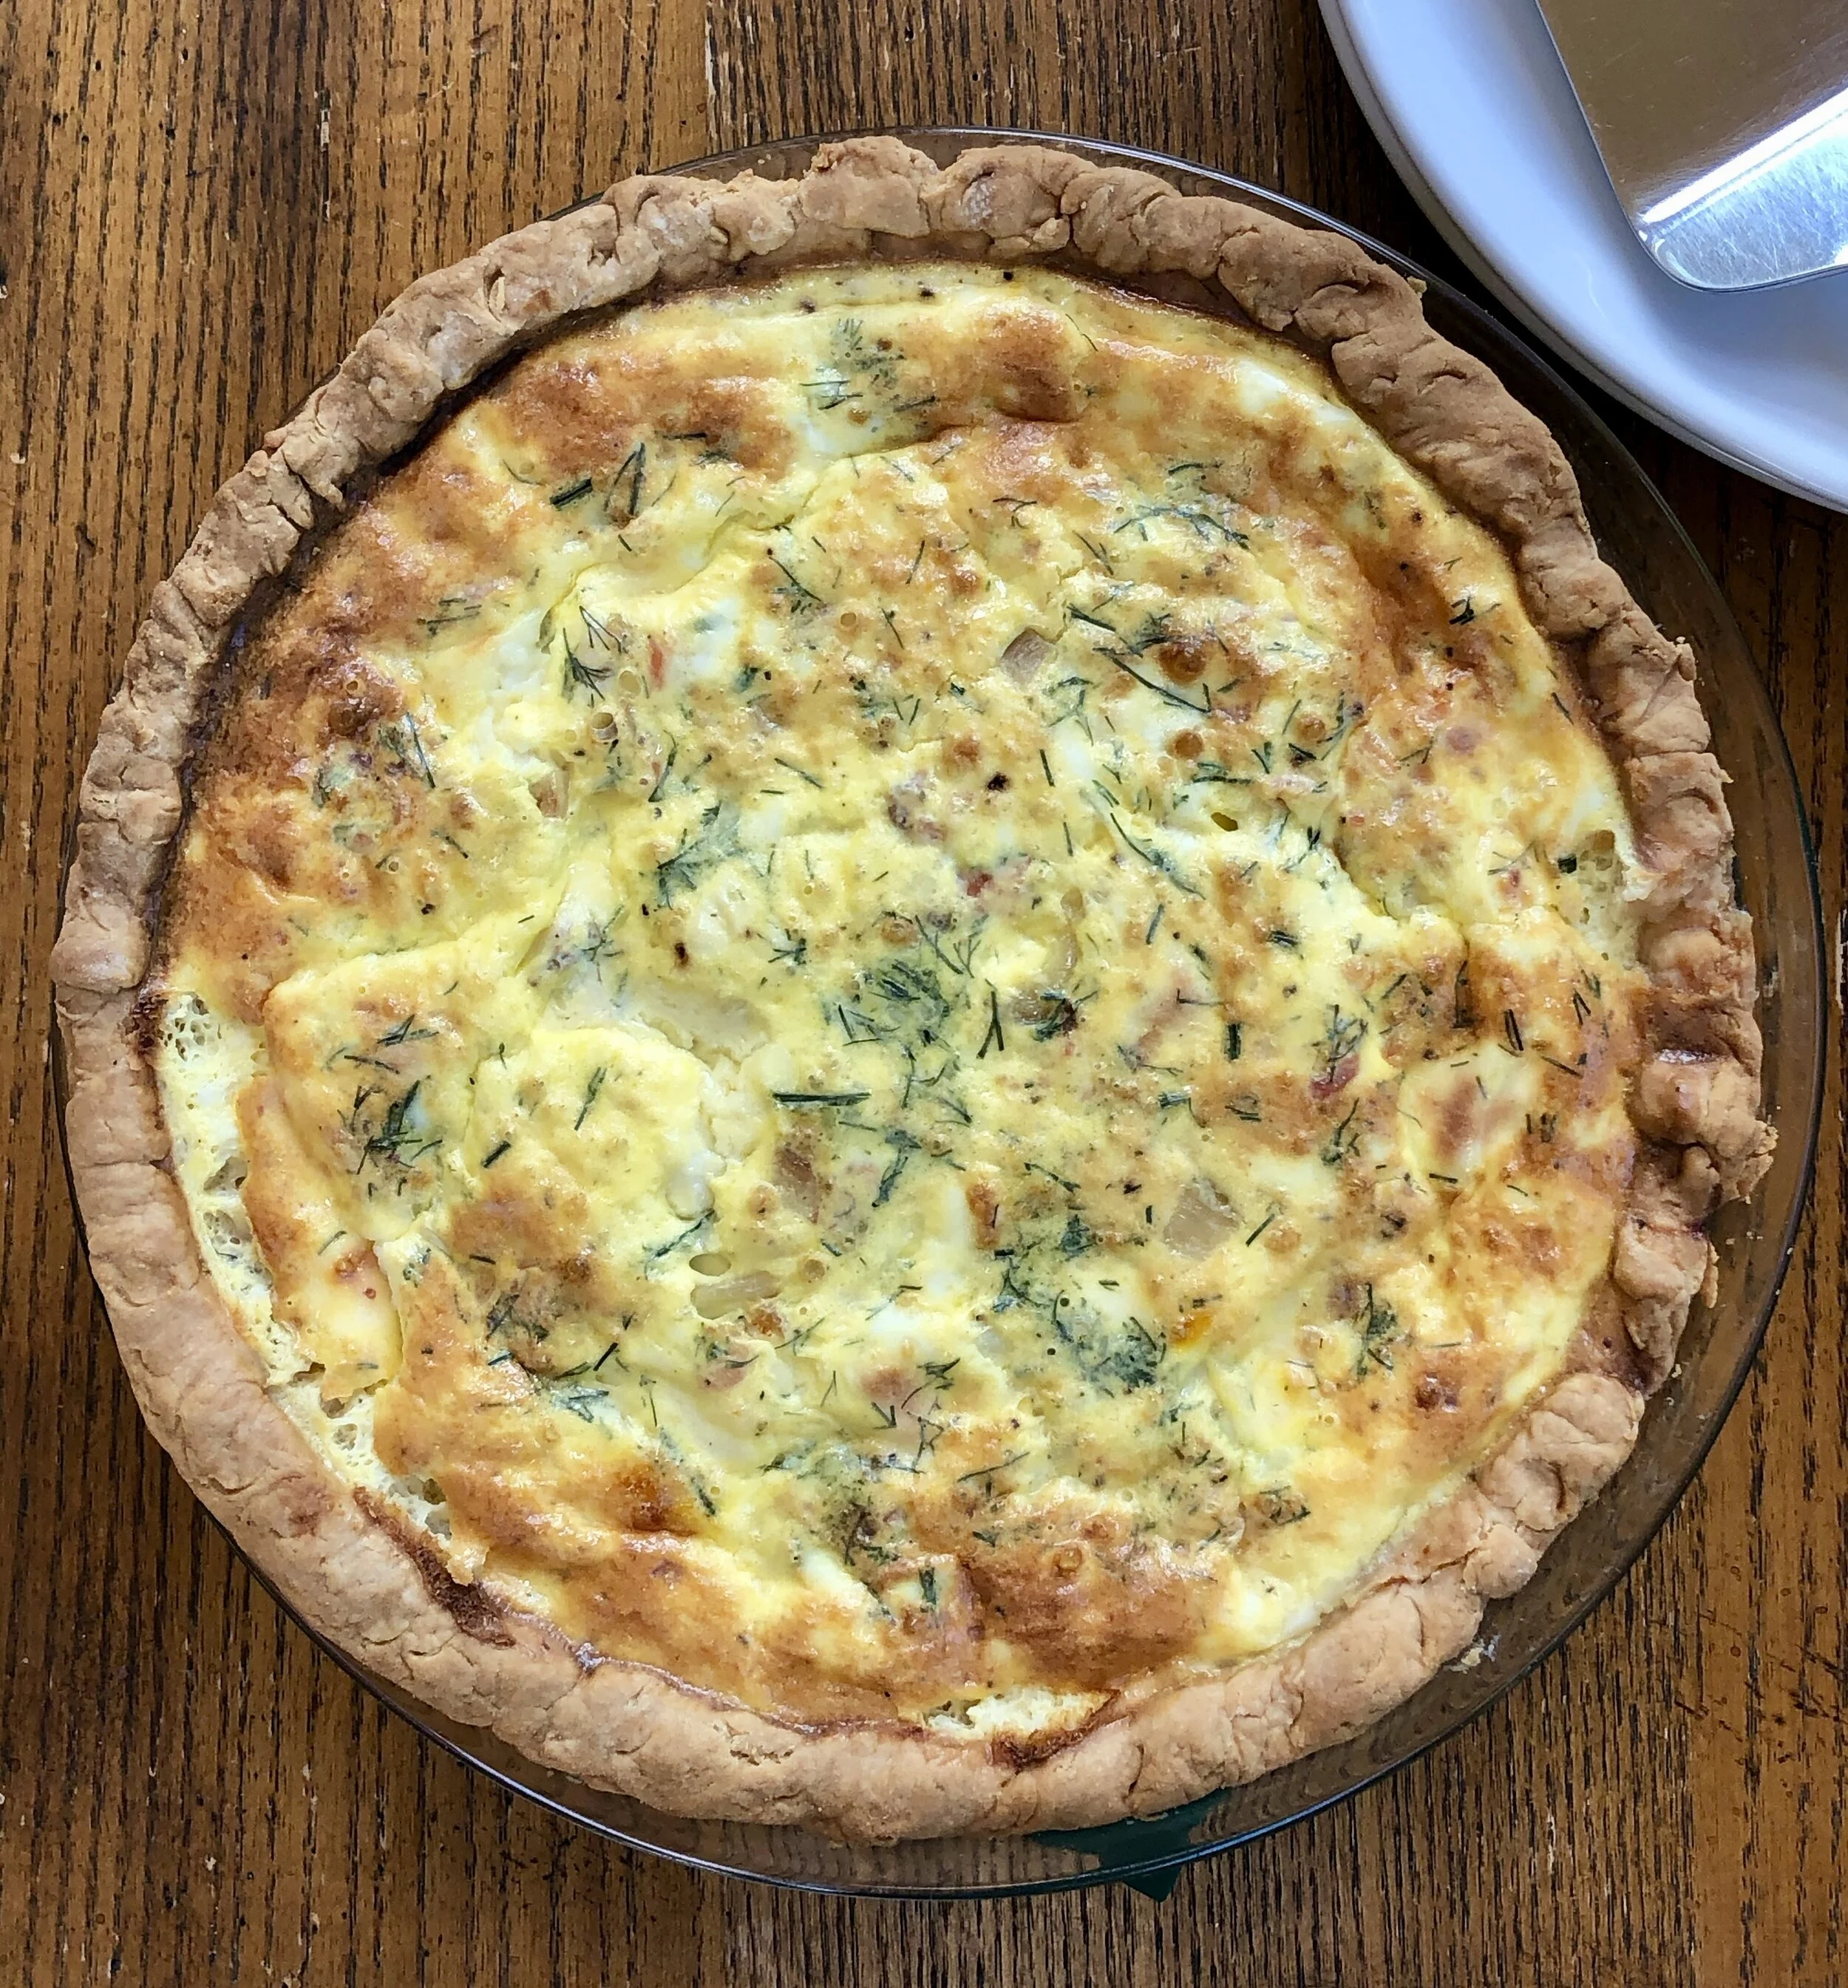
Smoked Salmon and Cottage Cheese Pie
1 tablespoon butter
1 large shallot, chopped
1 partially baked pie crust
3-4 ounces smoked salmon, chopped
2 tablespoons cream cheese
4 large eggs
1 cup cottage cheese
1 cup half and half
2 tablespoons chopped fresh dill
1/2 teaspoon salt or to taste
Preheat the oven to 375 degrees. Heat the butter in a small frying pan over medium heat. When the butter has melted and looks bubbly, add the shallot and cook for 3-4 minutes or until softened. Spoon the shallot onto the bottom of the partially baked pie crust. Scatter the salmon pieces on top. Cut the cream cheese into small pieces and scatter them on top. In a bowl, beat the eggs, cottage cheese, half and half, dill and salt together until well mixed. Pour into the pie crust. Bake the pie for about 45 minutes or until the top is nicely browned and the custard has set.
Makes 4-6 servings