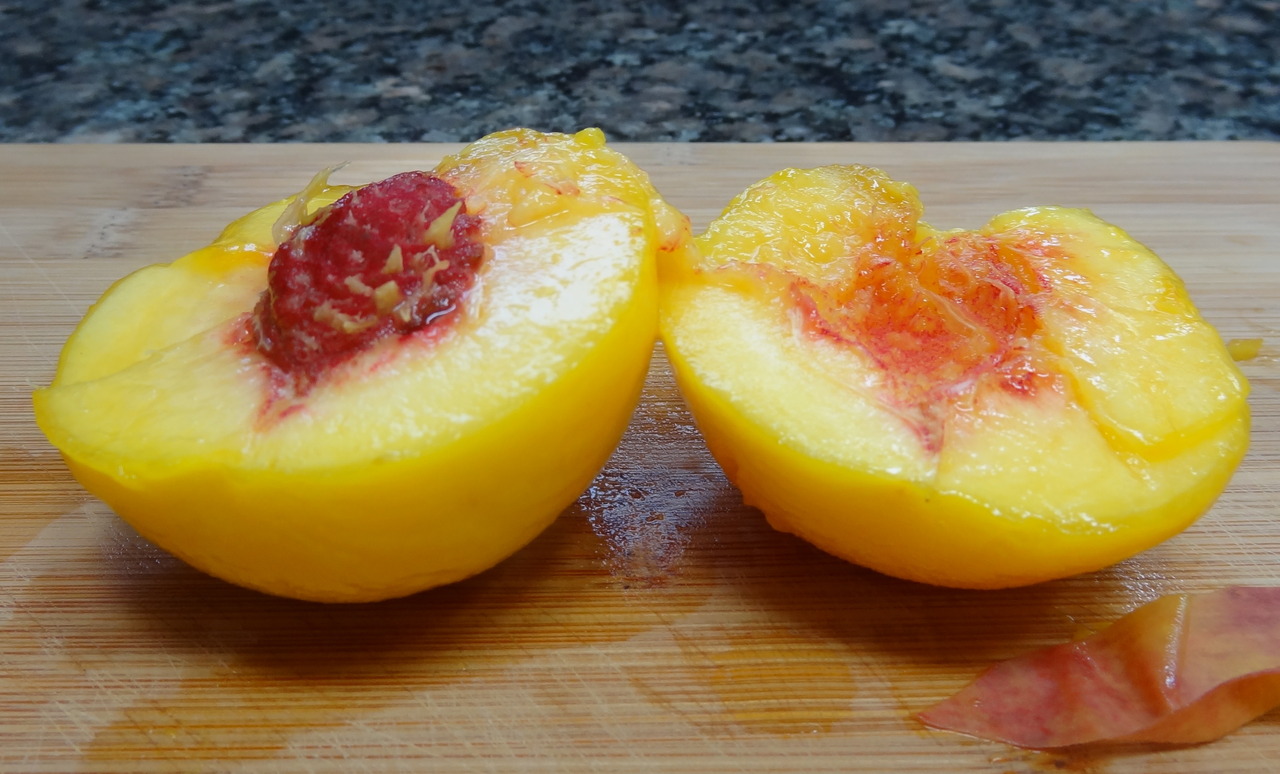
The past few days were dessert top-loaded. My kids and grandkids were here for the Labor Day weekend so I bought the usual ton and a half of fruit and used half of that to serve as is and the other half, plus the usual overload of bananas that get too ripe for anyone to eat, to make into something else.
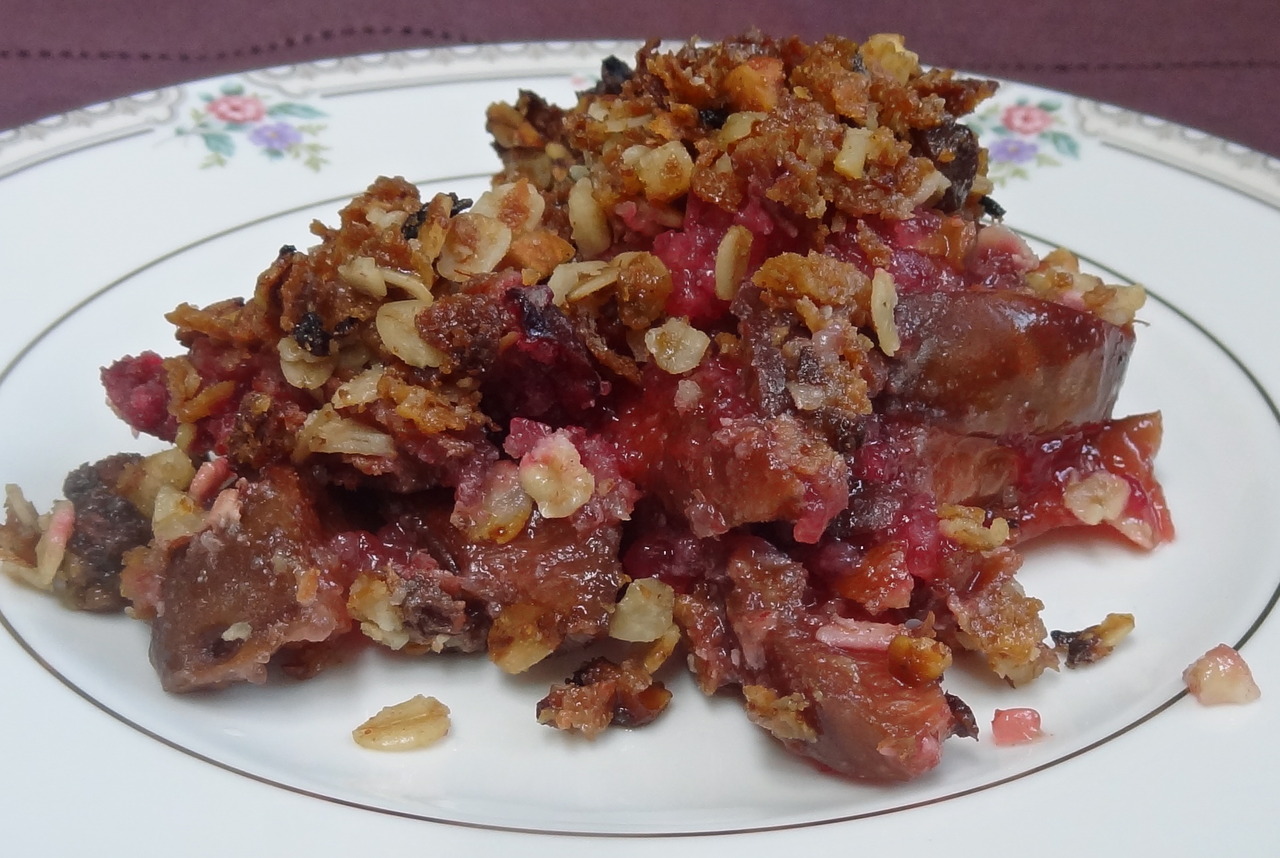
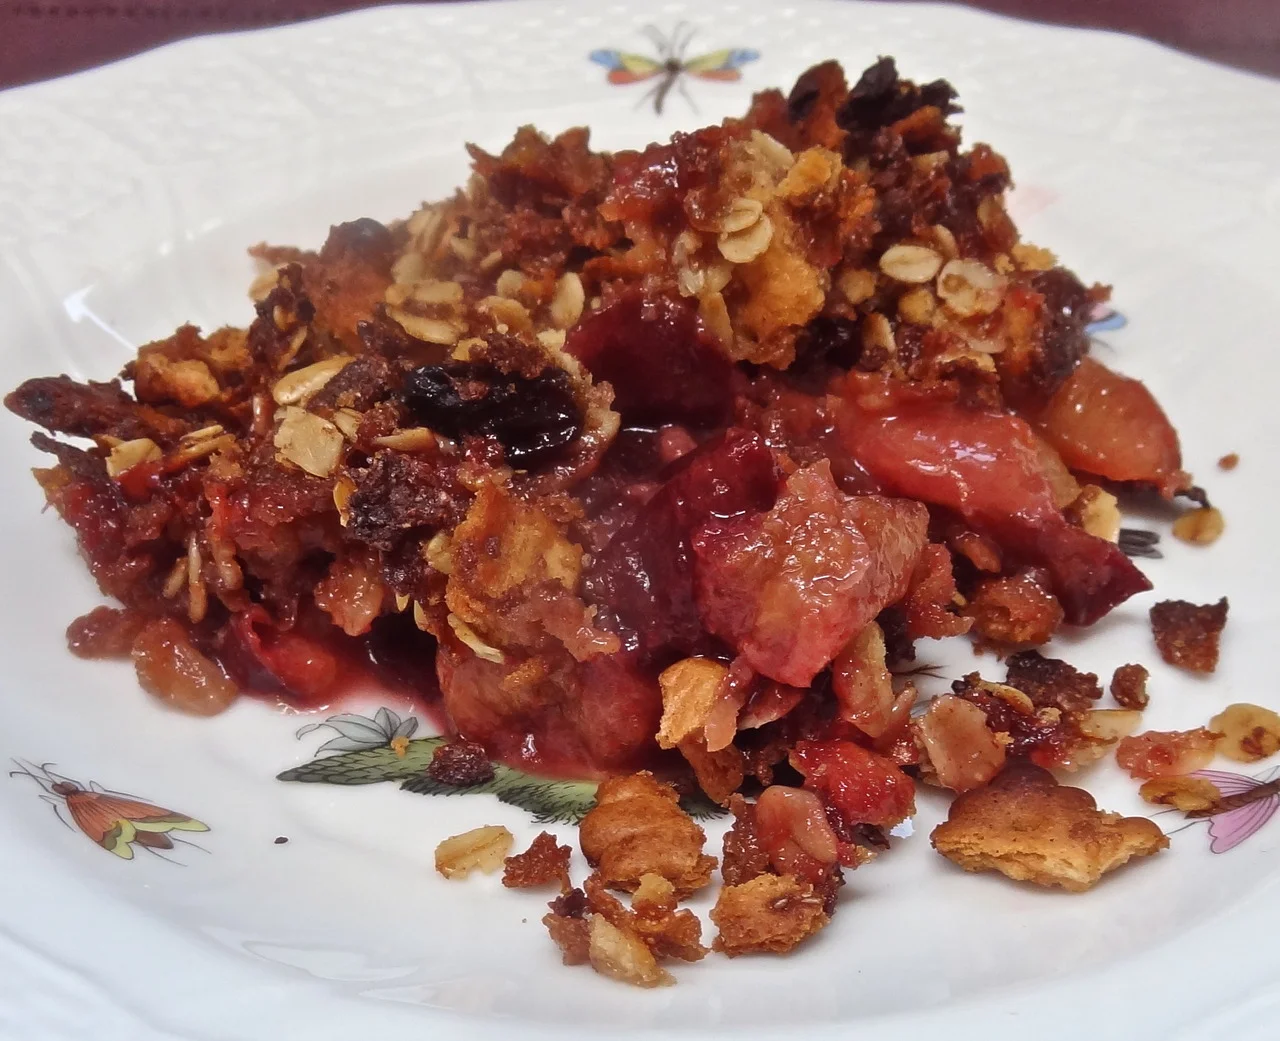
We have toddlers in the family and keep their diets nut free, so I made a different version of Plum Crisp without a nut topping.
A couple of us had this plain, but most of us added a blob of ice cream. Either way, this was a big hit.
Crunchy Cookie and Brown Sugar Nut-Free Plum Crisp
2 pounds Italian prune plums
1/3 cup brown sugar
1 teaspoon grated fresh lemon peel
1/2 teaspoon cinnamon
2 tablespoons all-purpose flour
crust:
1 cup bran flakes or raisin bran flakes
1/2 cup old fashioned oats
1/2 cup crumbled vanilla wafers (or similar cookie)
1/4 cup brown sugar
1/2 teaspoon cinnamon
6 tablespoons melted butter
Preheat the oven to 350 degrees. Wash and dry the plums, cut them in half and remove the pits. Slice the plums into smaller pieces and place them in a bowl. Add the brown sugar, lemon peel, 1/2 teaspoon cinnamon and flour and mix ingredients to distribute them evenly. Place the fruit mixture into a baking dish and set aside. Crush the bran flakes slightly and put them in a bowl. Add the oats, crumbled cookies, brown sugar and 1/2 teaspoon cinnamon and toss ingredients to distribute them evenly. Pour in the melted butter. Mix until the dry the ingredients are coated with the melted butter. Place the mixture over the fruit. Bake for about 35 minutes or until the crust is crispy and golden brown. Makes 6-8 servings