buffet food

Chocolate Yogurt Pound Cake

"This is just like room service!"

That, from my almost 6-year old grand daughter Lila (who apparently already knows about room service!?!) after I let her have her dinner in the family room and watch TV.

This is something I didn’t allow my own two daughters.

But honestly, after 35 years I was a little out of practice. And, like bike riding, you may not forget how, but you also may not race through the streets or peddle yourself up a steep hill quite as often or as easily either. 

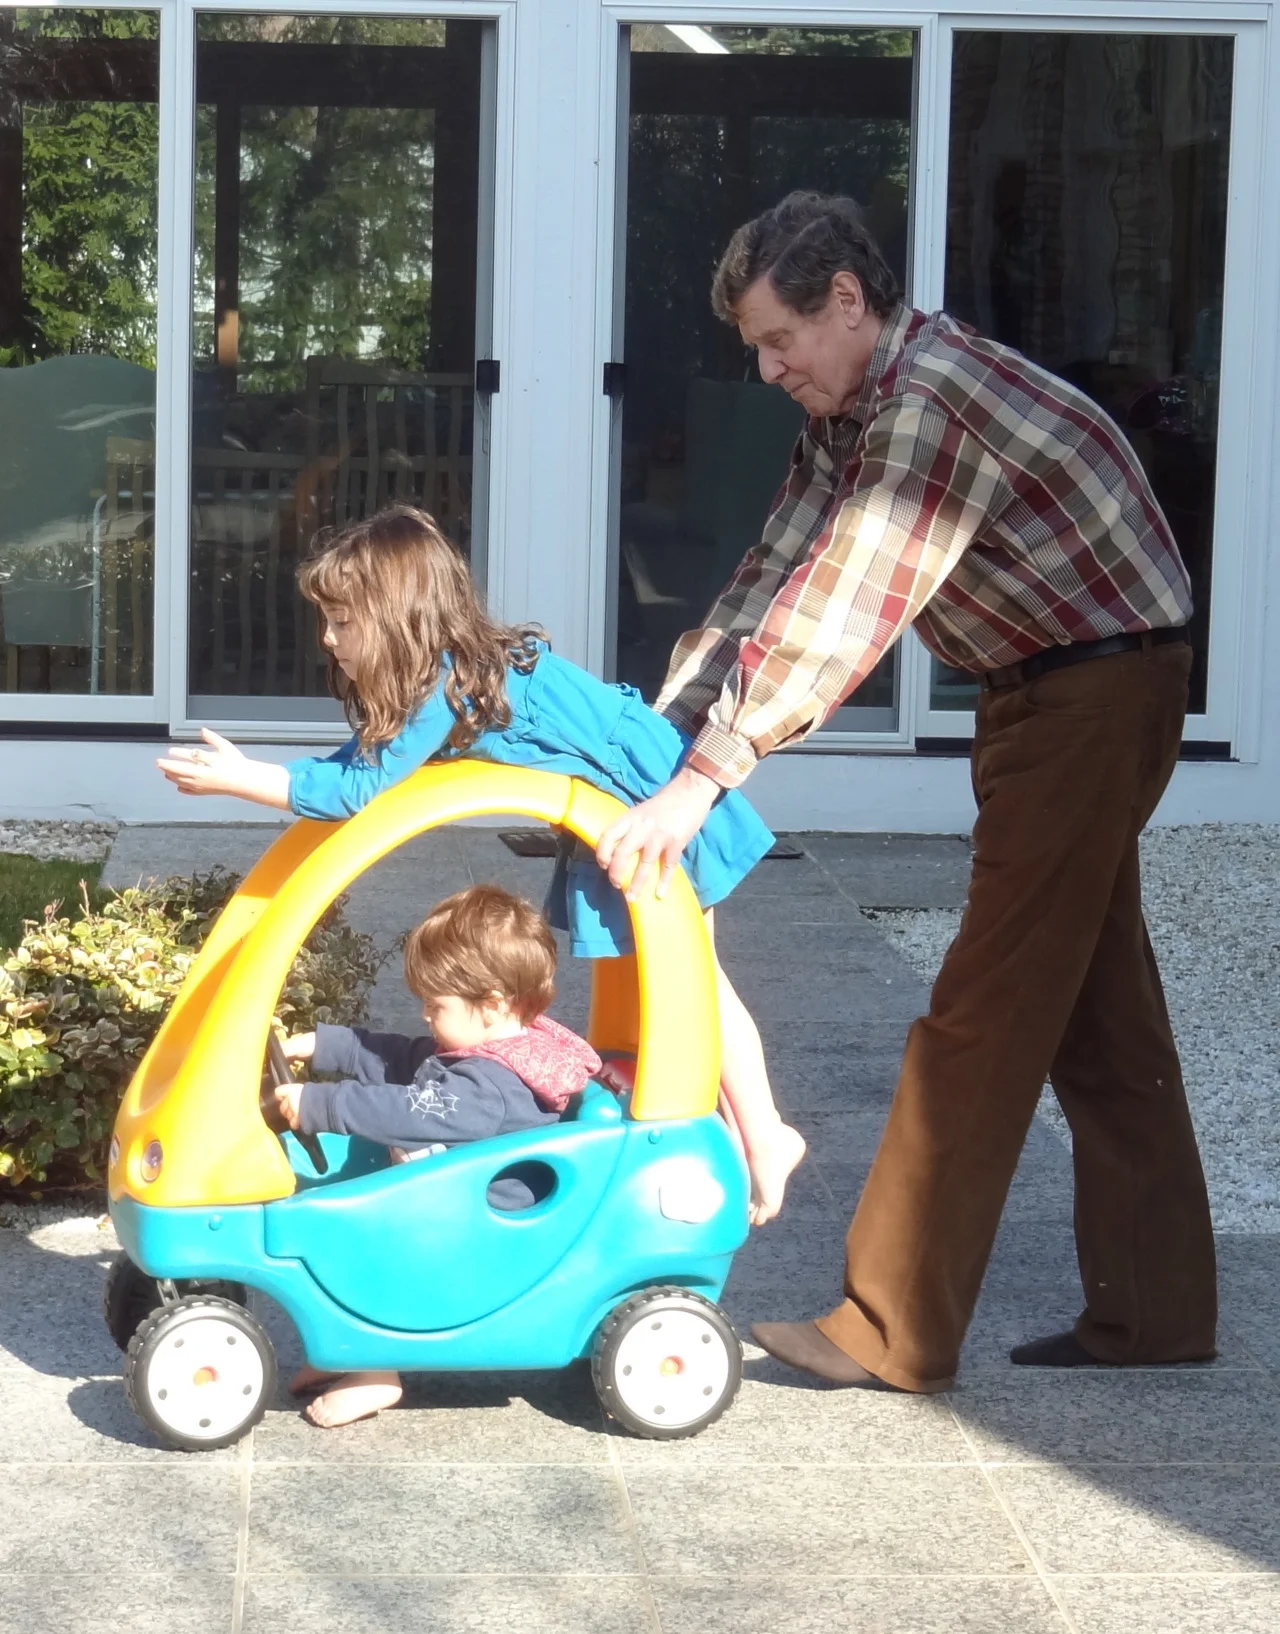
So, when the kids came for a visit, sans parents, from Friday through Sunday, there were occasional, let’s say, concessions. If my daughter Gillian, their Mom, is reading this now, I say, don’t worry. These kids are terrific and 2 meals in front of the TV won’t harm them.

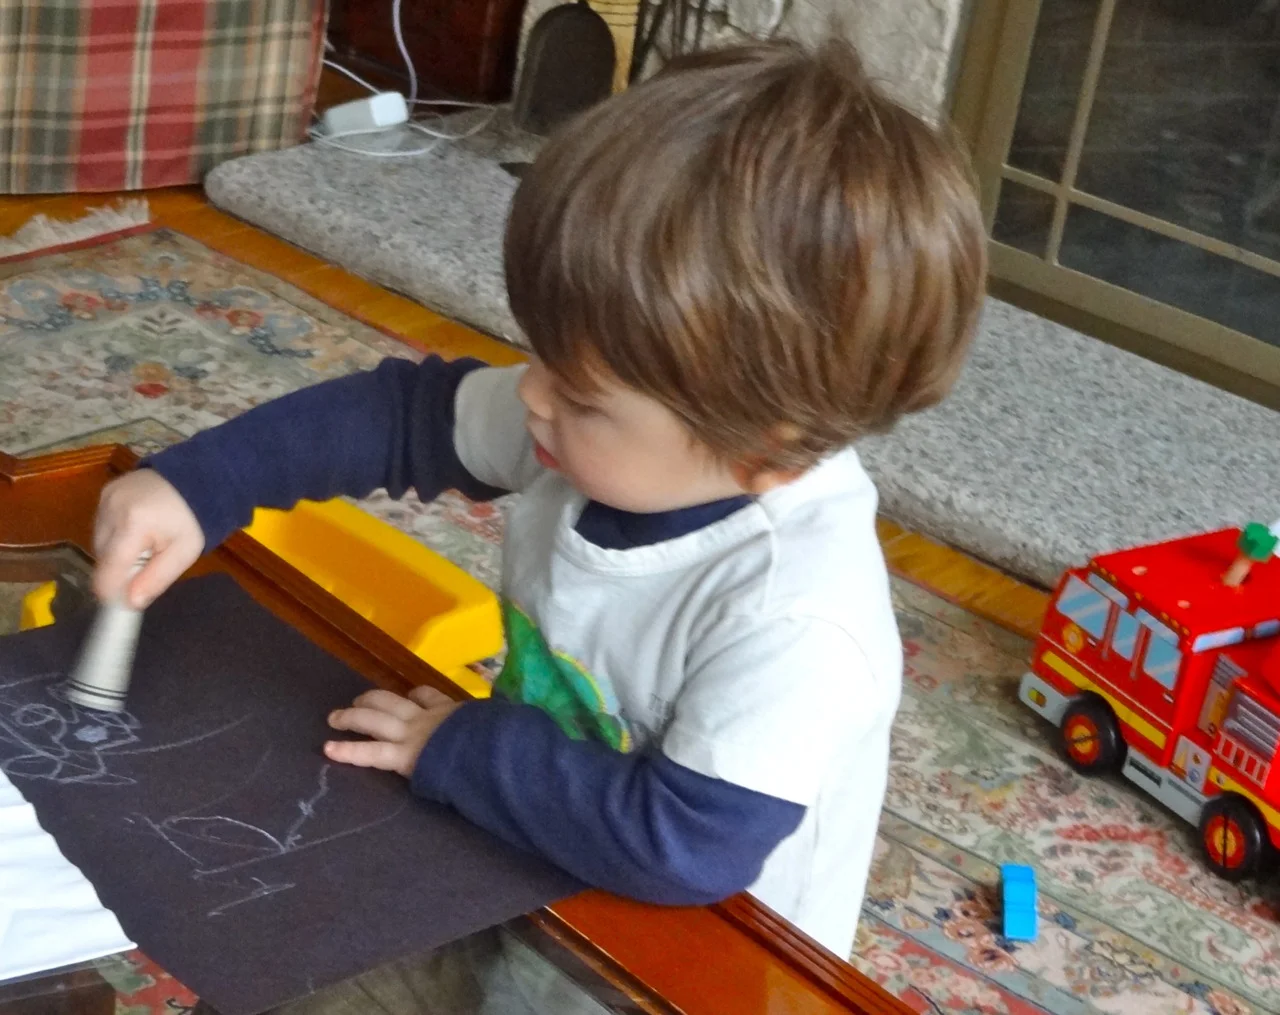
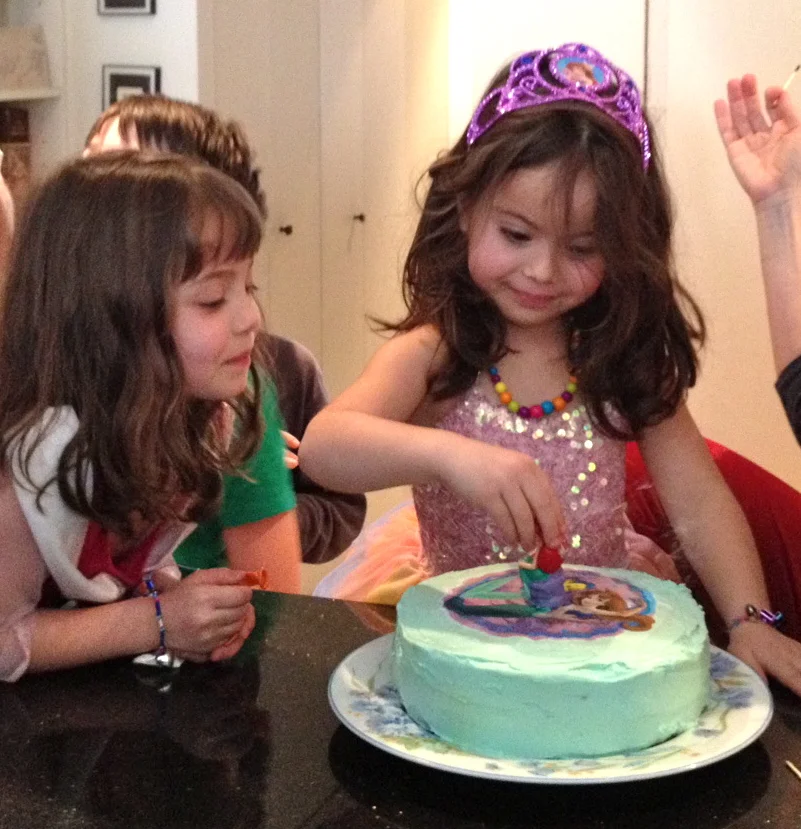
As you can see from the photos we did lots of stuff like draw, have a pedicure, blow bubbles outside, ride bikes, have a fashion show. We also frosted a birthday cake for their cousin Nina’s birthday party on Saturday (although the top decoration, an Ariel rice-paper scene, was store-bought).

The little one, Remy, age 21 months talks a blue streak although sometimes it’s difficult to understand his pronunciations. However, one of the new words he learned this weekend was “chocolate cake,” which he mentioned to his parents as soon as they walked in the door Sunday night.

"Tzockickcake!" he told them, with his tongue literally licking his lips.

When a kid is this young you can’t depend on “what happens at Grandma’s stays at grandma’s.”

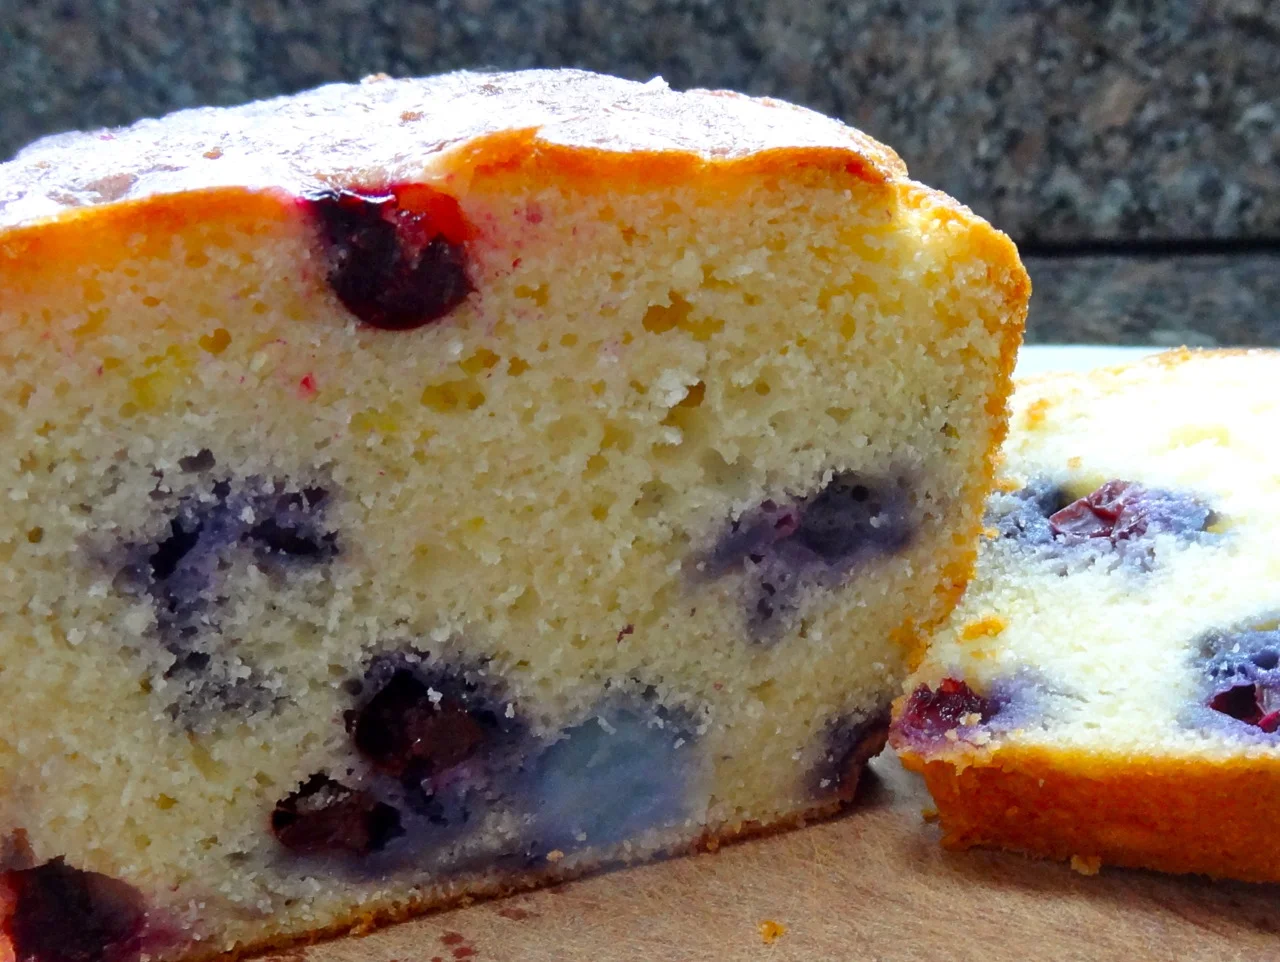
I had baked the chocolate cake for a Hadassah Tea and was cutting it into slices. There were a few not-so-lovely pieces that I didn’t include on the platter I sent over for that event. Remy had a small sliver of the leftovers. He liked it, that’s for sure.

Can’t say I blame him. Smart kid!

Here’s the recipe:

Chocolate Yogurt Pound Cake

  • 2-1/2 cups all-purpose flour
  • 1 cup unsweetened cocoa powder
  • 1 teaspoon baking soda
  • 3/4 teaspoon salt
  • 12 ounces butter at room temperature
  • 3 cups sugar
  • 5 large eggs
  • 2 teaspoons vanilla extract
  • 1 cup plain yogurt
  • 1 cup boiling water
  • 1 cup chocolate chips

Preheat the oven to 350 degrees. Butter and flour a 10-cup bundt pan. Sift the flour, cocoa powder, baking soda and salt into a bowl and set aside. Beat the butter and sugar in the bowl of an electric mixer and mix at medium speed for 3-4 minutes or until well combined. Add the eggs, one at a time, blending each one in. Stir in the vanilla extract. Add the dry ingredients in thirds, alternating with the yogurt, until the flour mixture and yogurt have been used and the batter is well blended and smooth. Gradually add the boiling water, beating slowly, for 2-3 minutes or until the batter is smooth and well blended. Stir in the chocolate chips. Pour the batter into the prepared pan. Bake for 65-70 minutes or until a cake tester inserted into the center comes out clean. Let the cake cool in the pan for 10 minutes, then invert onto a cake rack to cool completely. Makes 12+ servings

Eggless Lemon-Blueberry Tea Bread

Even the most experienced home cooks make mistakes.Like the one I made yesterday. I decided to bake a Lemon-Blueberry Tea Bread and as soon as I put the pan in the oven I realized I had left the eggs out of the batter.Wow! That’s a biggie.I did that…

Eggless Lemon Blueberry Bread

Even the most experienced home cooks make mistakes.

Like the one I made yesterday. I decided to bake a Lemon-Blueberry Tea Bread and as soon as I put the pan in the oven I realized I had left the eggs out of the batter.

Wow! That’s a biggie.

I did that once before, many years ago and made the big mistake of retrieving the loaf pan, scooping the batter back into a bowl, mixing in the eggs and then baking the bread as if nothing had happened.

Unfortunately, after the bread baked and cooled down, biting into a slice was like chewing day-old used bubble gum.

This time I just let the bread bake with a “let’s see what happens” kind of attitude.

The results were astonishingly surprising. What a boon for people who can’t eat eggs! This Lemon-Blueberry Tea Bread is delicious. Firmer, denser than one made with eggs, but tasty and tender without them.

So, here’s the recipe, including the eggs, but for egg-free diets — just leave the eggs out.

Lemon-Blueberry Tea Bread

  • 4 tablespoons butter

  • 3/4 cup sugar

  • 2 large eggs (optional)

  • 2 cups all-purpose flour

  • 2-1/2 teaspoons baking powder

  • 3/4 teaspoon salt

  • 1 tablespoon finely grated fresh lemon zest

  • 1 cup milk

  • 1 cup blueberries

  • 1/4 cup fresh lemon juice

  • 1-1/2 tablespoons sugar

Preheat the oven to 350 degrees. Grease a 9”x5”x3” loaf pan. In the bowl of an electric mixer, beat the butter and 3/4 cup sugar at medium speed for 1-2 minutes or until well combined. (Add the eggs and beat them in). Mix the flour, baking powder, salt and lemon zest in a small bowl. Add the dry ingredients to the creamed mixture in thirds, alternating with the milk. Beat to blend the ingredients to a smooth, even batter. Fold in the berries. Spoon the batter into the prepared pan. Bake for about 55 minutes or until a cake tester inserted into the center comes out clean. While the bread is baking, combine the lemon juice and 1-1/2 tablespoons sugar in a small saucepan and cook over medium heat for 1-2 minutes or until the sugar has dissolved. When the bread comes out of the oven, pour the lemon juice mixture on top. Cool the bread in the pan for 10 minutes. Invert onto a cake rack to cool completely.

Makes one bread

Egyptian Hummus with Tahini

DSC01020.jpg

What’s the most popular hors d’oeuvre?

I think it has to be hummus. I don’t have any scientific proof but I once counted the kinds of hummus sold at one of my local supermarkets and stopped when I reached 38.

Thirty-eight kinds of hummus? That’s almost as many varieties as potato chips!

Of course there aren’t actually 38 different flavors. There are several brands and some of them are the same flavor, brand to brand — like garlic flavored or spicy, olive, tahini.

But there are also some that I will call post-modern versions because I can’t think of another word for it. Like Sabra’s chipotle or Buffalo style hummus or Tribe’s hummus topped with Cilantro Chimichurri. Wow, that’s what I call fusion cuisine!

Sorry, but when it comes to certain foods, I am a purist. Like with hummus.

In Egypt, hummus is still blessedly kind of pure and simple, so I’ve been eating it every day with breakfast and dinner. It’s basic stuff: pureed chickpeas mixed with spices, olive oil and lots of tahini. Mix it all up in a food processor, garnish with a drizzle of olive oil and a few cooked chickpeas and it’s yummy enough. You don’t need to make it more complex or add any sauce or topping. That way you can actually taste the hummus.

Try this version — it’s easy to make, cheaper than store-bought and you won’t have to make a decision about which of the 38 (or more) flavors to buy.

Egyptian Hummus with Tahini

  • 1 pound can chickpeas
  • 1/3 cup tahini
  • 3 tablespoons olive oil
  • 2 tablespoons lime juice
  • 1 clove garlic
  • 1/2 teaspoon salt or to taste
  • pita bread

Drain the chickpeas but reserve the liquid. Set aside a tablespoon of chickpeas. Place the remaining chickpeas in a food processor with the tahini, 2 tablespoons olive oil, lime juice, garlic, salt and 1/4 cup of the reserved bean liquid. Process until the ingredients form a smooth puree (turn the machine off and scrape the sides of the work bowl once or twice). If you prefer a thinner hummus, add some more of the bean liquid. Spoon the hummus into a serving bowl. Garnish with the remaining tablespoon olive oil and the reserved chick peas.

Makes about 1-1/2 cups

Almond/Hazelnut Crescent Cookies

My Break-the-fast plans have changed. One of my friends, the woman who always brings dessert, isn’t able to come this year.Guess what that means?Yep. Dessert’s on me. Okay, my friend Barbara just offered her daughter-in-law’s services for some …

My Break-the-fast plans have changed. One of my friends, the woman who always brings dessert, isn’t able to come this year.

Guess what that means?

Yep. Dessert’s on me. 

Okay, my friend Barbara just offered her daughter-in-law’s services for some chocolate chip cookies. Everybody likes those so I said a quick yes.

I would love some homemade rugelach but don’t think I have time to make those this year, so I’m going to make a couple of plum tortes and also these fabulously rich and tender almond crescents (you can use hazelnuts), which melt in your mouth and are completely freezable (so I can actually do that today! Hurrah.

Almond/Hazelnut Crescents

1/2 pound unsalted butter

1/3 cup confectioner’s sugar

2 large egg yolks

1/2 teaspoon salt

1-1/2 teaspoons vanilla extract

1-3/4 cups all-purpose flour

2/3 cup finely ground almonds or hazelnuts

1/2 cup confectioner’s sugar, approximately

Preheat the oven to 325 degrees. Beat the butter and 1/3 cup confectioner’s sugar in the bowl of an electric mixer set at medium speed for one minute or until fluffy and well blended. Add the egg yolks, salt and vanilla extract and blend them in thoroughly. Add the flour and nuts and blend them in thoroughly. Wrap the dough and refrigerate it for at least one hour or until well chilled. Take off pieces of dough and shape them into 3-inch long cylinders, then into crescents with tapered ends. Place the crescents on ungreased cookie sheets about one-inch apart. Bake for about 25 minutes or until they are lightly browned. Let cool. Press the cookies into the remaining confectioner’s sugar or sift extra confectioner’s sugar on top of the cookies for serving.

Makes about 30 cookies

Egg Salad — My Go-To Staple

fullsizeoutput_867d.jpeg

Egg Salad — My Go-To Staple

The kids are coming for the holiday weekend, so I’ve just made some egg salad. There’s always egg salad in my fridge. It’s like having salt and pepper in the cabinet, a no-brainer nibble. I make egg salad because everyone eats it. On a sandwich or crackers or cucumber slices or just plain on the plate. For lunch or as a snack or even for breakfast. 

Egg salad is my all-purpose go-to dish.

My son-in-law Jesse teases me about it. He rolls his eyes when he sees the fresh batch in the fridge. But then he takes it out and has some. If there weren’t any egg salad there he’d be upset that something was wrong.

I’ve tasted all sorts of egg salad over the years. My mother made it with onion and sometimes cooked potato. That was delicious. I’ve tasted egg salad with fresh dill. That’s good too. And there have been tastes of egg salad with olive, tuna, salmon, cooked peas and carrots and so on.

All good. But not plain old egg salad. I am an egg salad purist. I like it plain and always make it the same way. People say they like it because it’s dry, not overly loaded with mayonnaise — I use a microplane to crush the hard cooked eggs (you use less mayo that way). The only thing I change is the dish I serve it in. 

Everyone loves my egg salad, which is basically this: 

Egg Salad

  • 8 hard cooked eggs
  • 2-1/2 to 3 tablespoons mayonnaise
  • salt and freshly ground black pepper to taste
  • 1-2 teaspoons Dijon mustard if you must

Crush the eggs using the finest grater possible (microplane is best) into a bowl. Add 2-1/2 tablespoons mayonnaise, season with salt, pepper (and mustard if you like it) and mix with a fork. Add slightly more mayonnaise if the egg crumbles don’t hold together.

Makes 4 servings

Mom's Fried Chicken

DSC09958.jpg

I work out twice a week with a trainer whose name is Robbie and usually as I am grunting and sweating and trying to do pushups and mountain climbers and crunches and generally trying to work off the calories, what do we talk about?

Food.

We spend endless amounts of time talking about what we like to eat, what we ate, what we will eat.

We ask about what we’ll be cooking that night. Or on the coming weekend. Or for someone’s birthday or Mother’s Day or what have you.

So the other day we got to talking about Judgement Day. You hear it on some radio stations and there are signs on the highway that Judgement Day is coming on May 21st.

Naturally this seemed like the perfect opportunity to talk about what we would eat if it were our last day on earth.

Wow, getting it down to one thing is too difficult, so we decided it would be a whole meal, plus maybe a cocktail hour with hors d’oeuvre and also dessert. We even talked about what alcoholic beverage we would choose and whether we would close it all out with a cigarette, or something.

The only thing we both picked were franks-in-blankets. Which is good, I have a box of them in my freezer.

But we spent an hour on this topic and I started thinking that if I could have anything, it would be my mother’s fried chicken, made the way she made it. Only she isn’t here to make it, which is maybe why I miss it so much.

What made her fried chicken so special is the simple coating, just seasoned flour, and the cooking fat: vegetable shortening. Yep, that awful stuff that clogs your arteries. But hey, if it’s the last day on earth, what’s the difference? 

One other thing my mother did to make her fried chicken taste so good — after she coated the pieces with flour, she let them air dry for a while. That way the coating sticks and doesn’t fall off in the pan.

The result? Crispy, dark golden brown, juicy, sumptuous chicken.

She made this dish often and I sometimes long for it. I don’t remember when I last cooked it, but it’s time now.

My mother used a whole chicken but I am going to cook only the wings. If it’s Judgement Day why bother with the meat? It’s really the skin and fried outside I like. And there’s that fabulous little bit of meat in that center wing part. My mother always gave that part to me and told me it was the softest, sweetest part of the chicken.

She was right.

Good memories. Good chicken. Here’s the recipe. You can use vegetable oil instead of shortening.

Mom’s Fried Chicken

  • 12 chicken wings, cut into pieces
  • 2/3 cup all-purpose flour
  • 3/4 teaspoon paprika
  • 3/4 teaspoon salt or to taste
  • 1/2 teaspoon garlic powder
  • 1/4 teaspoon freshly ground black pepper
  • shortening or vegetable oil

Rinse the chicken pieces and set them aside. In a large dish, mix the flour with the paprika, salt, garlic powder and black pepper. Coat the chicken pieces with the seasoned flour. Place them on a cake rack to air dry for 25-30 minutes. Heat the shortening or vegetable oil in a deep saute pan over medium-high heat (should be about 1/2-inch) to 365 degrees (a bread crumb will sizzle quickly when you add it to the pan). Add a few chicken pieces at a time (adding too many will make the cooking oil too cool) and cook, turning the pieces occasionally, for 8-10 minutes or until crispy and golden brown. Drain on paper towels. Makes 12

Buttermilk Herb Slaw

I am constantly amazed at how creative people can be with food.

Take cole slaw. As a kid I remember cole slaw as that deli stuff with shredded cabbage and carrots in a thin white liquid that you bought when you were going to eat hot dogs or hamburgers or some sort of deli sandwich, like corned beef on rye.

My grandmother made her own cole slaw, which she referred to as “cull sloy.”

But now, in specialized food stores, supermarkets and bodegas everywhere, you can find a variety of “slaws,” which after all, just means “salad.” My local store offers “Asian Slaw” and “Health Slaw” in addition to plain old Cole Slaw.

But I like to make my own because that way I can get creative too. Like with this recipe — I like the tangy taste of buttermilk and it lets you cut down on the fatty mayonnaise of a standard recipe. The shredded snow peas add a rich, green color and a crispiness. Adding lots of fresh herbs gives it the refreshing taste of summer.

Btw, if you think it’s silly to buy buttermilk because you’re never going to use it for anything else, read this.

Buttermilk Herb Slaw

  • 6 cups shredded cabbage
  • 1 cup shredded snow peas
  • 1-1/3 cups buttermilk
  • 1/4 cup mayonnaise
  • 2 tablespoons cider vinegar
  • 2 tablespoons sugar
  • 1/4 cup chopped chives or scallion
  • 1/4 cup chopped fresh parsley
  • 2 tablespoons chopped fresh dill (or use a mixture of herbs)
  • 1 teaspoon salt or to taste
  • pinch or two of cayenne pepper

Place the cabbage and snow peas in a large bowl an toss to distribute them evenly. In another bowl, combine the buttermilk, mayonnaise, vinegar, sugar, chives, parsley and herb, whisk the ingredients and pour over the vegetables. Toss the ingredients and let rest for at least 15 minutes. Before serving, taste for seasoning and add salt and cayenne pepper to taste.

Makes 8 servings

Old Fashioned Stuffed Cabbage

For me, Stuffed Cabbage is like hot dogs, blooming onions and caramel corn. Foods I love to eat but don’t, except for once a year because once I take that first bite I over indulge and stuff myself and then feel awful the next day.

Right now is Stuffed Cabbage time.

I never actually tasted stuffed cabbage until after I was married. It was something the women in my husband Ed’s family would cook. My grandmother made Stuffed Grape Leaves, which are similar, but the leaves are tangier and her sauce more sour than the typical one for Stuffed Cabbage.

Over the years I tried to develop a recipe that Ed would like and later, would appeal to my sons-in-law, who like the dish sweeter than I was used to. This year I got it right, according to everyone in the extended family, and that’s saying a lot because we are an opinionated bunch.

Here’s the recipe:

Stuffed Cabbage

  • 1 large head of green cabbage
  • 2 pounds ground beef
  • 1 medium onion, grated
  • 1 large egg
  • 1/4 cup raw white rice
  • 2 tablespoons matzo meal or plain bread crumbs
  • salt and freshly ground black pepper to taste
  • 2 tablespoons vegetable oil
  • 1 large onion, finely chopped
  • 1 cup brown sugar
  • 1 12-ounce bottle chili sauce
  • 1/2 cup fresh lemon juice
  • 1/2 cup raisins

Preheat the oven to 350 degrees F. Bring a large pot half filled with water to a boil. Cut out the hard center cabbage core. Remove the large cabbage leaves. Place the cabbage leaves plus the smaller remaining cabbage in the boiling water. Cook the cabbage leaves for about 3 minutes, or until they wilt. Cook the remaining cabbage core for 3-5 more minutes, or until you can easily remove the leaves. Cut off the hard stem portions from the large leaves so that they can be rolled easily. Set the leaves aside.

ALTERNATELY: if you plan ahead you can freeze the entire head of cabbage for 24 hours (or more). Thaw the cabbage and the leaves will already be wilted and you can avoid cooking them.

In a large bowl, mix the ground beef, grated onion, egg, rice, matzo meal and salt and pepper to taste. Place a mound of this mixture in the center of each leaf (more on the larger leaves of course). Enclose the meat by wrapping the cabbage leaves, envelope style. Place the stuffed cabbage leaves, seam side down, in deep baking dishes. (I separate the large rolls and smaller ones.)

Heat the vegetable oil in a saute pan over medium heat. Add the onion and cook for 4-5 minutes or until softened. Stir in the brown sugar, chili sauce, lemon juice and raisins and cook for 3-4 minutes. Pour the sauce over the cabbage rolls. Cover the pan. Bake for 2 hours (or, to cook ahead, bake for one hour, freeze, thaw and bake for an additional hour).

Makes 18-24