Although my Mom was the one who taught me how to cook and who encouraged me to expand my recipe repertoire, I post a lot about the dishes my grandma cooked. My mom's food was thoroughly up-to-date and wonderful, but my grandma made the old-fashioned, old-world Ashkenazi favorites that I loved (still love!) so much.
And so, when I got hold of Miri Rotkovitz's new cookbook, "Bubbe and Me in the Kitchen," I felt right at home. I understood immediately that for Miri, whose recipes are geared to mostly modern food that today's kosher home cooks prefer, she keeps a special place within her heart and soul for her bubbe, for the foods her bubbe cooked and the words of wisdom, culinary and otherwise, that her bubbe gave to her. Like how bubbe taught her that using spices could "bump up the flavor and stamp a personal signature on favorite dishes." That slicing apples rather than chopping them would result in a more flavorful Apple Cake.
The book is filled with some of her bubbe's recipes, culled from a collection of index cards and clippings, plus an occasional recipe from other kosher food writers (including me) and mostly, Miri's own contemporary creations and riffs on traditional dishes. There are so many fabulous recipes, I don't even know where to begin cooking them. Shall it be the chapter on Grains, with the Forbidden Rice Salad with Mango and Ginger Vinaigrette? Or the Mezze/Snack chapter that includes Nori and Smoked Salmon "Petits Fours?"
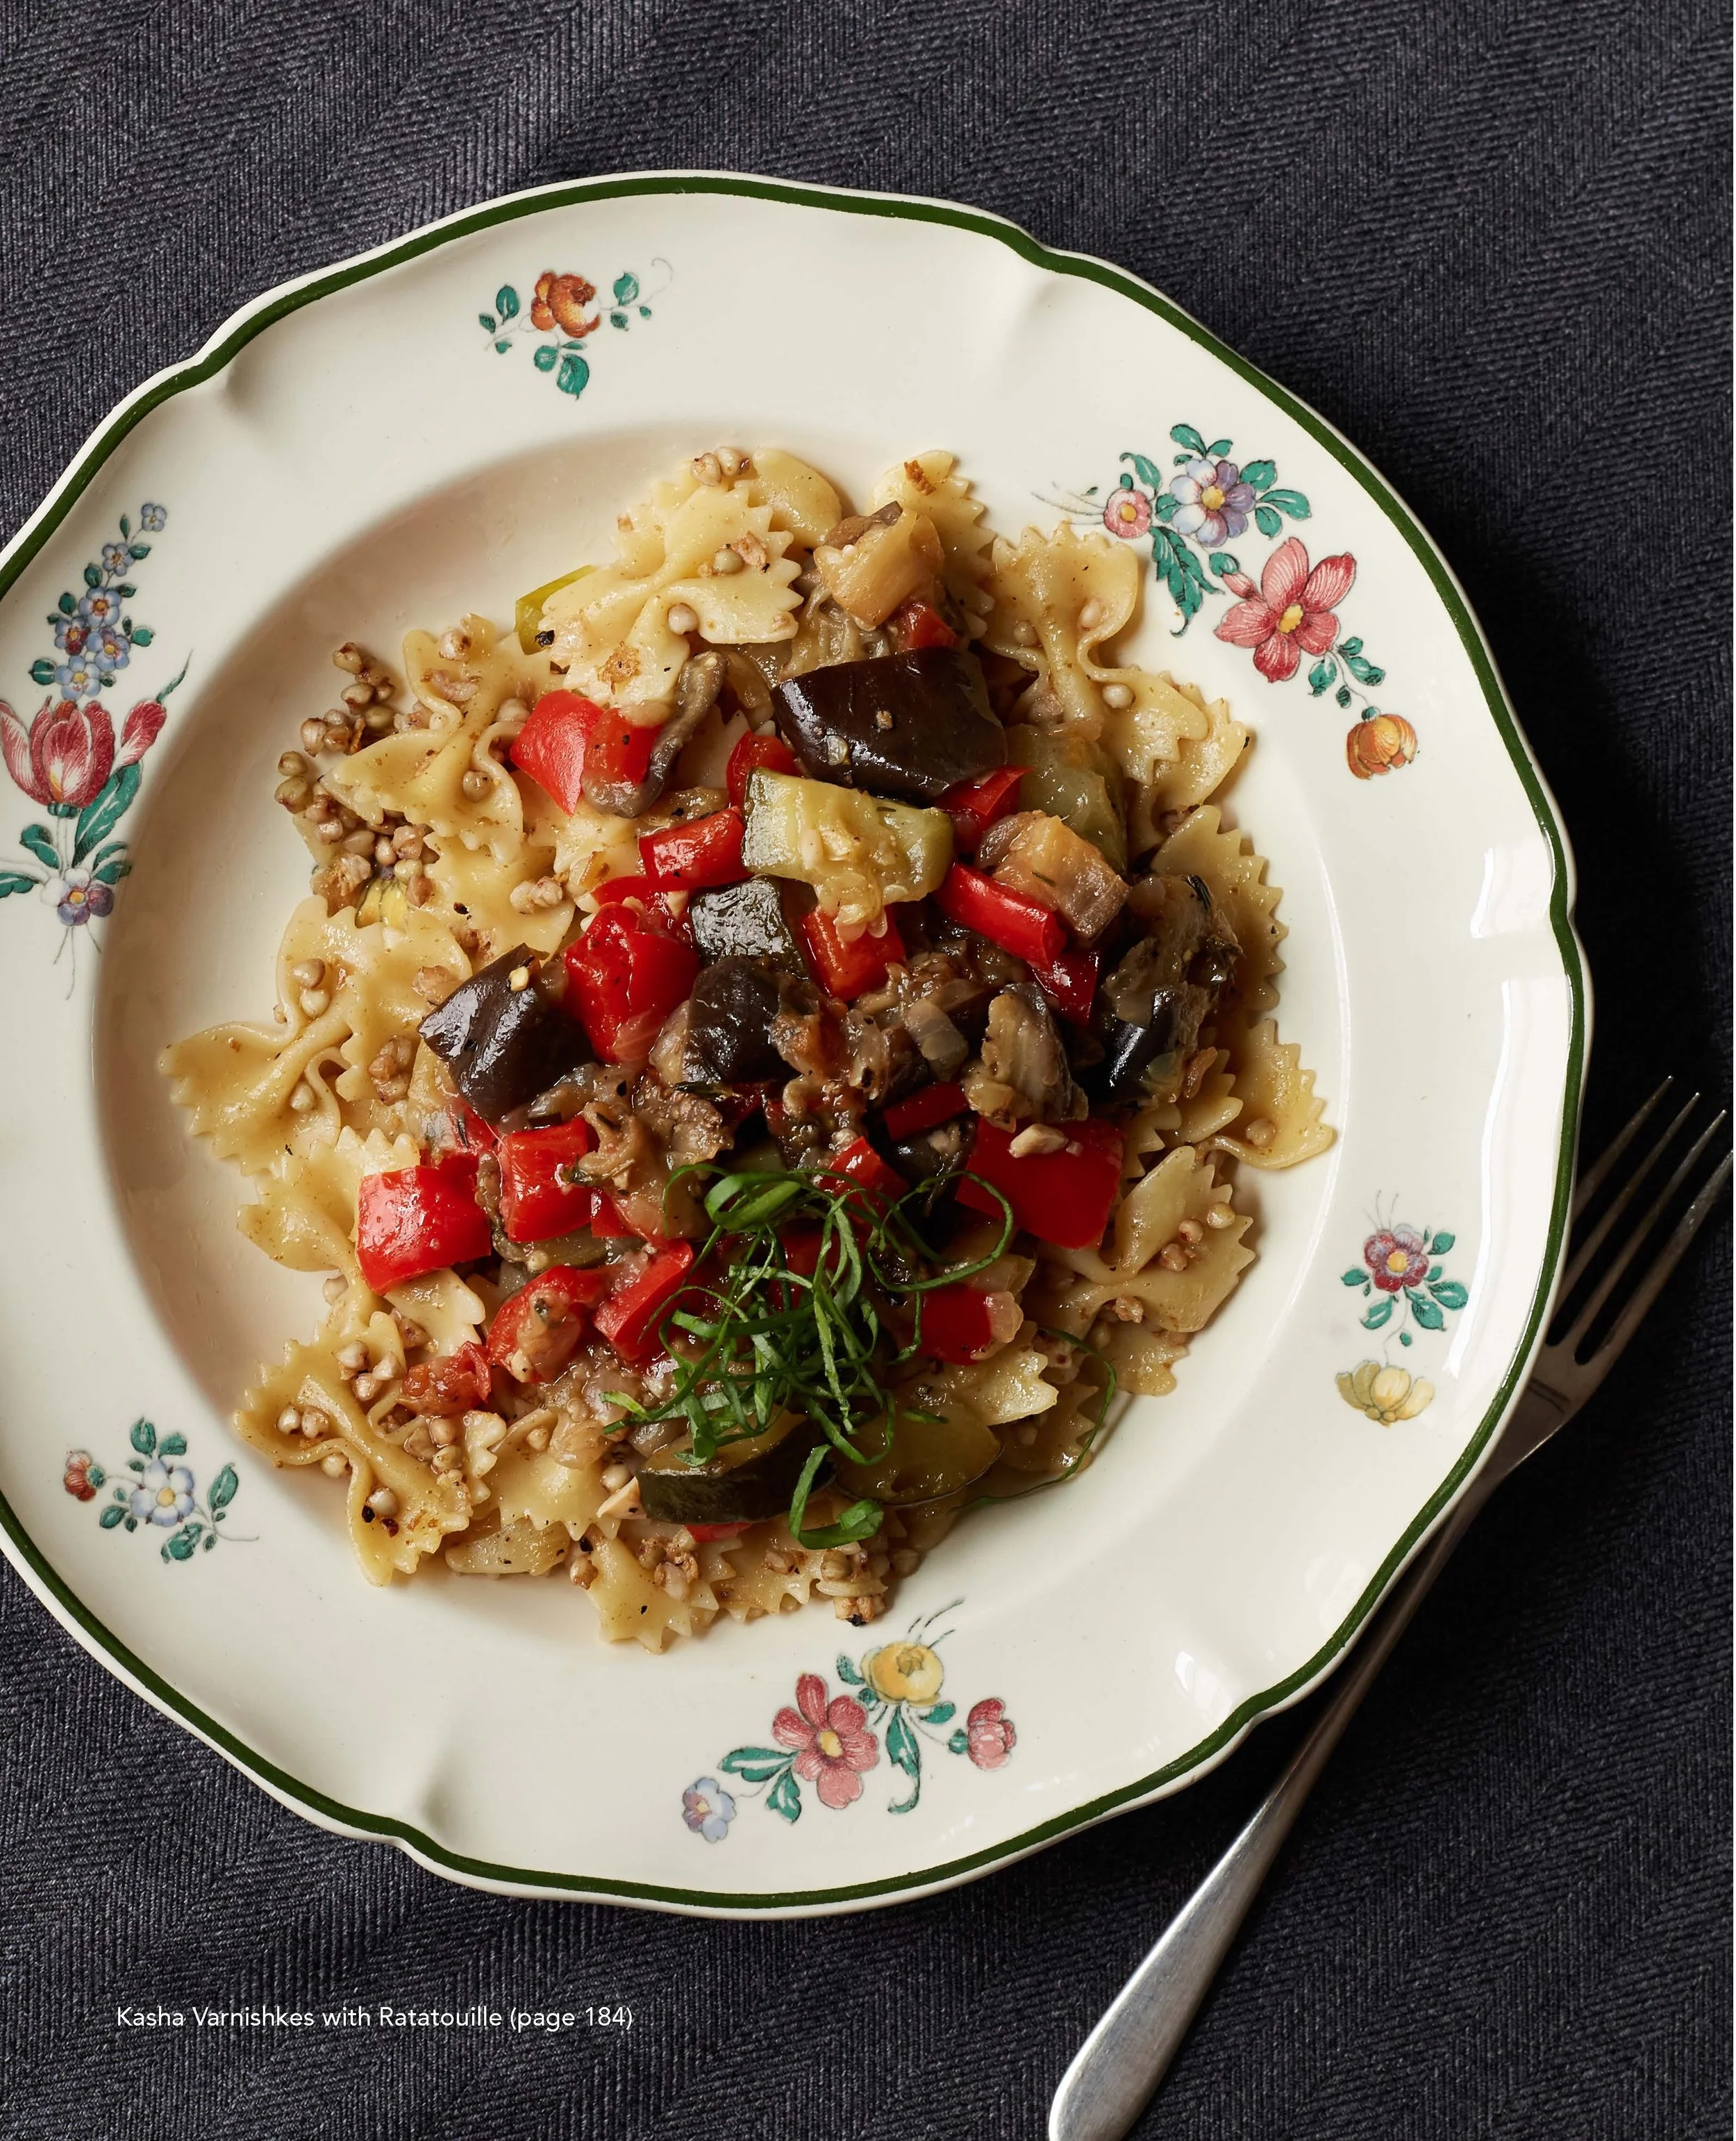
I love meatless meals, so actually, it's the Kasha Varnishkes with Ratatouille for me. This is the kind of dish that brings together traditional and contemporary, that makes a standard side dish into a full meal.
This book is a winner and a keeper. Not simply for the wonderful kosher recipes, but also for all the extras: notes on pantry items, information about what kosher means today in terms of global ingredients and healthy eating, and because of the charming narrative and headnotes that lets us hear bubbe's voice, translated by a loving grand daughter.
Here's that recipe, so fine for a meatless Monday (but really, anytime).
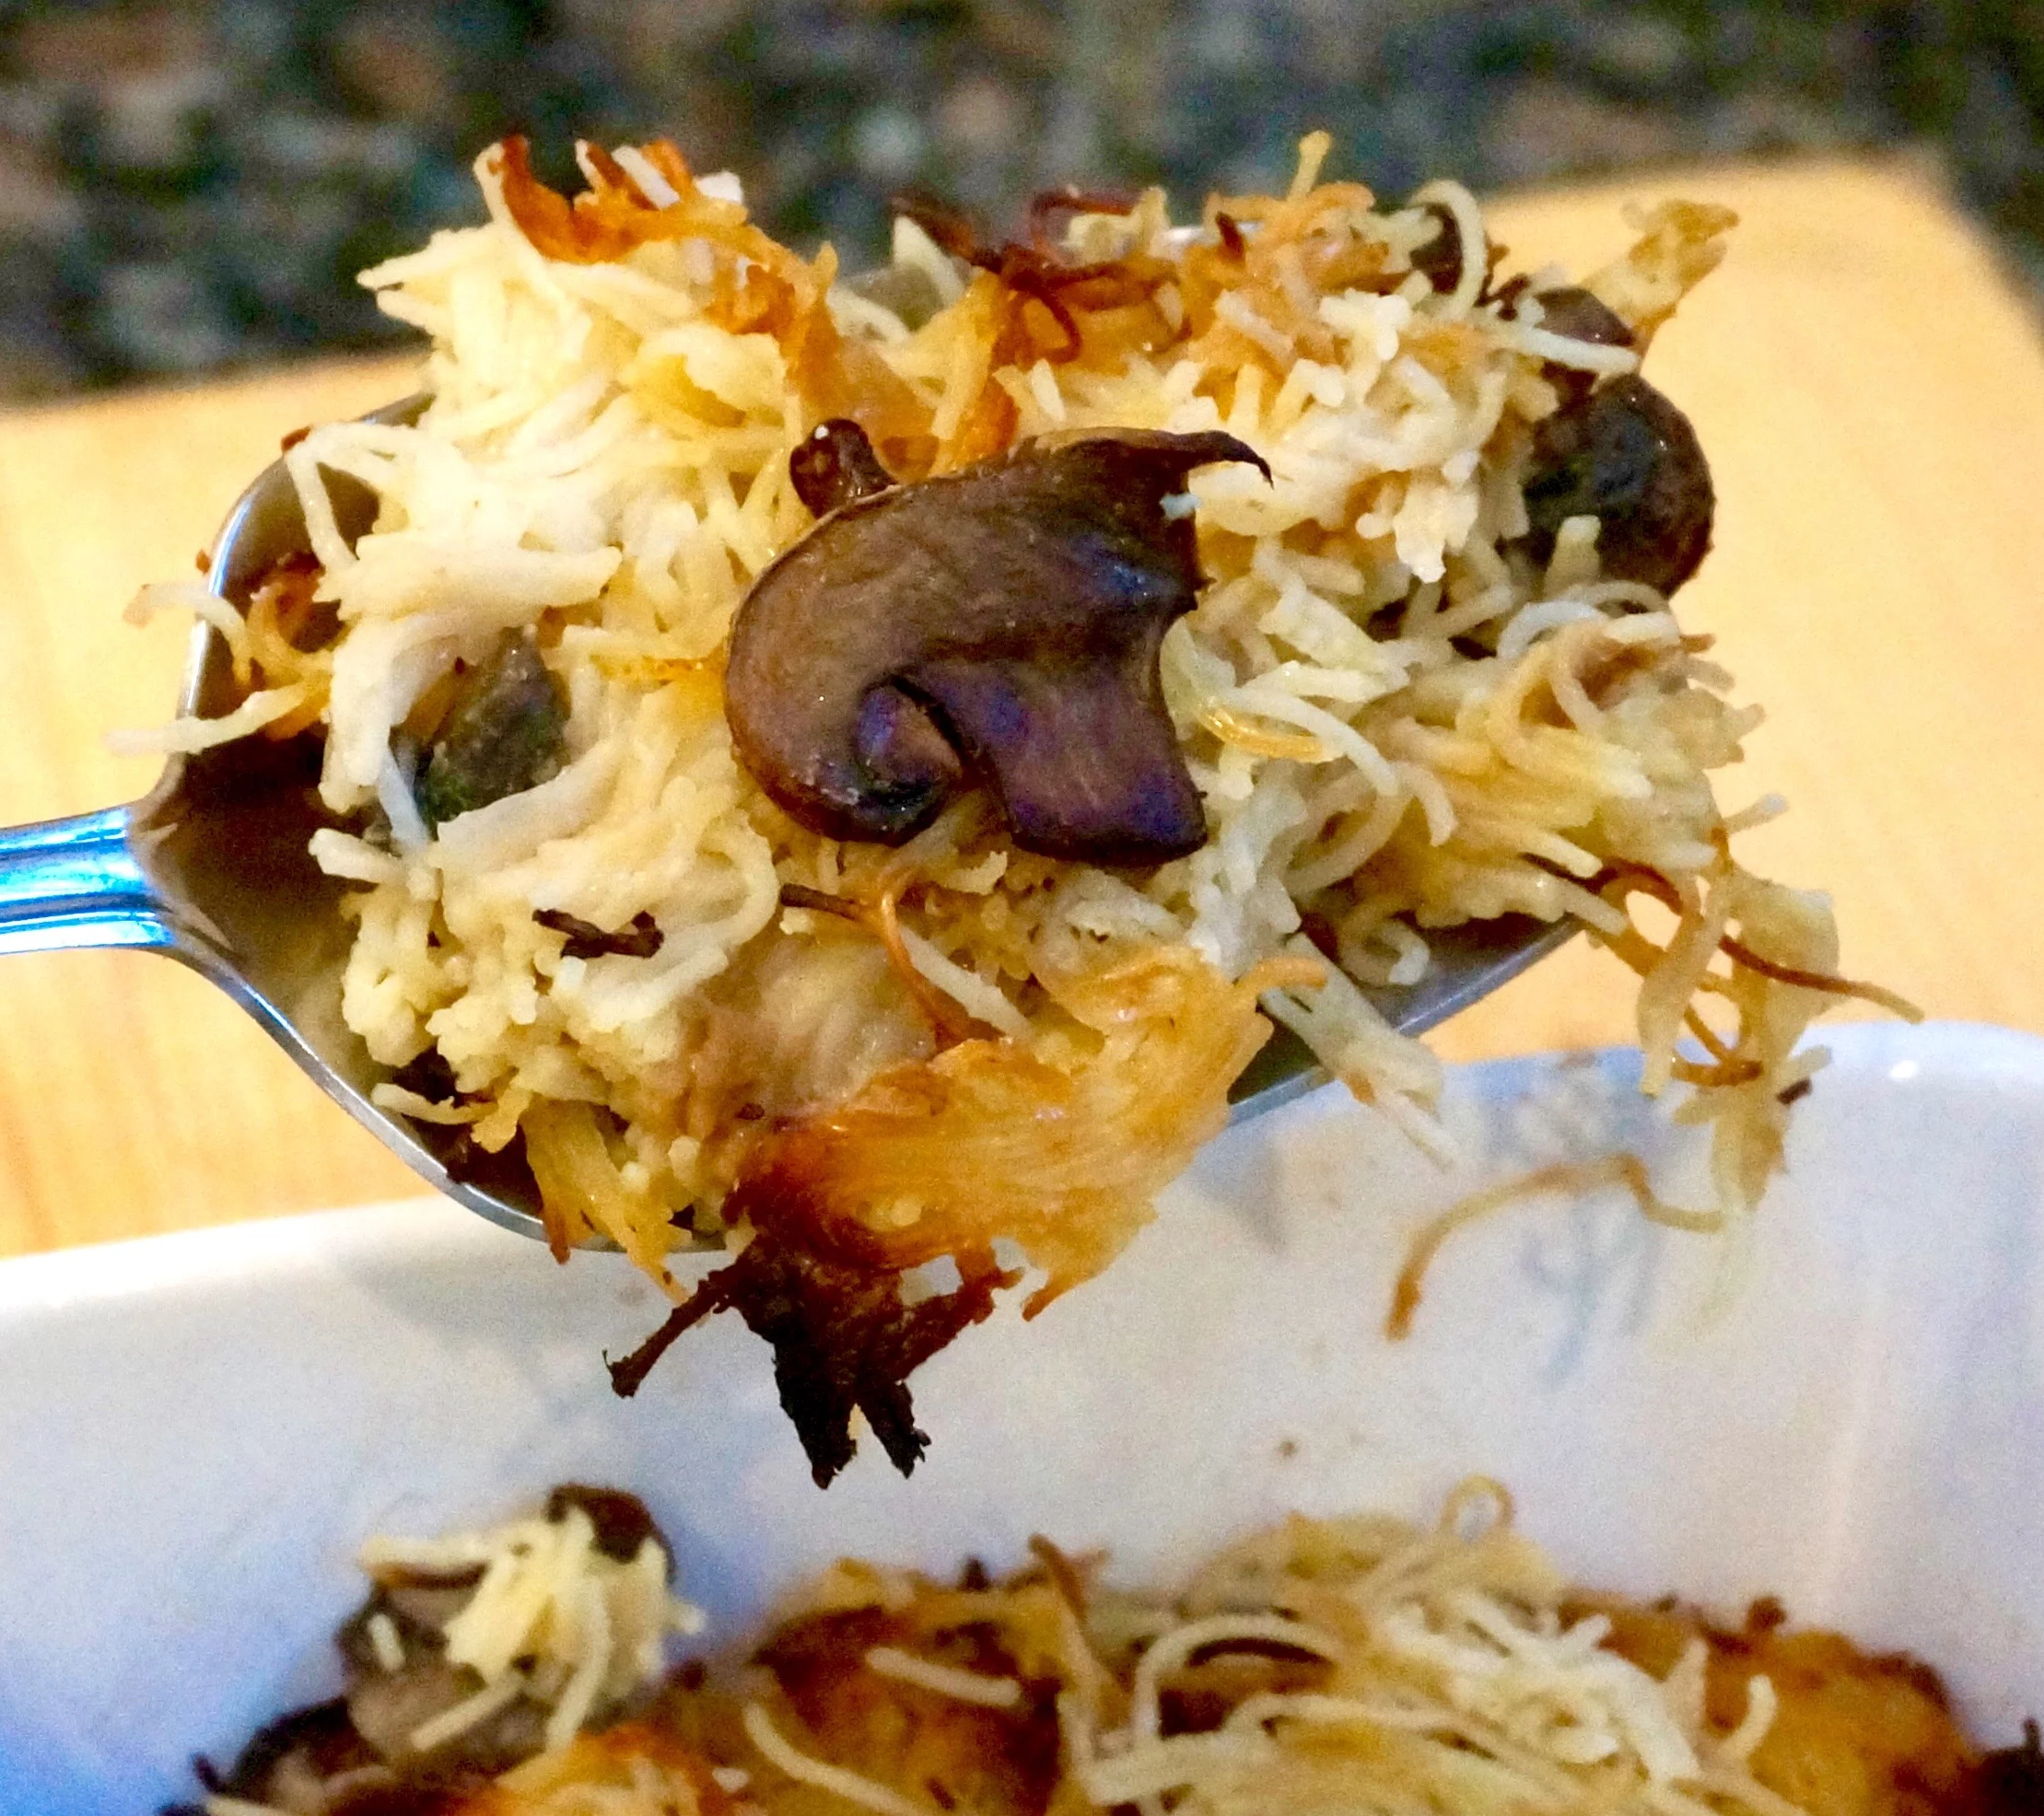
Kasha Varnishkes with Ratatouille
SERVES 4 TO 6 | PAREVE
Prep time: 25 minutes Cook time: 45 minutes
FOR THE RATATOUILLE
3 tablespoons extra-virgin olive oil
1 large onion, peeled and chopped
3 large garlic cloves, chopped
1medium eggplant, cut into 1-inch pieces
1 large red bell pepper, cored and chopped
1 medium zucchini, trimmed and cut into 1-inch pieces
2 medium tomatoes, seeded and cut into 1-inch pieces
2 tablespoons tomato paste or tomato sauce
Generous pinch dried thyme
2 tablespoons thinly sliced fresh basil leaves, plus extra for garnish
Sea salt or kosher salt
Freshly ground black pepper
FOR THE KASHA VARNISHKES
4 tablespoons extra-virgin olive oil or canola oil, divided
1 large onion, peeled and finely chopped
1 pound bowtie (farfalle) noodles
1 large egg
1 cup kasha (medium granulation) 2 cups water or vegetable stock
1 teaspoon salt
¼ teaspoon freshly ground black pepper
MAKE THE RATATOUILLE: Preheat the oven to 400°F. Warm the oil in a Dutch oven or ovenproof covered chef’s pan set over medium heat. Add the chopped onion and sauté until it softens and begins to turn translucent, about 5 minutes. Add the garlic and sauté 1 minute more.
Add the chopped eggplant and cook, stirring frequently, until it begins to soften, about 5 minutes. Add the red peppers, sauté for 2 minutes, then add the zucchini, stirring occasionally, until the zucchini softens, about 3 minutes more. Stir in the tomatoes, tomato paste (or sauce) and thyme.
Cover the pan and place in the preheated oven. Bake for 30 minutes, stirring after 15 minutes. The vegetables should be saucy and tender, yet still mostly hold their shape. Remove from the oven, stir in the basil, and season with salt and pepper. Set aside.
MAKE THE KASHA VARNISHKES: While the ratatouille is baking, set a large pot of water to boil for the pasta. In a chef’s pan or large skillet, heat 2 tablespoons of oil over medium-high heat. Add the onions and sauté until they turn soft and translucent, about 5 minutes. Reduce the heat and cook, stirring occasionally, until the onions start to caramelize, about 10 minutes more. Remove from the heat and set aside.
In the meantime, when the pasta water comes to a boil, stir in the bowties and cook until al dente, about 10 to 11 minutes. Drain and transfer the pasta to a large serving bowl.
In a small bowl, beat the egg. Add the kasha and stir well to coat the kasha grains. Transfer the onions from the chef’s pan to the serving bowl with the pasta. Return the pan to the stove top and place over medium heat. Add the kasha and cook, stirring constantly, until the egg dries and the kasha separates into individual grains, about 3 minutes.
Add the water or stock to the kasha and bring to a boil. Reduce the heat, cover, and simmer until the liquid is absorbed, about 10 minutes.
When the kasha is cooked, add to the bowl with the bowties and onion. Drizzle with 2 table- spoons of oil and stir well to combine. Spoon into shallow bowls and top with the ratatouille. Garnish with additional basil.
STORAGE: Store the ratatouille and the kasha varnishkes in separate covered containers in the refrigerator. The ratatouille will keep for 4 to 5 days, the kasha for 2 to 3 days. You can also freeze both dishes in freezer-safe containers