Matzo Polenta Crisps

Matzo Polenta Crisps

I like to tweak recipes. So sometime last year as I was making polenta — or what my grandma called mamaliga — I wondered whether I could adapt the recipe using matzo meal instead of corn meal and thus be able to serve it at Passover.

It was awful. Like some cooked cereal I once served my daughter Gillian and she said it tasted like a box.

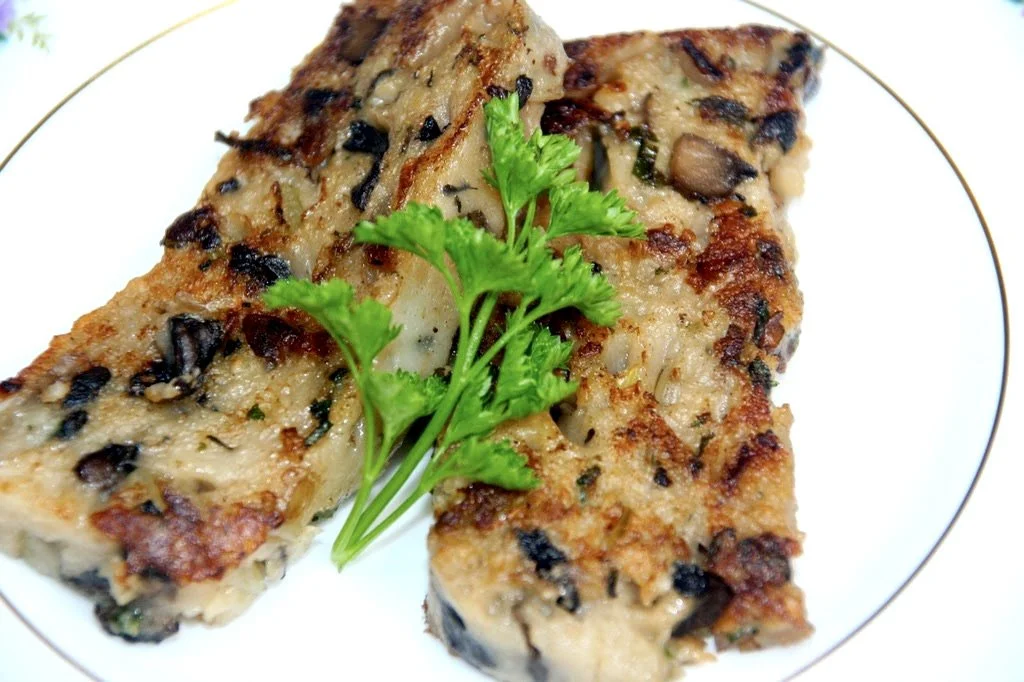
So I fried some onions, celery and mushrooms until they were golden brown, mixed them into the matzo-meal mamaliga and let it chill inside a loaf pan. When it was cold, I cut the loaf into slices and fried the slices until they were hot and crispy.

Who says you can’t make a silk purse out of a sow’s ear?

Now these were absolutely delicious. And are a terrific side dish during Passover.

Matzo Meal “Polenta” Crisps

  • 2 tablespoons olive oil

  • 1 medium onion, chopped

  • 1 large stalk celery, chopped

  • 2 cups chopped mushrooms

  • 2 tablespoons chopped fresh parsley

  • 1 tablespoon chopped fresh mixed herbs such as dill, basil, rosemary, thyme, etc.

  • 2 cups vegetable or chicken stock

  • 1 cup water

  • 1 cup matzo meal

  • salt and freshly ground black pepper to taste

  • 1/2 cup grated Fontina cheese. optional

  • vegetable oil and/or butter for frying

Lightly grease a 9”x5”x3” loaf pan. Heat 2 tablespoons olive oil in a saute pan over medium heat. Add the onion and celery and cook, stirring occasionally, for 3-4 minutes or until softened. Add the mushrooms, parsley and herbs and and cook for another 3-4 minutes or until all the liquid has evaporated from the pan. Set aside to cool slightly. Bring the stock and water to a boil in a large saucepan. Whisk constantly as you gradually add the matzo meal and cook for about 2-3 minutes or until the mixture is thick. Reduce the heat to low and cook, stirring occasionally for another 3-4 minutes or until the mixture is very thick. Stir in the vegetable mixture and season to taste with salt and pepper. Mix in the cheese of used. Spoon the mixture into the prepared loaf pan. Refrigerate until cold, at least one hour. Unmold the loaf onto a cutting board and cut into 3/4-inch slices. Heat the olive oil and/or butter in a saute pan over medium heat. Cook the s,ices a few at a time, for 2-4 minutes per side, or until crispy. Makes 6-8 servings

Fairway Passover Catering

I am what Jewish people call a “balabusta.” Which is a yiddish term generally meaning something like a woman who likes to cook, is energetic and keeps herself busy with a lot of different things. 
So preparing for Passover and cooking an…

I am what Jewish people call a “balabusta.” Which is a yiddish term generally meaning something like a woman who likes to cook, is energetic and keeps herself busy with a lot of different things. 

So preparing for Passover and cooking an entire dinner for anywhere from 14 to 30 people never seemed daunting to me.

But I also realize that while being a “balabusta” always worked for me, it is not every woman’s goal. Many many women have absolutely no interest in cooking, no less for a crowd of guests. Or they have absolutely no time or are too busy with kids or elderly parents or whatever it is that takes up a life. They need help if they are having a Seder at their house.

Order in!

Sometimes a local kosher catering place has a special Passover menu. Sometimes you can order through your synagogue. If you live anywhere near Fairway (there’s one where I live in Stamford, CT.) you can order from their menu: http://www.fairwaymarket.com/files/catering/fairwaystamfordkosherforpassovercateringmenu2012.pdf

It’s a traditional Ashkenazi style dinner, complete with matzo ball soup, gefilte fish, brisket, potato kugel, etc. and you can order a complete dinner or a la carte items.

Why not!?

Matzo Balls

_DSC9251.jpg

Should Matzo Balls sink or float? 

I had a cousin who made the kind of matzo balls that sank. In fact, I would have bet that they also bounced. But her family loved them and it’s true, when it comes to matzo balls you either like the firm, rubbery cannonball type that sits at the bottom of the soup bowl or the soft, spongy, light-as-a-feather kind that floats on top.

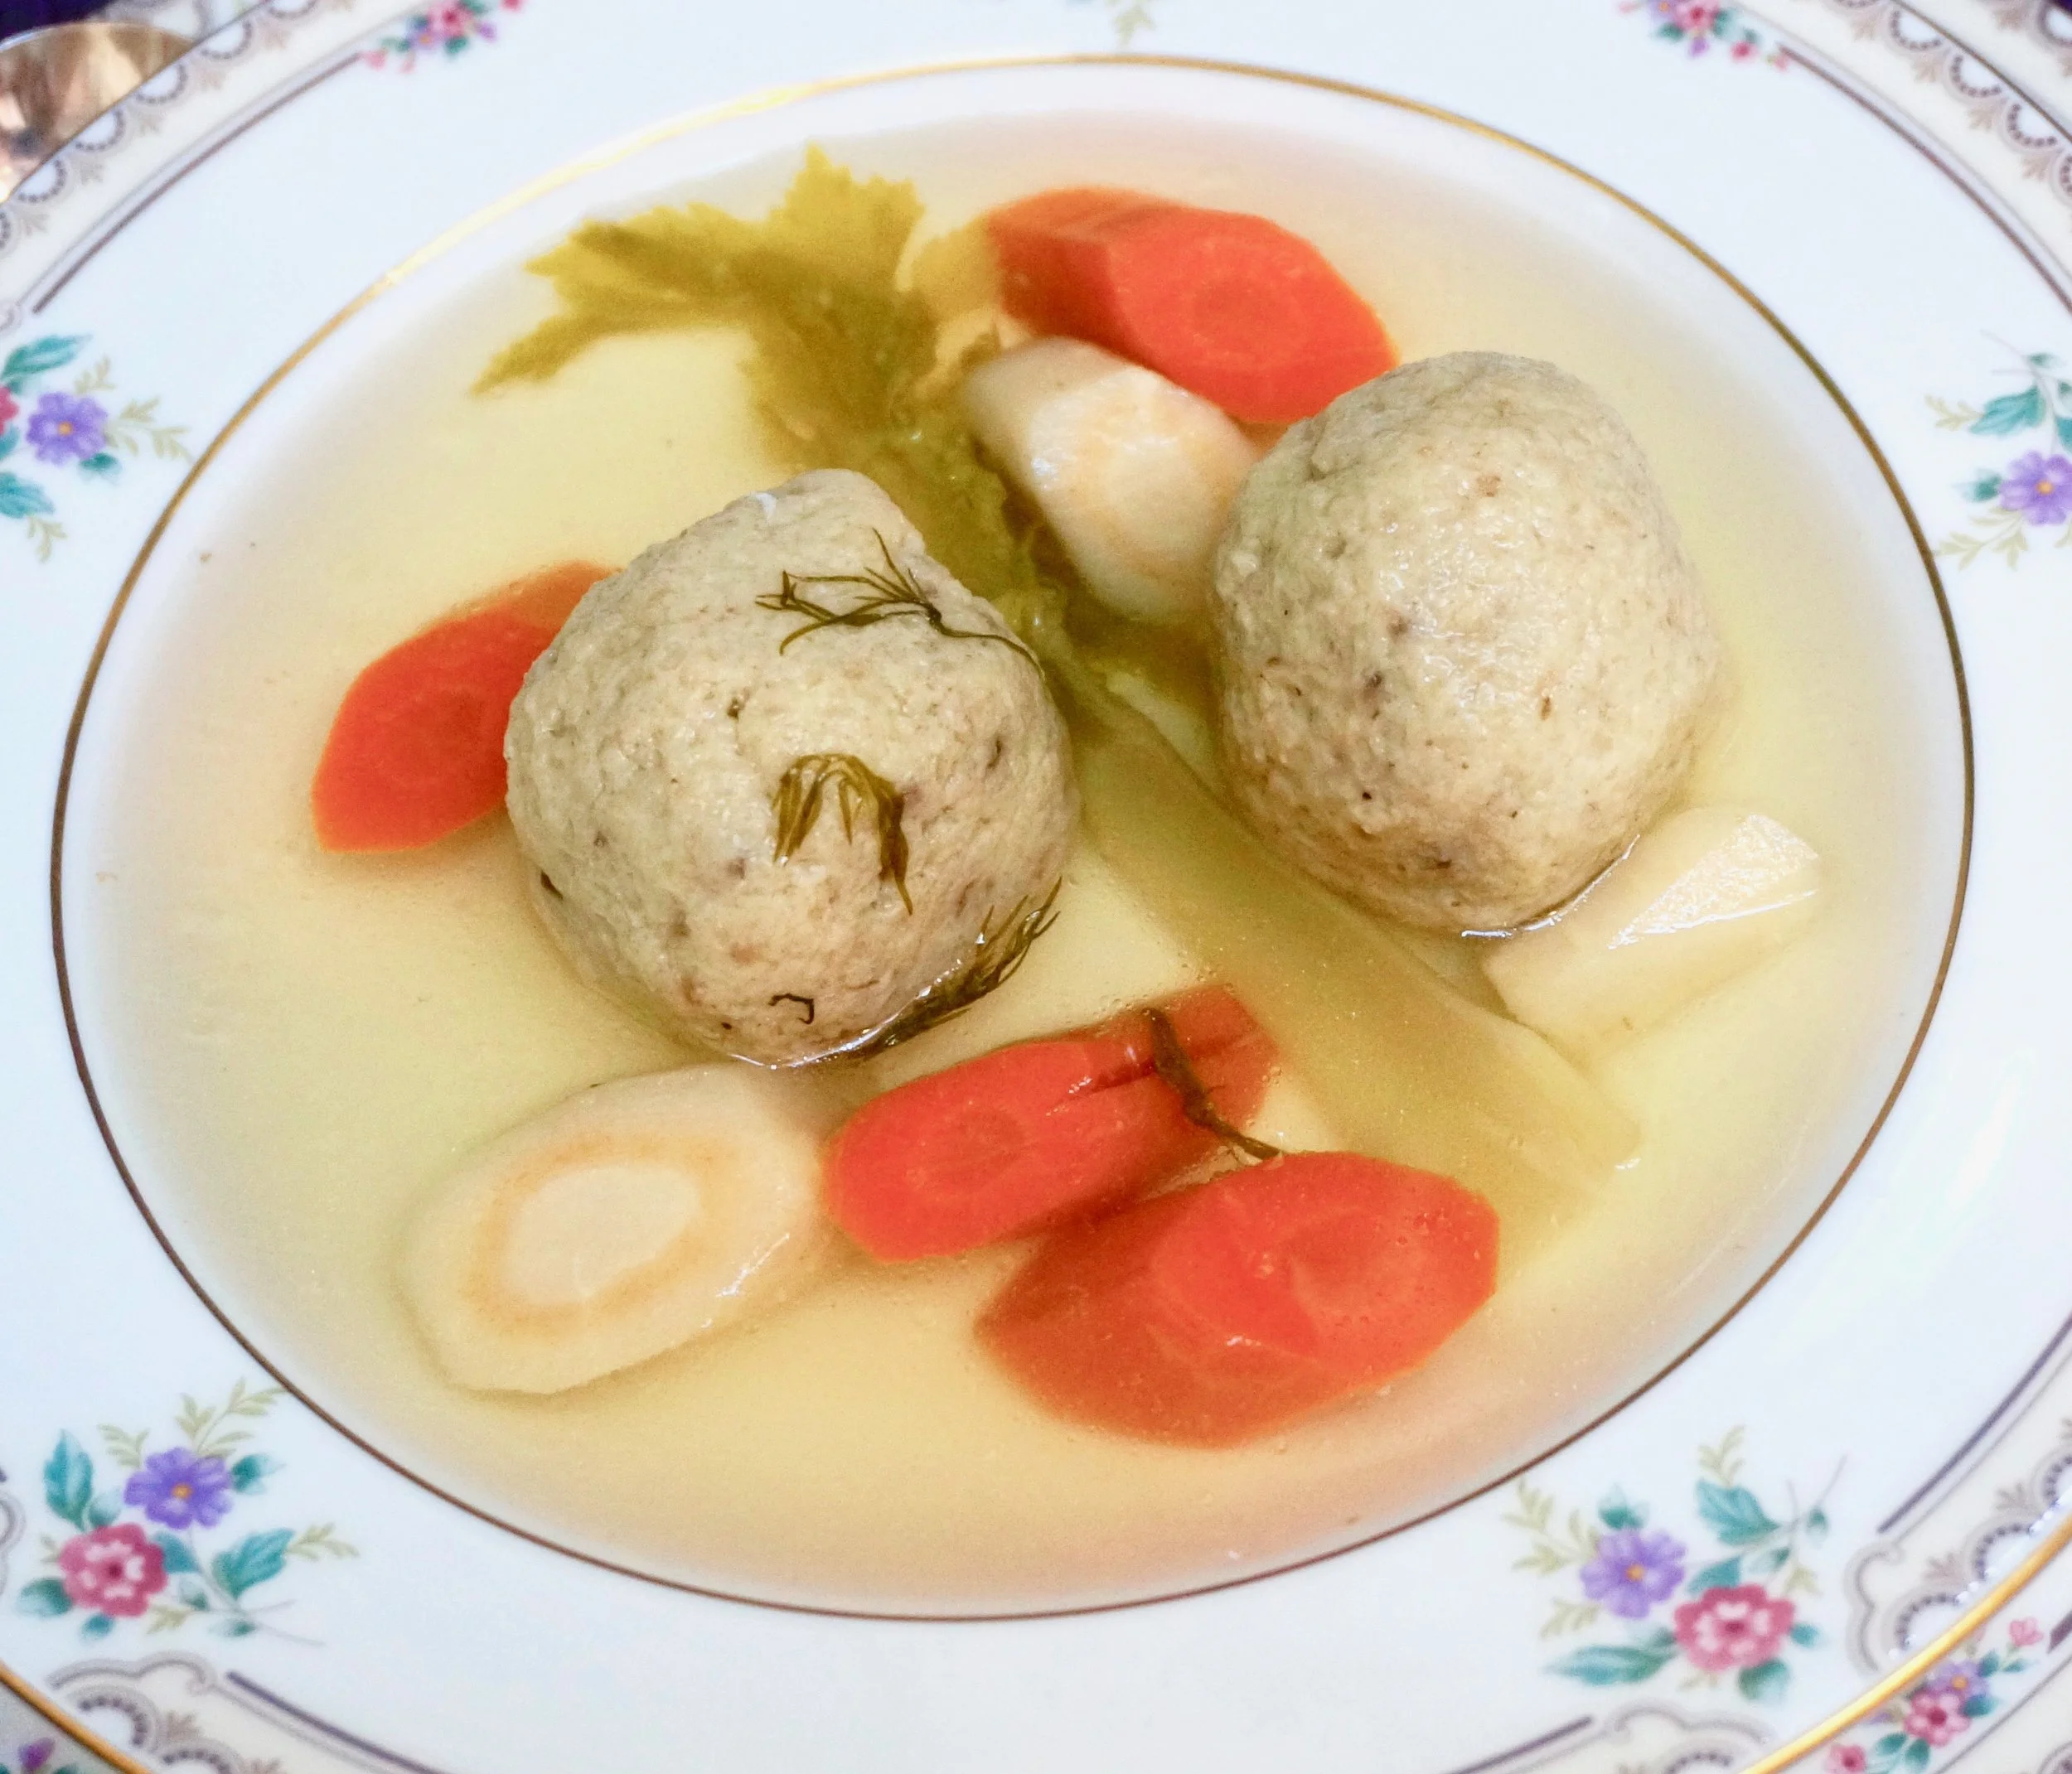
Here’s the recipe we use. These make medium, slightly-firm, soup soaked delicious matzo balls. Perfect for Passover, which is only 11 days away! If you like matzo balls fluffier, cut down dough refrigeration time.

Matzo Balls

  • 1 cup matzo meal

  • 1 teaspoon salt

  • freshly ground black or white pepper to taste

  • 1 tablespoon finely chopped fresh parsley or dill, or both, optional

  • 4 whole large eggs, slightly beaten

  • 1/4 cup melted goose fat, chicken fat, margarine or vegetable oil

  • 1/4 cup chicken soup, water or seltzer

In a bowl. combine the matzo meal, salt, pepper and parsley or dill (or both). In another bowl, beat the eggs, melted fat and soup together. Add the egg mixture to the matzo mixture and blend thoroughly. Stir in the liquid. Cover the ingredients and refrigerate for about 30 minutes. Bring a large pot of lightly salted water to a boil. With wet cold hands shape the matzo mixture into balls 1/2-inch to 1-inch balls (you may have to re-wet hands occasionally). Add the matzo balls one by one to the boiling water. Lower the heat so that the water is at a simmer. Cover the pan and cook for at least 50 minutes (do not lift the cover) or until they are tender. Remove the matzo balls from the water. Place into the soup to soak up more flavor.

Makes up to 20

Hard Cooked Eggs

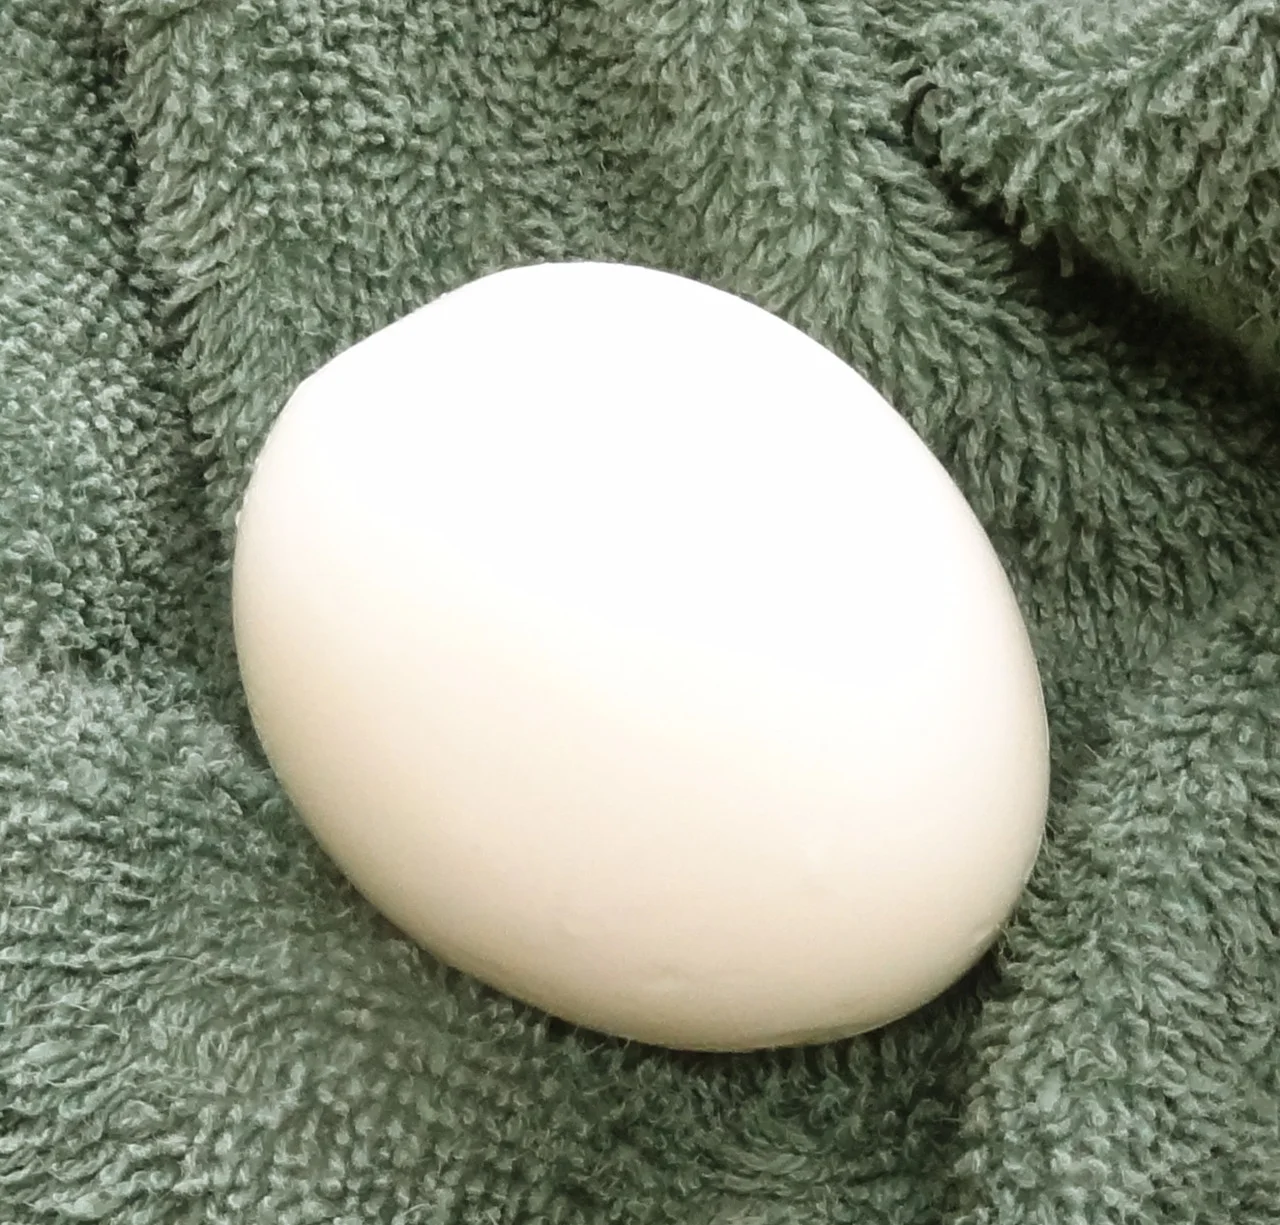
Even good cooks have a hard time with hard cooked eggs.
I’ve been doing it for a lifetime, I learned how from my Mom, but still, sometimes when I try to peel the shell off it sticks and some of the white comes off with it and the egg looks battered…

Even good cooks have a hard time with hard cooked eggs.

I’ve been doing it for a lifetime, I learned how from my Mom, but still, sometimes when I try to peel the shell off it sticks and some of the white comes off with it and the egg looks battered and lumpy with little craters all over the surface.

It usually doesn’t matter because either I will be eating the egg as a snack and I really don’t care if it’s lumpy. Or, I am using it for egg salad and will be grating it or mashing it anyway.

But hard cooked eggs are a must for Passover and you can’t have some egg that looks like it’s been in a fight on the Seder plate. And also, you want a nice, smooth, lovely looking egg for everyone to eat at the start of the feast.

So how do you do it?

I’ve tried all ways. My Mom told me to use eggs that weren’t the “freshest” but that’s never really a problem with supermarket eggs, is it! Even with organic eggs, which I always buy. By the time eggs get to the store they’re not exactly right out of the chicken. She also told me to have the eggs at room temperature — take them out of the refrigerator at least one hour before cooking them.

She also had this little pick (it had a plastic handle and looked like a metal toothpick) and she would pierce the narrower top of each egg before cooking it. (Or was it the rounder, larger end? Can’t remember.)

Tried that too.

The Incredible Egg site instructions say to put the eggs in a pot, bring the water to a boil, remove the pan from the heat and let the eggs rest in the water for 12 minutes (for large eggs, 9 for medium, 15 for extra large). Some snarky relative who once criticized my hard cooked eggs (they did look awful!) said to let the eggs rest for 10 minutes.

But I did both a few times and the yellows were never cooked enough even at 12 minutes (and as for the 10-minute version, well, the yellows were still wet in the middle). I like a hard cooked egg cooked through. Light yellow and still moist, but not wet in the center.

My son-in-law Greg told me to bring the water to a boil first, then add the eggs (this is how my mother did it), then wait for the water to boil, turn the heat lower and simmer the eggs for 10 minutes, then immediately plunge the eggs into ice water.

That’s what I did today, just for practice. The yellows were perfect.

But I have to say, I used eggs from 2 different cartons bought at two different times. Despite the fact that the timing was good for the taste and texture, the shells on the fresher eggs were harder to peel. The thin membrane between the white and shell stuck, so I wound up with a few eggs with little craters on the surface.

I will follow Greg’s recipe for Passover. But I will also follow my Mom’s advice: use eggs that are at least a week in the fridge, take the eggs out way before I cook them and make extra, just in case, because, it seems, no matter how much of an expert you are and no matter how much extra advice you follow, the shells might not always come off so well.

Hard Cooked Eggs

large size eggs

water

Bring a potful of water to a boil. Immerse the eggs one by one. Let the water return to a second boil. Lower the heat and simmer the eggs for 10 minutes. Remove the pan from the heat. Place the eggs into ice cold water.

Does anyone out there always get perfectly peeled eggs?

Easy Sweet Potatoes

I have to congratulate myself.

For two reasons.

First. because my husband came home from a meeting with a client recently (the client is in a health-related industry) with some great news (I am using quotation marks even though I can’t remember the exact words, but they’re close enough):

"Wow, I just read a newsletter at (so-and-so’s) office and it listed all the best, healthiest foods to eat and guess what? We eat all those things!"

No kidding.

I never told Ed we were cutting down on beef, that I was serving smaller portions, that we were going to eat more fish, chicken and turkey. That I would make sweet potatoes instead of white potatoes. That I would serve more leafy greens and whole grains, dried apricots, avocados and bananas. And whatever else was on the list.

I just did it.

And he is such a good soul he just went along, never realizing. Of course, this was all very gradual. But somehow he had the idea that our diets were not particularly healthy.

Of course we go off now and then. And make pigs of ourselves. And eat things like franks-in-blankets and chocolate covered raisins and taco chips and sugar-coated jelly half moons.

Not usually though.

But he sometimes mentioned to me that we should should start eating in a healthier way, to which I always said “we actually do.” But you know how people are. People always assume what they have always assumed unless something comes along and changes their minds.

Like that newsletter I mentioned.

So my second reason for congratulating myself is that I still haven’t said “I told you so.”

Here is one of the healthy recipes for sweet potatoes. I always buy organic dark orange “yams” (which are really sweet potatoes). 

Easy Sweets

2 medium sweet potatoes

2 teaspoons butter or margarine

1/4 cup orange or pineapple juice

cinnamon

salt to taste

Preheat the oven to 400 degrees. Pierce the sweet potatoes with a sharp knife and place them in the oven. Bake for 50-60 minutes or until tender. Cut the potatoes and scoop the flesh into a bowl (you can eat the skins separately). Add the butter and mash the potatoes until fairly smooth. Pour in the juice, sprinkle lightly with cinnamon and salt to taste. Mix thoroughly and serve. Makes 2 servings

Matzo Stuffing with Apricots and Raisins

In a roundabout sort of way, yesterday’s post about white bread made me realize that Passover is coming soon. Which means no white bread of course.

Passover is all about matzo.

I love matzo. Fresh, crisp, fragrant, new matzo. When I open that first boxful, I take out a piece, slather some butter on top and crunch, crunch crunch away quickly, stuffing it into my mouth with both hands like a kid sneaking candy.

Why is that? Matzo is available all year. I don’t have to wait until Passover.

But somehow I do.

I suppose because matzo seems more fitting at Passover. Like pumpkin pie at Thanksgiving, even though pumpkin pie is available all year too.

Matzo with butter is a real treasure. Not to be underestimated. Like a summer tomato or a new crop autumn apple. It doesn’t need much but itself (except the butter and a few grains of salt).

On the other hand, you can do a lot with it all through the Passover holiday.

Like a sandwich. Matzo is crunchier and crisper than any artisinal bread. So soft fillings like egg salad and tuna salad go perfectly.

I also make grilled cheese-on-matzo (in the toaster oven). The matzo gets even crispier and toastier-tasting!

Matzo Brei, of course.

And stuffing for chicken or turkey.

Like this one:

Matzo Stuffing with Apricots and Raisins

  • 4 pieces of matzo, broken up into little pieces
  • 1 cup boiling water
  • 3 tablespoons vegetable oil
  • 1 large onion, chopped
  • 1 large stalk celery, chopped
  • 1 teaspoon chopped fresh ginger
  • 1/2 cup cut up dried apricots
  • 1/3 cup raisins
  • salt and freshly ground black pepper to taste
  • 2 large eggs, beaten

Place the matzos in a bowl and pour the boiling water over them. Let soak for 4-5 minutes. Drain excess water. Set aside. While the matzos are soaking, heat the vegetable oil in a saute pan over medium heat. Add the onion and celery and cook for 3-4 minutes. Add the ginger, apricots and raisins and cook for another minute. Spoon the contents of the pan into the bowl with the matzos. Sprinkle with salt and pepper. Toss ingredients to distribute them evenly. Add the eggs, mix the ingredients thoroughly. Place into a lightly greased casserole or inside a large roasting chicken to bake (if a casserole, about 35-45 minutes in a preheated 350 degree oven).

Enough for a 6-7 pound chicken; 6 servings

Milk and Honey White Bread

IMG_4602.jpeg

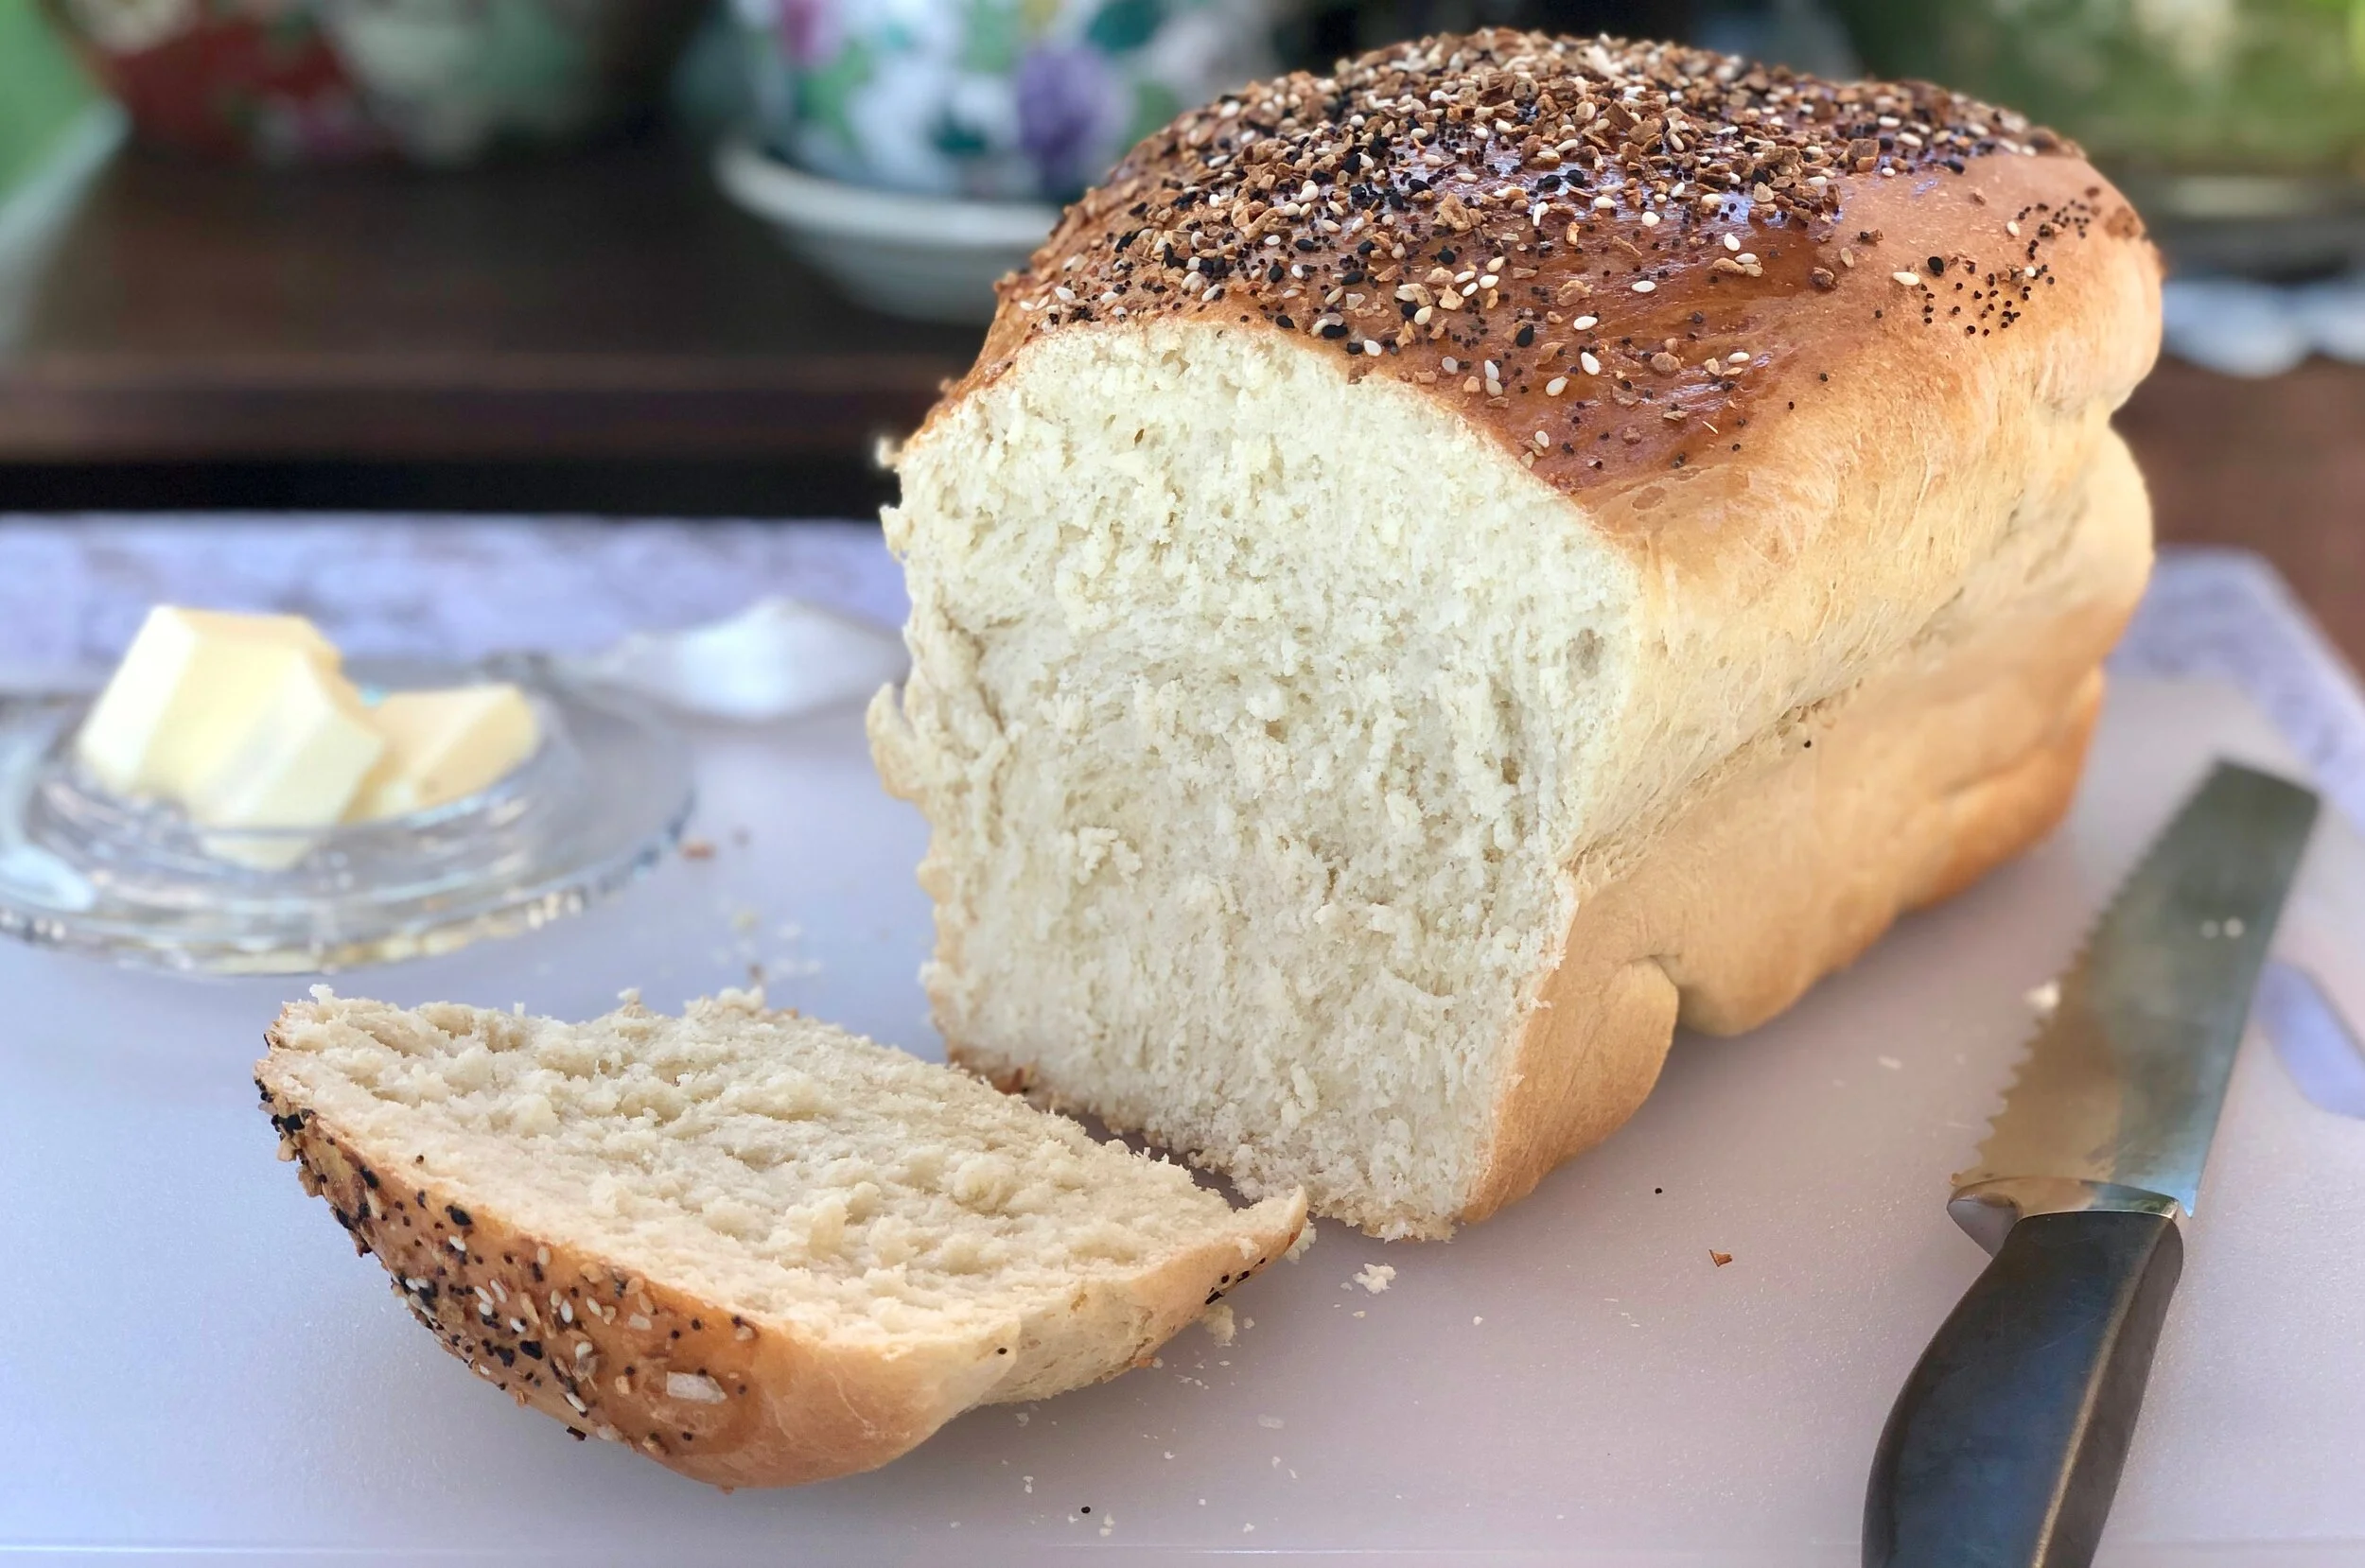
Would you believe — there’s a book entirely devoted to white bread. It’s called, (of course), “White Bread” and has a cover reminiscent of a loaf of packaged Wonder Bread.

I thought the scorn for white bread was something new. But according to the author, Aaron Bobrow-Sprain, apparently there’s been a lot of controversy about this stuff on and off for centuries. Some of it had to do with food safety issues. But some of it had to do with racism (one health advocate apparently thought white bread was “threatening white racial superiority”).

Who knew?

When I was growing up my Mom would buy bakery rye bread and something called “corn bread” which isn’t that yellow, cakey Southern style stuff but more like sour-dough rye bread and was known in Jewish neighborhoods as “Jewish corn bread.” Those were for having with dinner. Or toasting for breakfast. Or for deli sandwiches.

But she bought packaged white bread too. It was the modern thing. The help-the-little-lady convenience food. It was too convenient not to buy. And there weren’t very many choices in packaged bread anyway. Maybe whole wheat, but I didn’t know anyone whose mother bought packaged whole wheat bread.

My mother bought packaged white bread for this reason (which Bobrow-Sprain also acknowledges), and that is, there are certain kinds of sandwiches that just don’t work with rye, corn bread or any kind of fancy artisinal loaves.

Like peanut butter and jelly and mostly, my mother’s fried-to-a-crisp kosher salami with yellow mustard. That salami was hot and sizzling, right out of the pan when she put it on the mustard-slathered slices and when you held the sandwich to take a bite, your fingers would make such deep indentations in the soft bread that sometimes it made a hole in the sandwich. Never mind. That’s the way it was supposed to be with packaged white bread.

I could actually have one of those sandwiches now. It’s been years.

No, decades.

Generations.

I don’t remember when I last bought packaged white bread. 

I do bake white bread though. With one of my help-the-little-lady convenience machines like my KitchenAid mixer and my Cuisinart food processor. With either of those it’s not that difficult to make a good loaf of bread.

I don’t agree with those who say white bread is bland. Sometimes it’s the ingredients on the bread that you want to give a starring role, not the bread itself. Like that fried salami.

So, for any of you who would like to have a good white bread, try this recipe.

Milk and Honey White Bread

  • 1 package active dry yeast

  • 1/4 cup warm water

  • 4 cups all-purpose flour, approximately

  • 1/4 teaspoon sugar

  • 1-1/2 teaspoons salt

  • 2 large eggs

  • 2 tablespoons softened butter

  • 3/4 cup warm milk

  • 2 tablespoons honey

  • 1 egg beaten with 1 teaspoon water

Place the yeast and 1/4 cup water in a small bowl. Add 1 teaspoon flour and the sugar. Mix well and set aside for about 5 minutes. In the bowl of an electric mixer, combine the remaining flour and salt. Add the 2 eggs, butter, milk, honey and the yeast mixture. Blend ingredients thoroughly. Knead until the dough is smooth and elastic, adding more flour if the dough seems too sticky. Dough should be soft but not sticky. Place the dough in a bowl, cover and let rise in a warm place for about 1-1/2 hours or until doubled in bulk. Punch down the dough, knead briefly and let rise again for 20 minutes.

Preheat the oven to 350 degrees. 

Lightly grease a 9” loaf pan. Place the dough inside the pan. Let rise for another 30 minutes. Brush the surface of the bread with the beaten egg. Bake for about 30 minutes or until golden brown and well risen.

Makes one loaf

Chocolate Yogurt Pound Cake

"This is just like room service!"

That, from my almost 6-year old grand daughter Lila (who apparently already knows about room service!?!) after I let her have her dinner in the family room and watch TV.

This is something I didn’t allow my own two daughters.

But honestly, after 35 years I was a little out of practice. And, like bike riding, you may not forget how, but you also may not race through the streets or peddle yourself up a steep hill quite as often or as easily either. 

So, when the kids came for a visit, sans parents, from Friday through Sunday, there were occasional, let’s say, concessions. If my daughter Gillian, their Mom, is reading this now, I say, don’t worry. These kids are terrific and 2 meals in front of the TV won’t harm them.

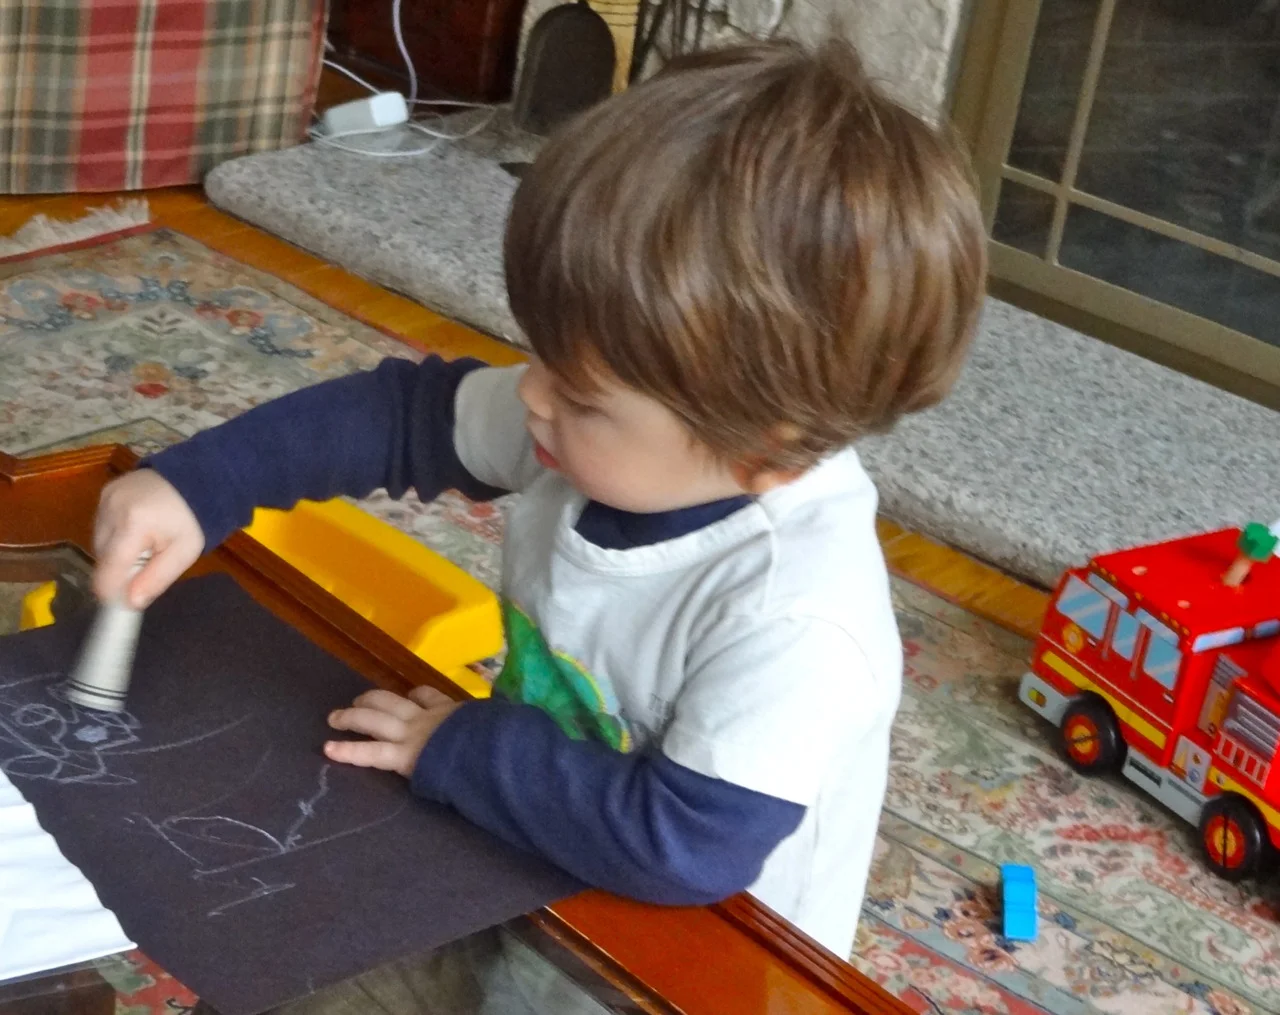
As you can see from the photos we did lots of stuff like draw, have a pedicure, blow bubbles outside, ride bikes, have a fashion show. We also frosted a birthday cake for their cousin Nina’s birthday party on Saturday (although the top decoration, an Ariel rice-paper scene, was store-bought).

The little one, Remy, age 21 months talks a blue streak although sometimes it’s difficult to understand his pronunciations. However, one of the new words he learned this weekend was “chocolate cake,” which he mentioned to his parents as soon as they walked in the door Sunday night.

"Tzockickcake!" he told them, with his tongue literally licking his lips.

When a kid is this young you can’t depend on “what happens at Grandma’s stays at grandma’s.”

I had baked the chocolate cake for a Hadassah Tea and was cutting it into slices. There were a few not-so-lovely pieces that I didn’t include on the platter I sent over for that event. Remy had a small sliver of the leftovers. He liked it, that’s for sure.

Can’t say I blame him. Smart kid!

Here’s the recipe:

Chocolate Yogurt Pound Cake

  • 2-1/2 cups all-purpose flour
  • 1 cup unsweetened cocoa powder
  • 1 teaspoon baking soda
  • 3/4 teaspoon salt
  • 12 ounces butter at room temperature
  • 3 cups sugar
  • 5 large eggs
  • 2 teaspoons vanilla extract
  • 1 cup plain yogurt
  • 1 cup boiling water
  • 1 cup chocolate chips

Preheat the oven to 350 degrees. Butter and flour a 10-cup bundt pan. Sift the flour, cocoa powder, baking soda and salt into a bowl and set aside. Beat the butter and sugar in the bowl of an electric mixer and mix at medium speed for 3-4 minutes or until well combined. Add the eggs, one at a time, blending each one in. Stir in the vanilla extract. Add the dry ingredients in thirds, alternating with the yogurt, until the flour mixture and yogurt have been used and the batter is well blended and smooth. Gradually add the boiling water, beating slowly, for 2-3 minutes or until the batter is smooth and well blended. Stir in the chocolate chips. Pour the batter into the prepared pan. Bake for 65-70 minutes or until a cake tester inserted into the center comes out clean. Let the cake cool in the pan for 10 minutes, then invert onto a cake rack to cool completely. Makes 12+ servings

Cream Cheese Frosting for Yellow Cake

Saturday may be St. Patrick’s Day, but for me the important milestone that day is my grand daughter Nina’s 5th birthday.
She always asks me to bake a birthday cake for her and when she came to my house a few weeks ago we discussed what s…

Saturday may be St. Patrick’s Day, but for me the important milestone that day is my grand daughter Nina’s 5th birthday.

She always asks me to bake a birthday cake for her and when she came to my house a few weeks ago we discussed what she would like and she told me “a rainbow cake with vanilla.”

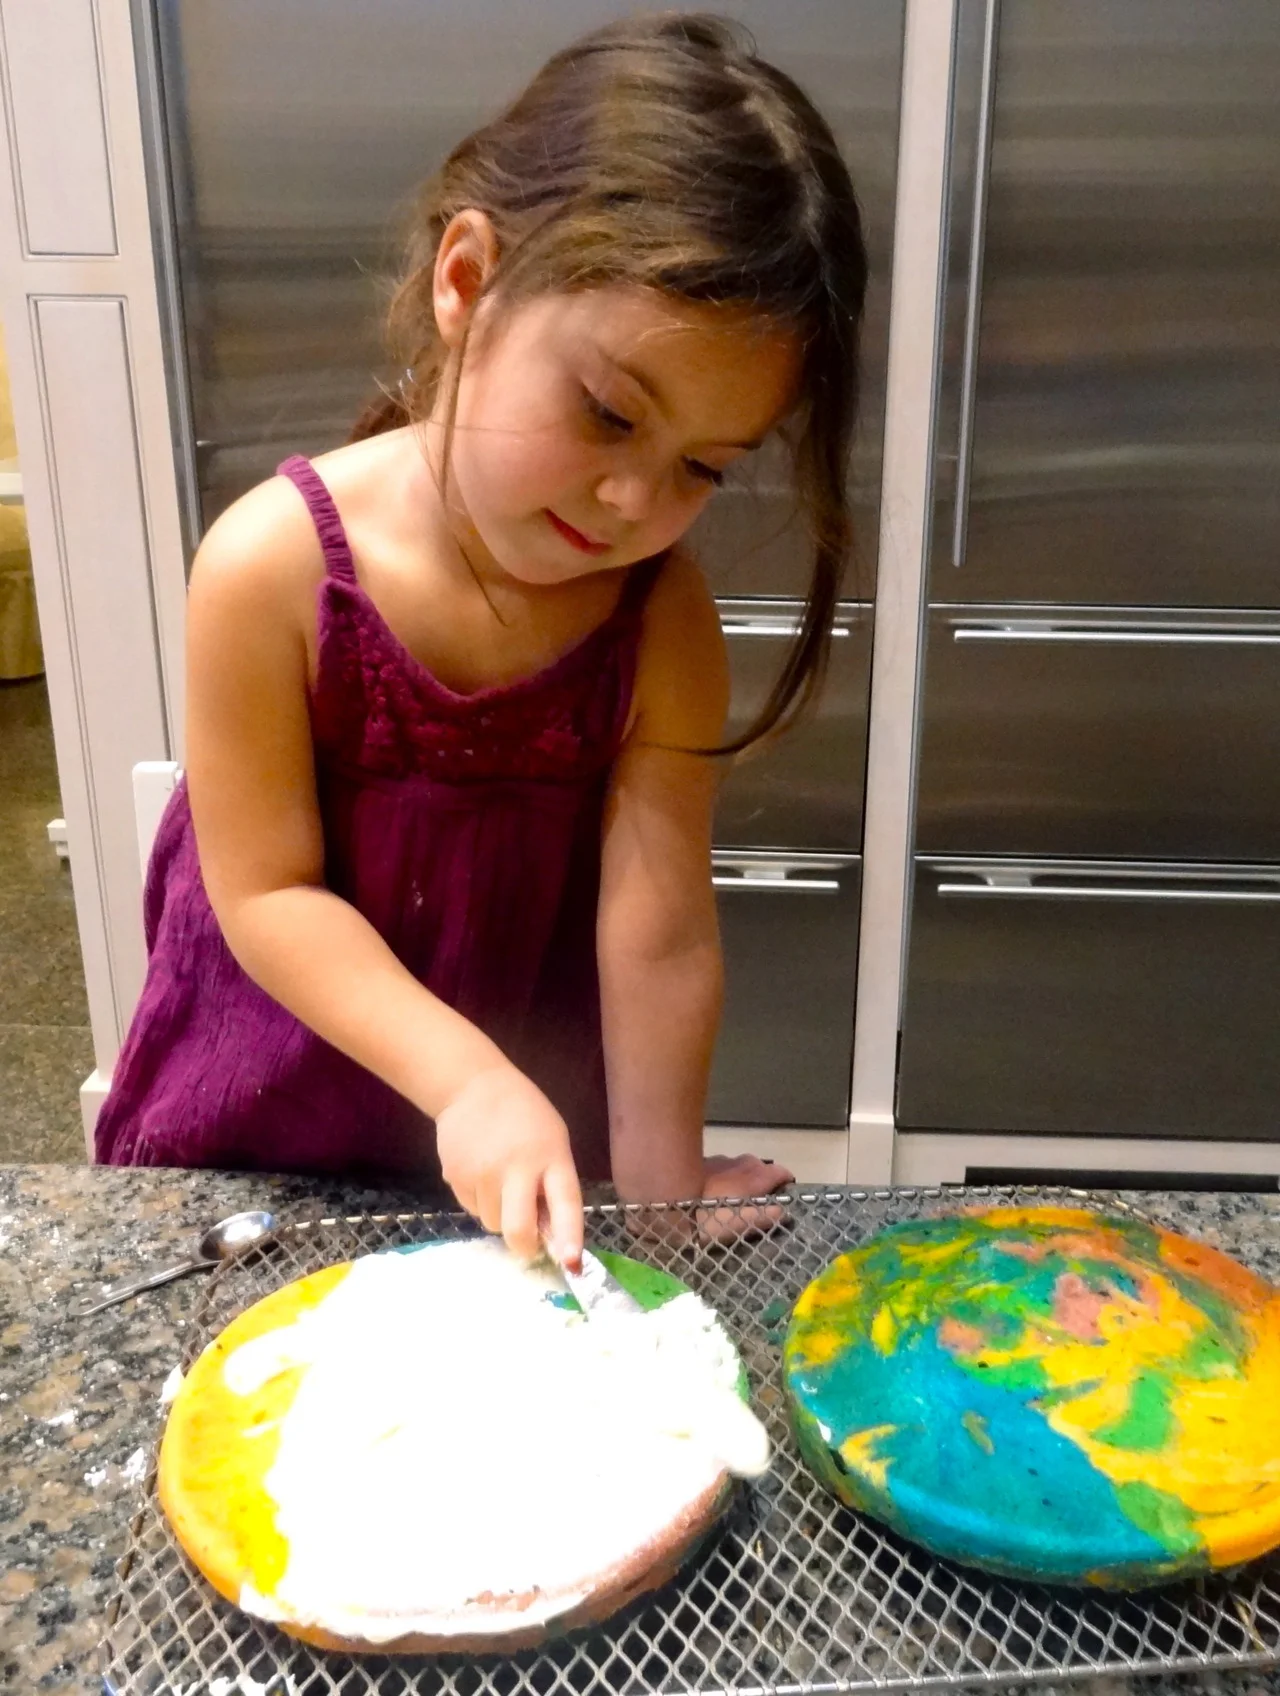
Which is what we made for practice, just to see if that’s what she really wanted. We were able to have all these good colors thanks to several squirts of food coloring, which I added to small bowls of yellow cake batter and let Nina mix. 

Here she is frosting her practice cake with a cream-cheese frosting.

Her real birthday cake will have the same frosting plus an Ariel, Little Mermaid design on the top. And a Little Mermaid Candle.

Of course.

Cream Cheese Frosting for Yellow Cake

Cream Cheese Frosting:

3/4 cup butter at room temperature

12 ounces cream cheese at room temperature

1-1/2 cups confectioner’s sugar

1-2 teaspoons vanilla extract

Beat the butter, cream cheese and confectioner’s sugar together until smooth and creamy. Add 1-2 teaspoons vanilla extract, enough to make the frosting easy to spread. Enough for one 9-inch layer cake

How to Cook Brisket, plus Mango-Honey Barbecue Sauce

I never liked my mother’s brisket. In fact I didn’t like brisket at all until recently. To me it was always this brown, wet meat and the slices were too narrow and lean. And unless the meat was cut into very thin slices, it was tough and stringy.My …

How to make brisket

I never liked my mother’s brisket. In fact I didn’t like brisket at all until recently. To me it was always this brown, wet meat and the slices were too narrow and lean. And unless the meat was cut into very thin slices, it was tough and stringy.

My mother always used first cut brisket.

Then I met my mother-in-law, who used second cut brisket.

My parents and in-laws actually got along and were good friends who travelled together. Even so, you can imagine what each of the women had to say about the other one’s recipe. 

My mother said second cut brisket was too fatty. My mother-in-law said first cut wasn’t fatty enough.

I thought both were still too tough, too wet and too stringy.

So I experimented. Because that’s what I do. And in the process learned quite a lot about cooking this particular portion of meat.

Which can be tough and stringy if you don’t cook it right. And wet if you don’t do something good with the pan juices.

I buy a whole brisket. First and second cut. Yes, it’s way too big for my family, but I freeze some of it (portions from the fatty and lean parts together to please everyone tastes) because braised meat holds up very well in cold storage. A whole brisket has enough fat to enrich the meat, so that the leanest portions are more flavorful. And after the cooking has ended, you can cut away any excess fat that you don’t actually want to eat.

The real trick to brisket is LONG SLOW cooking.

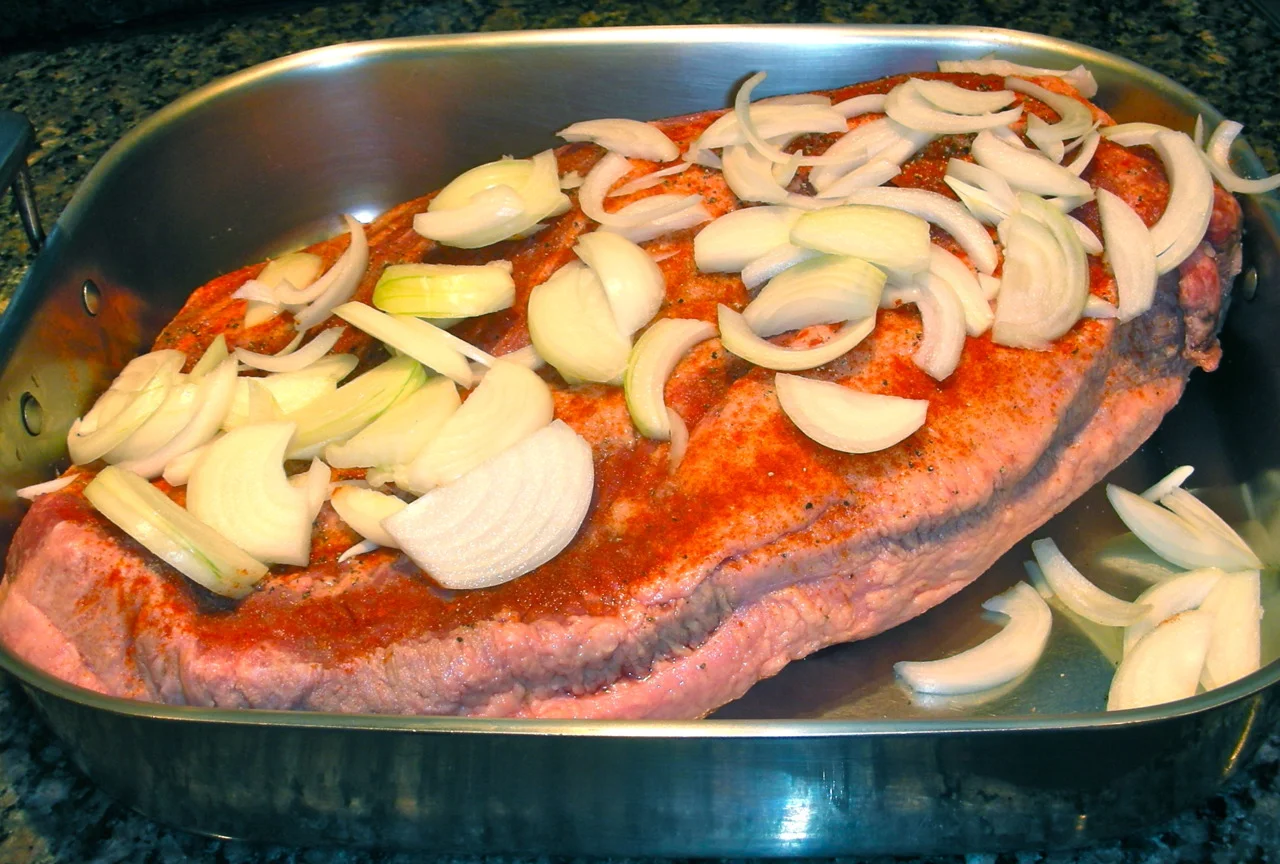
Here’s what I do: you can see from the photo that all I do is season the meat with garlic powder, pepper and paprika (and salt if necessary). I scatter a lot of onions on top and throughout the pan. I cover the pan tightly with aluminum foil.

NO STOCK. NO WATER. NO WINE.

It doesn’t need anymore liquid. The onions and the meat give off enough.

I put the pan in a cold oven before I go to bed at night, set the oven to bake at 250-275F degrees and go to sleep.

The next morning the brisket alarm clock wakes me up about many hours (for a large brisket 8 hours) later with the most glorious aroma ever. (Actually it competes with the coffee, which is set to brew just about when the meat is done.) If you choose a smaller portion, say a first or second cut piece, obviously, it takes less time (let’s say 4-5 hours).

But don’t follow those recipes that tell you to cook brisket at 350 degrees! Your pot roast will rebel and show you how tough it is.

I usually don’t serve brisket with the pan gravy. Sometimes I strain the juices and use it for soup. Sometimes I boil the pan gravy down and use it for things like mashed potatoes. Sometimes I puree the juices with the onions. It really all depends on my particular culinary needs at the moment.

As for the brisket: none of us likes it wet. So I let the meat cool and put it on the grill (or under the broiler or in a 425F oven), and keep slathering the surface with barbecue sauce and cook the meat until it is hot and crispy to a mahogany glaze on the surface. 

This is not wet, stringy or tough. It’s just dee-lish!

The sauce I frequently use as a glaze is not appropriate for Passover. But here’s one that’s just fine.

Mango-Honey Barbecue Sauce

  • 1 large ripe mango

  • 1 tablespoon vegetable oil

  • 1 medium onion, finely chopped

  • 1 large clove garlic, finely chopped

  • 1 teaspoon finely chopped fresh ginger

  • 1 teaspoon grated fresh orange peel

  • 1 cup bottled chili sauce

  • 1/4 cup orange juice

  • 1/4 cup honey

  • 1/4 teaspoon cayenne pepper

Peel the mango and puree the flesh in a food processor. Heat the vegetable oil in a nonstick saucepan over medium heat. Add the onion and cook for one minute. Add the garlic and ginger and cook for another minute. Add the orange peel, mango puree, chili sauce, orange juice, honey and cayenne pepper. Stir to blend the ingredients thoroughly. Cook over low-medium heat for about 15 minutes, stirring occasionally, or until slightly thickened. Let cool.

Makes about 2-1/2 cups