comfort food

Bones and Vegetable Soup

A friend of mine, who is not Jewish, asked me how to make “real Jewish chicken soup.” I gave him my recipe, which he said was similar to his mother’s Italian version (except mine included dill).But when I saw him a few days later he was dismayed abo…

A friend of mine, who is not Jewish, asked me how to make “real Jewish chicken soup.” I gave him my recipe, which he said was similar to his mother’s Italian version (except mine included dill).

But when I saw him a few days later he was dismayed about the soup. He said it tasted better than delicious but that when it was cold it got all gelled up and jiggly. His mother’s soup never did that.

Ah. Gelled liquid. The sign of great soup. Soup made with bones. Bones with collagen that melts slowly and surely and enriches the broth, giving it abundant, old fashioned flavor. Soup broth the way it’s supposed to be.

Memorable.

My friend was thrilled he hadn’t made a mistake. He smiled when I told him his soup was probably better than his mama’s.

Robbie’s success got me to thinking about making some soup of course. And fortunately I had just the right ingredients: chicken bones. Almost four pounds of them, from KOL Foods.

KOL Foods produces Glatt kosher poultry, beef and lamb and brings a new level of humanity to the way they treat their stock. For any meat to be kosher, the animals must be slaughtered in a particular — humane — way. KOL Foods upped the standard. Their animals are raised humanely too, with an eye toward sustainability. The chickens, turkey and ducks are free-roaming and fed an organic, GMO-free, vegetarian diet; they are not given arsenic, antibiotics or hormones.

The company has an eye for your budget too. Poultry can be expensive and kosher poultry even more so.

Hence the chicken bones, which the company sells in packages for shipment and are a lot cheaper than whole chickens or parts. The bones deliver a delicious broth and there’s enough meat on them to make a filling dish. My almost 4 pounds of bones yielded more than 3 cups of cut up meat.

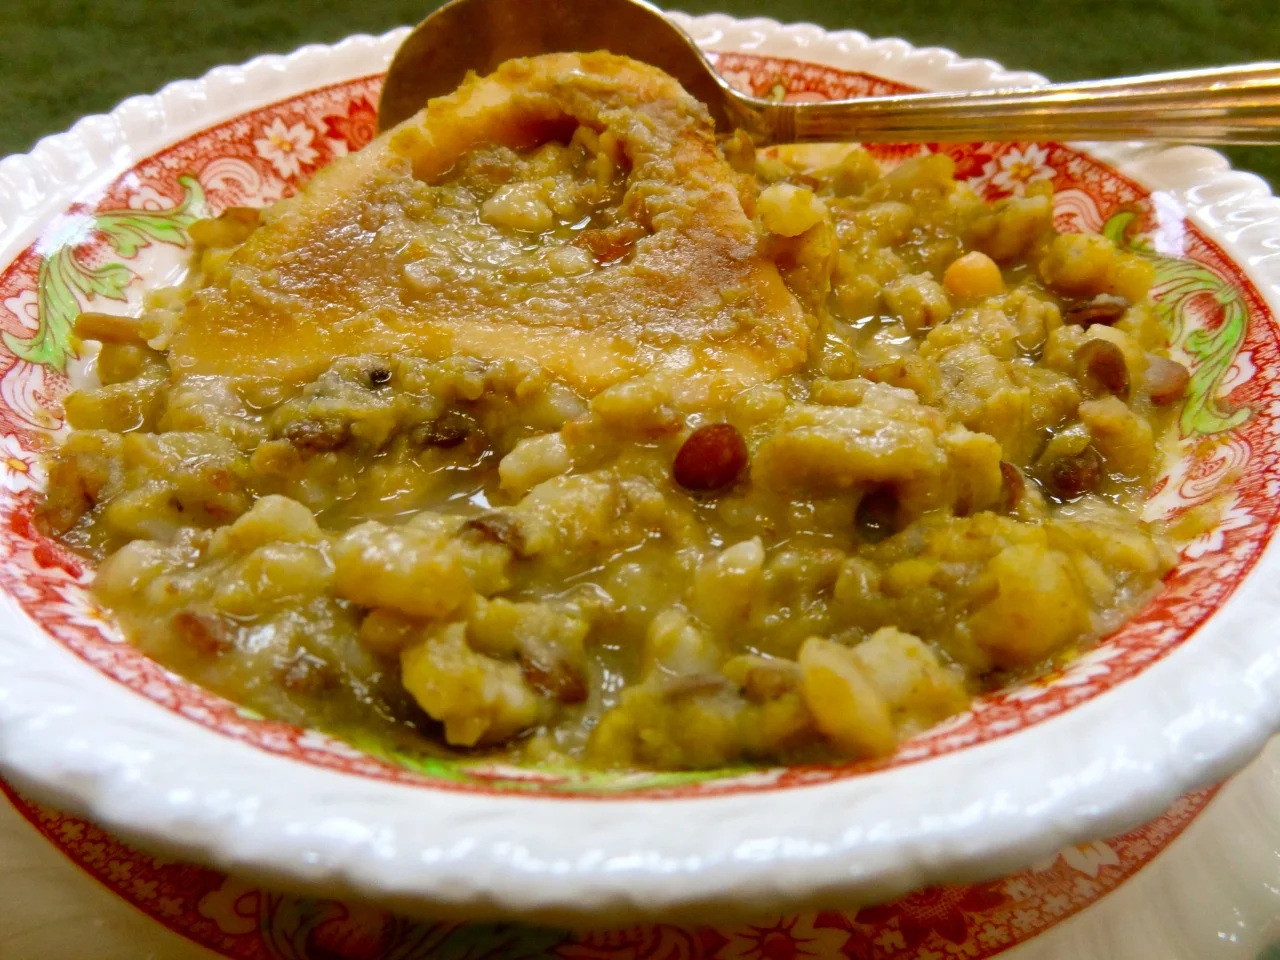
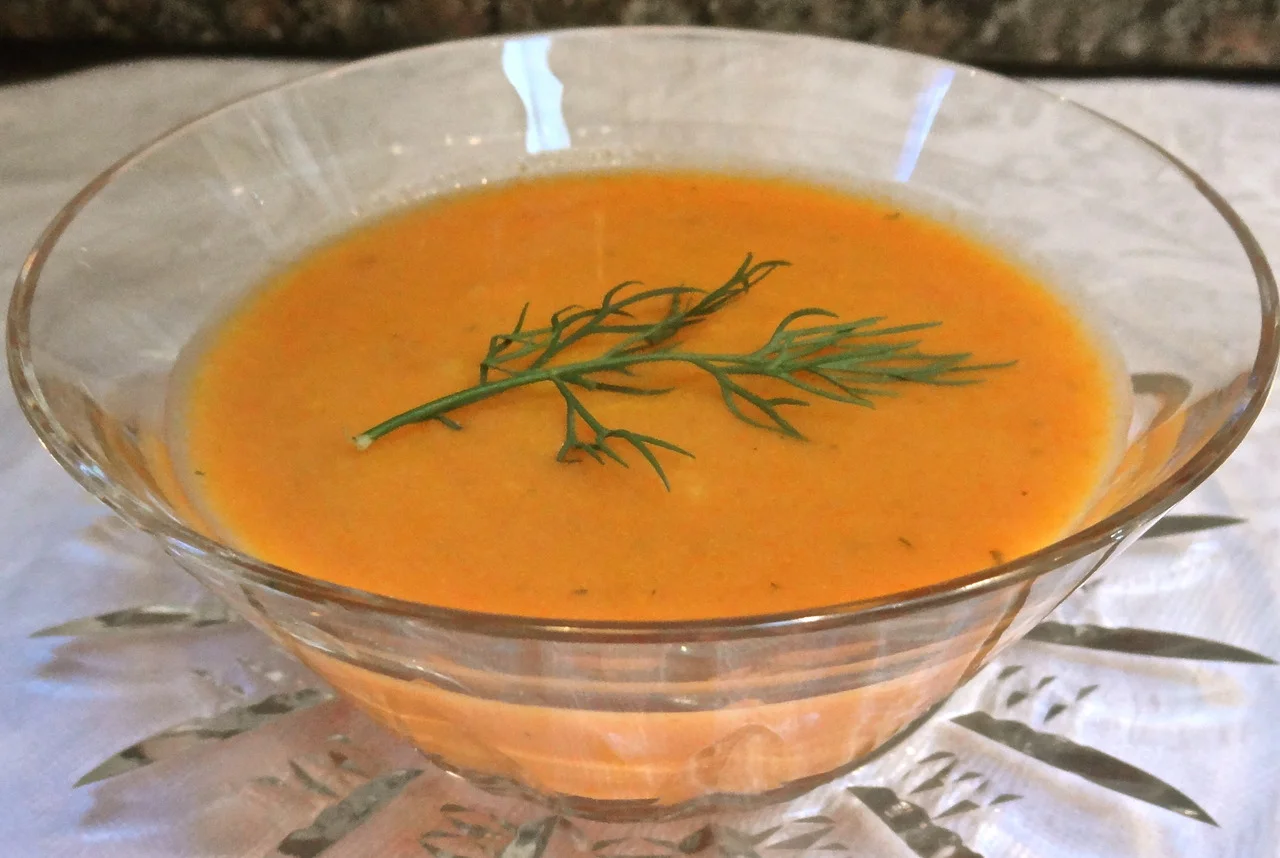
This is the soup I made with them: rich, rib-sticking, comforting and wonderful. The liquid gels when it’s chilled. The way it’s supposed to.

Bones and Vegetable Soup

3-4 pounds meaty chicken bones

12 cups water

2/3 cup barley

2 onions, sliced

1/2 cup dried mushroom pieces, soaked, softened and chopped

3-4 carrots, sliced

2-3 stalks celery, sliced

2 parsnips, sliced

8 sprigs fresh dill

6 sprigs fresh parsley

salt and freshly ground black pepper to taste

1 15-ounce can white beans, rinsed and drained

1 small zucchini, diced

1 cup frozen peas

Place the chicken in a soup pot and cover with the water. Bring to a boil over high heat. Lower the heat to a simmer and for the next several minutes, discard the debris that comes to the surface. Add the barley, onions, mushrooms, carrots, celery, parsnips, dill, parsley and salt and pepper. Simmer, partially covered, for one hour. Add the beans, zucchini and peas and cook for another 50-60 minutes. Remove the bones and cut off bits of chicken; place the chicken meat back into the soup. Discard the bones.

Makes 8 servings

My Mom's Famous and Fabulous Nut Roll

Today would have been my mother’s 100th birthday and although she and my Dad died many years ago, I think about them a lot. You can’t possibly realize how much you’re going to miss people when they’re in your life. You only understand when they aren’t. And what happens from time to time is that something comes up during the day that reminds you of them. A smell. Or a magazine picture of a scarf in your mother’s favorite color. Or a song you hear on your car radio.

The memories can be sad or poignant or funny or thrillingly happy.

Today my memories are happy. I am celebrating with my brother and toasting our Mom, who was was funny and sometimes controversial and more than occasionally provocative, which would make us furious, but also make us think.

She was smart and interesting too. A feminist before the word feminist existed. I am sure that had she been born at an even earlier time, she would have been a Suffragette.

My mother was also a good cook. She mostly stuck to what she knew and wasn’t much for experimenting. She’d say “why change a good recipe?”

There is some wisdom to that, although I don’t follow it. My family never gets to eat the same thing too many times, except maybe for holiday dinners.

But for Mom, a winner was a winner, and she had so many it’s difficult to choose among her recipes to make one special thing for her birthday celebration.

I considered my Mom’s fried chicken (which was better than anyone’s, even Colonel Sanders) together with a dozen or so of the crispy-edged corn fritters she served with it.

For dessert? Her apple pie of course. It was legendary. We still talk about it every autumn, when I make a batch of my own.

Then again, speaking of apples, I remember how often she made that most wonderful apple crisp that was my Dad’s favorite and I would come in to their house through the garage and the perfume from the baking apples and the crunchy cereal crust would greet me before even they did.

Maybe I should choose that?

Or her rice pudding? It was baked custard actually, with a smooth inside and crispy top. I haven’t cooked it in a while.

I could go on and on. About her most comforting and wonderful chicken soup. Or her family-famous cookies that we all called Fannies, but are actually plain old butter thumbprint cookies. Or her most welcome roast beef hash which she made out of leftover meat and mashed potatoes and more sauteed onions than you can imagine.

She said she hated to use leftovers, a consequence of having struggled through the Great Depression and never wanting the memories.

And yet she used leftovers. Cleverly and creatively but for simple, uncomplicated, unsophisticated dishes that became our favorites. Like her Macaroni and Cheese, put together with scraps and bits from the fridge.

There was only one dish she ever made that I didn’t like (potato salad).

And one dish — Nut Roll — I could never get the hang of, even though she told me how and showed me how to make it many many times. Mine just never tasted as good.

That’s the one.

That’s the one I decided it had to be. I’d give this one another try.

Which I did this morning (I made the dough yesterday because it has to sit in the fridge for a few hours).

It’s almost as good as hers. Maybe it is as good but the memories of hers are too good to let me think it is.

But my Nut Roll is enough like it, anyway, to celebrate with. Superb with coffee or maybe a glass of dessert wine.

My Mom used walnuts in her Nut Roll; because of allergies in my family I never cook with walnuts, so I used almonds. 

In the photos you can see the lump of one section of dough that I started with, then, in the second photo, rolled it thin. The third photo shows how to scatter the sugar and nuts over the dough and the fourth photo, how to roll the Nut Roll. The fifth photo shows what the rolls look like when it comes out of the oven. The last photo is a plate of slices — let the rolls cool, then use a serrated knife to cut the pieces.

Enjoy. Btw, the rolls freeze beautifully.

Happy Birthday Mom!


Lily Vail’s Nut Roll

 dough:

  • 1/2 pound unsalted butter

  • 3-1/2 cups all-purpose flour

  • 1/2 cup sugar

  • 1 teaspoon baking powder

  • 1/2 teaspoon salt

  • 2 large eggs, separated

  • 1/2 cup dairy sour cream

  • 2 tablespoons milk

filling:

  • 1 cup sugar

  • 1 teaspoon ground cinnamon

  • 12 ounces chopped nuts (about 3 cups)

Cut the butter into chunks and place in the bowl of an electric mixer. Add the flour, sugar, baking powder and salt and mix (using the flat paddle if your machine has one) at slow speed until the ingredients are blended and crumbly looking. Make a well in the center and add the egg yolks, sour cream and milk. Mix the ingredients at medium speed until a smooth, uniform dough has formed. Knead the dough 3-4 times on a floured surface; shape into a cylinder, cover with plastic wrap and refrigerate for at least 8 hours.  Cut the cylinder into 3 parts. Mix the sugar and cinnamon together in a bowl. Working with one dough part at a time, roll out on a floured surface into a circle about 1/16-inch (very thin). Sprinkle each circle with 1/3 of the cinnamon-sugar and 1/3 of the chopped nuts. Roll up tightly into a compact roll, tucking in the sides. Preheat the oven to 375 degrees. Place the rolls in the refrigerator for about 20-30 minutes. Brush the rolls with some of the egg white. Bake the rolls for 40-45 minutes or until golden brown. Let cool and slice.

Makes 3 Nut Rolls 

Almond Crusted Winter Squash and Noodle Kugel

One of the tumblr blogs I follow asked readers what their favorite comfort food was.I thought about it for awhile because there are so many, I couldn’t make up my mind. Like challah and butter; baked, crispy-skinned Russet potato; app…

Almond Crusted Winter Squash and Noodle Kugel

One of the tumblr blogs I follow asked readers what their favorite comfort food was.

I thought about it for awhile because there are so many, I couldn’t make up my mind. Like challah and butter; baked, crispy-skinned Russet potato; apple piefried chicken wings. Snacks like potato chips and popcorn.

You’ll notice most of these are starch. Even the chicken dish I chose is wings and therefore mostly crunchy, flour-crusted skin.

And of course, there’s kugel: egg noodles, boiled until they’re tender, then crisped in the oven, either plain or with all sorts of stuff inside. Like this recipe for Almond Crusted Winter Squash and Noodle Kugel. 

What makes this kugel such a comfort?

Not just the soft noodles, but the sweet crunchy crust. You get to feel them both in your mouth at the same time, with one bite.

And there’s color too, because I’ve included white cottage cheese, dark red cranberries and orange winter squash, so when you cut a piece it looks pretty on a plate.

Notice please, that you can sort of cut down on some of the less healthy aspects by using Greek style, plain (non-fat) yogurt instead of dairy sour cream and non-fat cottage cheese instead of the full-fat kind.

Kugel is a year ‘round treat. But it’s usually a must for Hanukkah. Sure is for us.


Almond Crusted Winter Squash and Noodle Kugel

  • 5 tablespoons butter, melted

  • one pound medium egg noodles

  • 3 cups diced winter squash (such as butternut or acorn)

  • 1 cup dried cranberries

  • 2 cups cottage cheese (nonfat is fine)

  • 1-1/2 cups nonfat Greek style plain yogurt (or use dairy sour cream)

  • 6 large eggs, beaten

  • 1/3 cup sugar

  • 3/4 teaspoon cinnamon

  • 1/4 teaspoon salt

  • 1/2 cup chopped almonds

  • 2 tablespoons brown sugar

Preheat the oven to 375 degrees. Lightly grease a 9”x13” baking dish using some of the melted butter. Cook the noodles according to package directions, drain and place in a large bowl. Add the squash, cranberries, cottage cheese, yogurt and remaining melted butter and toss the ingredients to distribute them evenly. Beat the eggs, sugar and cinnamon together with a hand mixer at medium speed for about 3 minutes or until thickened. Fold into the noodle mixture. Place in the prepared baking dish. In a small bowl, mix the almonds and brown sugar. Sprinkle on top of the kugel. Bake for 35-40 minutes or until the top is crispy and brown. Makes 8-10 servings

Essie’s Soup

It’s awfully dark out there. And although it looks like the usual gloomy morning when a hurricane-is-about-to-strike, somehow this one seems more ominous. Maybe I’ve just listened to too many news and weather reports, but I’ve prepared for Sandy lik…

It’s awfully dark out there. And although it looks like the usual gloomy morning when a hurricane-is-about-to-strike, somehow this one seems more ominous. Maybe I’ve just listened to too many news and weather reports, but I’ve prepared for Sandy like never before.

Water, batteries, ice. Check, check, check. Take in the outdoor furniture. Check.

Everything is closed. Schools, stores. No government services, like garbage pickup.

Judging by the lines at the gas stations, the horns honking too often when a light turns green, the empty shelves in the supermarket and number of people using ATMs, it seems as if everyone around here in Connecticut is stressed out.

I’ve prepared just-in-case food. Just in case we lose power, which is almost a certainty. During hurricane Irene we were out of power for 4 days.

I fried chicken cutlets and cooked (and sliced) a pot roast so we could have sandwiches. Bought fresh carrots and other vegetables we can eat raw, canned tuna, and milk for cereal. Baked some cookies so we could nibble something sweet.

And made soup. One of my favorites, which we call “Essie’s Soup,” because it was concocted years ago by my cousin Essie.

When my son-in-law Jesse first tasted some he said “what’s the difference between this and cholent?” And I had never thought about that before, but he nailed it. Essie’s soup is as thick as cholent, loaded with beans and dried peas, plus a few extras like: barley, lentils, wheatberries and stuff. Sometimes I add fresh carrots, onions and celery, but didn’t this time because, to tell you the truth, I forgot.

Essie’s soup is very very thick and gets thicker the more it cooks.

There’s no particular recipe really, so I’ll give you the broad parameters in a recipe.

This is a soup I can rewarm on my portable cooktop (which I use for cooking demonstrations). I did also buy extra butane canisters. But it’s also the kind of thing you can eat at room temperature in case that becomes a necessity.

Essie’s Soup

6-8 marrow bones

2 packages Streit’s or Manischewitz packaged vegetable, split pea or lima bean soup

2 cups mixed dried beans

1 cup split peas

1/2 cup barley

1/2 cup wheatberries, farro or spelt

4 carrots, sliced, optional

2-3 stalks celery, sliced, optional

1 large onion, peeled and sliced, optional

salt and freshly ground black pepper to taste

Rinse the bones and place them in a large soup pot. Add water to within 3-inches from the top of the pot. Bring to a boil, lower the heat and skim the surface for a few minutes. Add the entire contents of both packages of soup (including the contents inside the seasoning packet). Add the beans, peas, barley, wheatberries, carrots, celery, onion and salt and pepper to taste. Bring to a boil over high heat, lower the heat to a simmer and cook for several hours (at least 5), stirring occasionally, until the soup is thick. Cook longer if desired. If soup is too thick, add water and heat through. Makes a lot, depending on how long you cook it, but about 4 quarts

Old Fashioned Carrot Soup

In our family, when there’s a baby about to be born, we cook a bunch of stuff to freeze so that the tired, sleep-deprived new Mom and Dad don’t have to worry about dinner. My daughters Meredith and Gillian and I make stuff like Spinach Pie, Baked Zi…

In our family, when there’s a baby about to be born, we cook a bunch of stuff to freeze so that the tired, sleep-deprived new Mom and Dad don’t have to worry about dinner. My daughters Meredith and Gillian and I make stuff like Spinach Pie, Baked Ziti, Bean Soup and so on, pack them into family-size containers and put them in cold storage until the time comes.

So it’s a good thing we start well ahead because SURPRISE, we got a call at about 4:00 a.m. on September 30th that Gillian was on her way to the birthing center, 17 days before the due date and lickety-split, baby Carina Joy was born before we could even get there.

We are thrilled of course. New babies do that. Carina has a head-full of hair and two fat dimples. Gillian, who worked out almost every day and is fit as ever, is doing well and looks great.

All of this happened suddenly to Gillian and Jesse after a big move and in the middle of pre-school applications for Remy, age 2 (for next year!).

So yesterday I opened the freezer and brought them a few stored items, including this carrot soup. Dinner was all done.

Old Fashioned Carrot Soup


·      2 tablespoons butter or margarine

·      2 tablespoons vegetable oil

·      1 medium onion, coarsely chopped

·      2 pounds carrots, coarsely chopped

·      2 medium all-purpose potatoes, peeled and coarsely chopped

·      1/4 cup chopped parsley

·      2 tablespoons chopped fresh dill

·      1-1/2 teaspoons salt, or to taste

·      freshly ground black pepper to taste

·      7 cups vegetable stock

·      pinch of sugar

·      1 cup cream (any kind) or cream substitute


Heat the butter and vegetable oil together in a soup pot over medium heat. When the butter has melted and looks foamy, add the onion and cook for 3-4 minutes or until softened. Add the carrots, potatoes, parsley, dill, salt and pepper and cook for 3-4 minutes, stirring occasionally. Add the stock and sugar. Bring the soup to a simmer. Cook, partially covered, for 45 minutes. Puree the soup in a food processor or blender (or use a hand blender). Return the soup to the pan. Stir in the cream. Heat the soup through and serve.


Makes 6 servings


The Kugel to End all Kugels

This is the kugel to end all kugels.I mean it. I am a kugel-eating expert, if only because when I grew up my grandmother and mom made salty kugel stuffed with mushrooms and onions and it was only when I was grown, married and with kids that I had my…

This is the kugel to end all kugels.

I mean it. I am a kugel-eating expert, if only because when I grew up my grandmother and mom made salty kugel stuffed with mushrooms and onions and it was only when I was grown, married and with kids that I had my first taste of this. That taste was a transforming moment.

My friend Susan brought this dish to my annual Break-the-fast (she got the recipe from her friend Linda and I don’t know where Linda got it).

For years after that I have tasted more kugels than you could possibly imagine (including those hard, dried up things they sell in some supermarkets) always trying to surpass that moment of culinary discovery. 

I was even a judge once in a kugel contest.

I have made some wonderful kugels since then. But this is still my favorite. I always ask Susan to make an extra one so there will be leftovers. I pack pieces of it in my freezer so I can have a little treat whenever.

Don’t even think about the calories. Just enjoy.


Susan/Linda’s Sweet Noodle Kugel

      1 12-ounce package egg noodles

      1 8-ounce package cream cheese at room temperature

      1/4 pound unsalted butter at room temperature

      1 cup sugar

      2 cups dairy sour cream

      6 large eggs

      1 teaspoon cinnamon

      1 cup raisins, optional

      2 cups crushed frosted flakes or corn flakes

      4 tablespoons melted butter

Preheat the oven to 350 degrees. Cook the noodles in slightly salted water until al dente (not soft). Drain and set aside. In an electric mixer, beat the cream cheese and butter until thoroughly blended and softened. Beat in the sugar until well blended. Add the sour cream and blend thoroughly. Add the eggs one at a time, beating after each addition. Stir in the cinnamon and raisins, if used. Pour the mixture into the noodles and toss to coat them completely. Place in a baking dish. Combine the frosted flakes and melted butter and sprinkle on top of the noodles. Bake for about 40 minutes or until the top is crispy. 

Makes 8 servings  

Milk and Honey White Bread

95954099_2581425922125465_2398630099697008640_n.jpg
Milk and Honey Bread

Milk and Honey Bread

Sometimes I’m just bored with all food. It frequently happens after a summer’s worth of grilling and when roasting a turkey or making a hearty stew doesn’t seem right yet.

Also, the tomatoes are coming in now. Real tomatoes. Red, red ones. Aromatic, juicy, sweet, oozing seeds tomatoes. Late August tomatoes.

Then, for dinner, at least one night, I can make tomato sandwiches. Nothing special. I have no need for $40 olive oil or rare, aged Balsamic vinegar. No chili pepper additions. No teriyaki or hummus. No fusion version.

Just white bread, mayo and sliced tomatoes.

Nothing more. Life is sweet.

Packaged (not soft white) or bakery white bread will do. But if you like to bake and have a few moments, here’s a recipe for a spectacular bread that measures up to a good tomato.

Milk and Honey White Bread

  • 1 package active dry yeast

  • 1/4 cup warm water (105-110 degrees)

  • 1/4 teaspoon sugar

  • 4 cups all purpose flour, approximately

  • 1-1/2 teaspoons salt

  • 2 large eggs

  • 2 tablespoons softened butter or vegetable oil

  • 3/4 cup warm milk

  • 2 tablespoons honey

In a small bowl, mix the yeast, water, sugar and 1/2 teaspoon flour. Stir, set aside and let rest for 5 minutes or until the mixture is bubbly. In a bowl of an electric mixer, combine the remaining flour and salt. Add the eggs, butter, milk and honey. Add the yeast mixture. Blend ingredients thoroughly, then knead using the kneading hook, for 4-5 minutes or until the dough is smooth and elastic (or knead by hand for about 10 minutes). Add more flour as necessary to keep the dough from being sticky. (Dough may be made in a food processor). Cover the bowl of dough and put it in a warm place to rise for about 1-1/2 hours or until doubled in bulk. Punch down the dough, cover the bowl and let rise again for about 30 minutes or until doubled. Lightly oil a 9” loaf pan. Place the dough in the pan. Let rise in a warm place for 30 minutes. Preheat the oven to 350 degrees. Bake for about 25 minutes or until firm and golden brown.

Makes one

Corn fritters

Do you ever daydream about foods you haven’t had in a long time?Like the fried chicken you used to eat but you don’t now because it’s too fattening, too fatty and too messy to make?Or Mac n’ Cheese the way your Grandma made it, but it doesn’t taste …

Do you ever daydream about foods you haven’t had in a long time?

Like the fried chicken you used to eat but you don’t now because it’s too fattening, too fatty and too messy to make?

Or Mac n’ Cheese the way your Grandma made it, but it doesn’t taste the same since she’s gone?

Or the original Bonomo’s Turkish Taffy that doesn’t taste anything like it used to so you don’t bother?

One of the foods I think about more than occasionally is my Mom’s Corn Fritters. Crispy outside, soft and puffy within, and loaded with corn. Great for breakfast, lunch or dinner. With a little real maple syrup.

It’s an indulgence, to be sure, so I don’t make them too often. But I just had to have some yesterday. I had been thinking about them, mostly because I had some corn left over from a few extra cobs I cooked over the weekend.

So I made some. I changed one important ingredient though. I switched from dairy milk to coconut milk. UNSWEETENED refrigerator case coconut milk (not canned).

The fritters were vaguely sweeter, but every bit as wonderful, delicate, crispy-edged and perfect. I think Mom would approve.


CORN FRITTERS


2 tablespoons margarine or butter

1 large egg

1 cup coconut milk (or use regular, whole milk)

2 cups cooked corn kernels (about 4 ears of corn)

1-1/4 cups all-purpose flour

1 tablespoon baking powder

1 teaspoon sugar

1-1/4 teaspoons salt (or to taste)

margarine/butter/vegetable oil for frying

maple syrup, optional

Melt the butter and set it aside to cool. In a bowl, beat the egg and coconut milk together. Stir in the cooled melted butter and the corn kernels. In a second bowl, mix the flour, baking powder, sugar and salt; add this to the corn mixture and stir ingredients gently to blend them together. Heat enough margarine, butter and/or vegetable oil in a saute pan over medium heat. When the fat has melted and looks foamy (or the vegetable oil is hot), drop the corn batter by the 1/4-cupful. Cook for about 2 minutes or until the bottom has browned. Flip the pancakes and cook for another 2 minutes or until the second side is brown. Serve with maple syrup if desired.

Makes 6-8 servings

Milk and Honey White Bread

IMG_4602.jpeg

Would you believe — there’s a book entirely devoted to white bread. It’s called, (of course), “White Bread” and has a cover reminiscent of a loaf of packaged Wonder Bread.

I thought the scorn for white bread was something new. But according to the author, Aaron Bobrow-Sprain, apparently there’s been a lot of controversy about this stuff on and off for centuries. Some of it had to do with food safety issues. But some of it had to do with racism (one health advocate apparently thought white bread was “threatening white racial superiority”).

Who knew?

When I was growing up my Mom would buy bakery rye bread and something called “corn bread” which isn’t that yellow, cakey Southern style stuff but more like sour-dough rye bread and was known in Jewish neighborhoods as “Jewish corn bread.” Those were for having with dinner. Or toasting for breakfast. Or for deli sandwiches.

But she bought packaged white bread too. It was the modern thing. The help-the-little-lady convenience food. It was too convenient not to buy. And there weren’t very many choices in packaged bread anyway. Maybe whole wheat, but I didn’t know anyone whose mother bought packaged whole wheat bread.

My mother bought packaged white bread for this reason (which Bobrow-Sprain also acknowledges), and that is, there are certain kinds of sandwiches that just don’t work with rye, corn bread or any kind of fancy artisinal loaves.

Like peanut butter and jelly and mostly, my mother’s fried-to-a-crisp kosher salami with yellow mustard. That salami was hot and sizzling, right out of the pan when she put it on the mustard-slathered slices and when you held the sandwich to take a bite, your fingers would make such deep indentations in the soft bread that sometimes it made a hole in the sandwich. Never mind. That’s the way it was supposed to be with packaged white bread.

I could actually have one of those sandwiches now. It’s been years.

No, decades.

Generations.

I don’t remember when I last bought packaged white bread. 

I do bake white bread though. With one of my help-the-little-lady convenience machines like my KitchenAid mixer and my Cuisinart food processor. With either of those it’s not that difficult to make a good loaf of bread.

I don’t agree with those who say white bread is bland. Sometimes it’s the ingredients on the bread that you want to give a starring role, not the bread itself. Like that fried salami.

So, for any of you who would like to have a good white bread, try this recipe.

Milk and Honey White Bread

  • 1 package active dry yeast

  • 1/4 cup warm water

  • 4 cups all-purpose flour, approximately

  • 1/4 teaspoon sugar

  • 1-1/2 teaspoons salt

  • 2 large eggs

  • 2 tablespoons softened butter

  • 3/4 cup warm milk

  • 2 tablespoons honey

  • 1 egg beaten with 1 teaspoon water

Place the yeast and 1/4 cup water in a small bowl. Add 1 teaspoon flour and the sugar. Mix well and set aside for about 5 minutes. In the bowl of an electric mixer, combine the remaining flour and salt. Add the 2 eggs, butter, milk, honey and the yeast mixture. Blend ingredients thoroughly. Knead until the dough is smooth and elastic, adding more flour if the dough seems too sticky. Dough should be soft but not sticky. Place the dough in a bowl, cover and let rise in a warm place for about 1-1/2 hours or until doubled in bulk. Punch down the dough, knead briefly and let rise again for 20 minutes.

Preheat the oven to 350 degrees. 

Lightly grease a 9” loaf pan. Place the dough inside the pan. Let rise for another 30 minutes. Brush the surface of the bread with the beaten egg. Bake for about 30 minutes or until golden brown and well risen.

Makes one loaf

Macaroni and Cheese

What do I cook when the grandkids come for a visit? Well, lots of things depending on which one, but I know I am safe if I have some Macaroni and Cheese on hand. Just in case.

All of my grandchildren like Macaroni and Cheese.

Doesn’t everybody?

If I have time, I make the recipe ahead and freeze portions in one-serving casserole dishes, then thaw and bake them until they’re hot enough.

Macaroni and Cheese is easy enough to make. And yet people ask me questions about it all the time. Mostly about the sauce separating or feeling grainy or gritty. So, here’s some tips for would-be Macaroni and Cheese makers out there. Followed by my standard recipe.

1. You can use a variety of cheeses, even blue-type cheeses, which give the dish a tangy taste. Although most people use cheddar by itself, that can make the texture grainy.

2. Use young cheeses such as asiago, non-aged cheddar, havarti, muenster, non-aged gouda, and so on. These have more water content than aged, older, drier cheeses and melt more easily, keeping the mixture stable.

3. Include American cheese; adding a bit of American cheese to the mix can stabilize the sauce too.

4. Use whole milk rather than skim because fat serves as a stabilizer.

5: Shred, chop or grate the cheese so that it melts more easily when you add it to the hot white sauce. Only add a little at a time and mix it in thoroughly before adding more. If you add cheese all at once there’s more of a tendency for the sauce to separate.

Macaroni and Cheese

  • 8 ounces elbow macaroni

  • 3 tablespoons butter

  • 3 tablespoons all-purpose flour

  • 2 cups whole milk

  • 1/2 teaspoon salt or to taste

  • pinch or two of freshly grated nutmeg

  • 4 ounces American cheese, shredded or chopped

  • 2 ounces Muenster, Gouda or a blue-veined cheese, shredded, chopped or crumbled

  • 2 ounces sharp cheddar cheese, shredded or chopped

  • 1/2 cup grated cheddar cheese

Preheat the oven to 350 degrees. Cook the macaroni until it is al dente, drain and set aside. In a saucepan melt the butter over low-medium heat. When it looks foamy, add the flour and cook, stirring constantly, for 2 minutes, without letting the mixture become brown. Gradually add the milk and stir constantly using a whisk until the sauce is smooth and thickened. Stir in the salt, nutmeg, American cheese, Muenster (or other) cheese and 2 ounces of cheddar cheese and whisk the sauce until the cheese has melted and the sauce is smooth. Stir the sauce into the cooked macaroni. Spoon into a baking dish and top with grated cheddar cheese. Bake for a few minutes until the grated cheese is hot and melty or the bread crumbs are golden brown.

Makes 4 servings