Jewish food

The Differences Among Matzo Balls

OMG it’s April already! April 1st! No fooling!

Passover is only 18 days away.

It’s not as if I haven’t been thinking about it. I have written three separate articles about it already (you can see one in Jewish Woman Magazine about Passover desserts here: http://www.jwi.org/Page.aspx?pid=2751) and the one at kosher.com about Haroset here: http://blog.kosher.com/2011/03/25/old-world-charosis-gets-a-hip-makeover/. The third article (on quinoa) hasn’t appeared yet and I’ll post it when it comes out next week.

But I haven’t really thought about my own Seder yet.

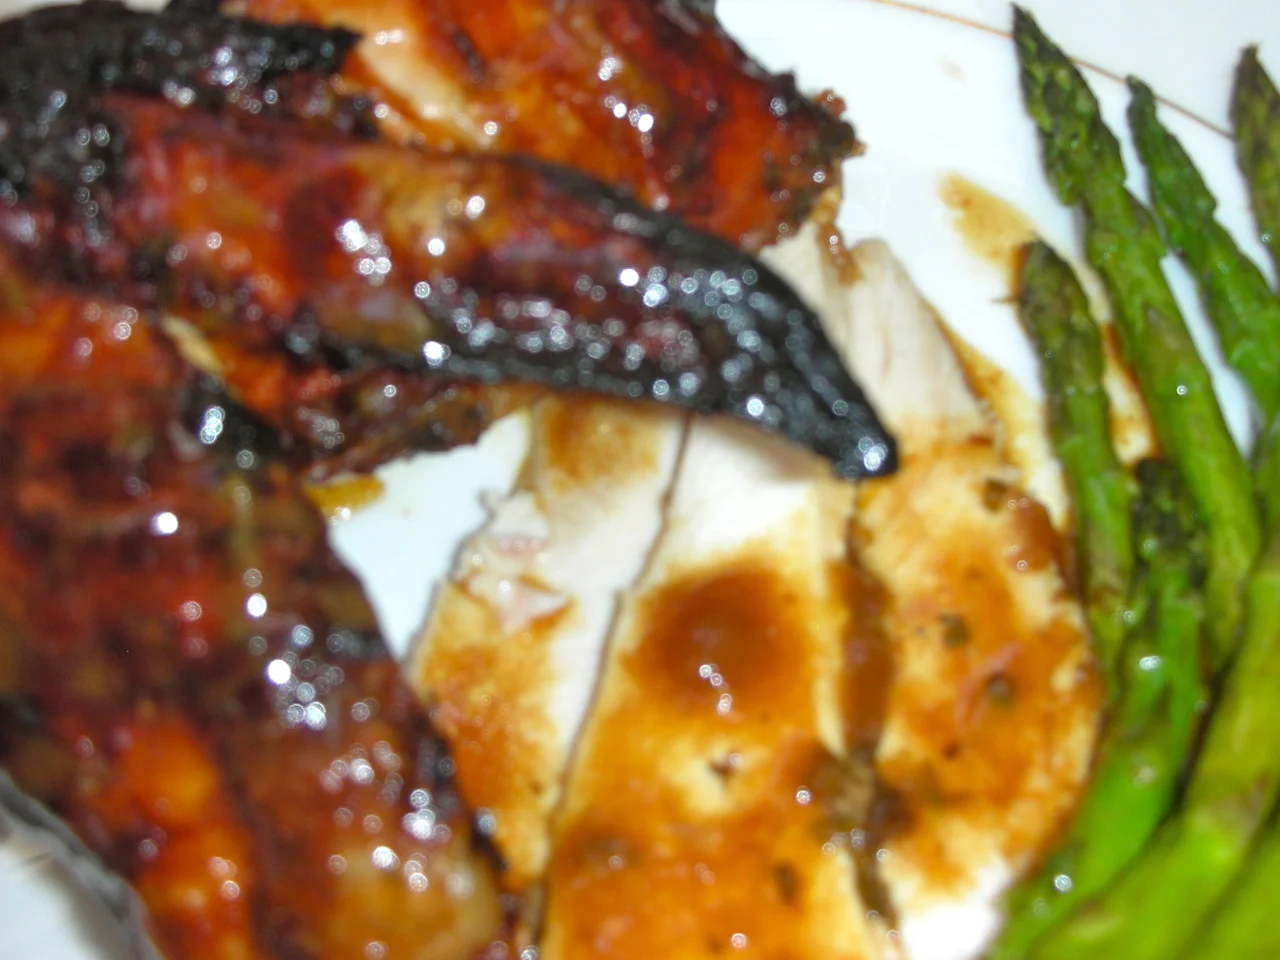
Except for the turkey. There’s always a turkey.

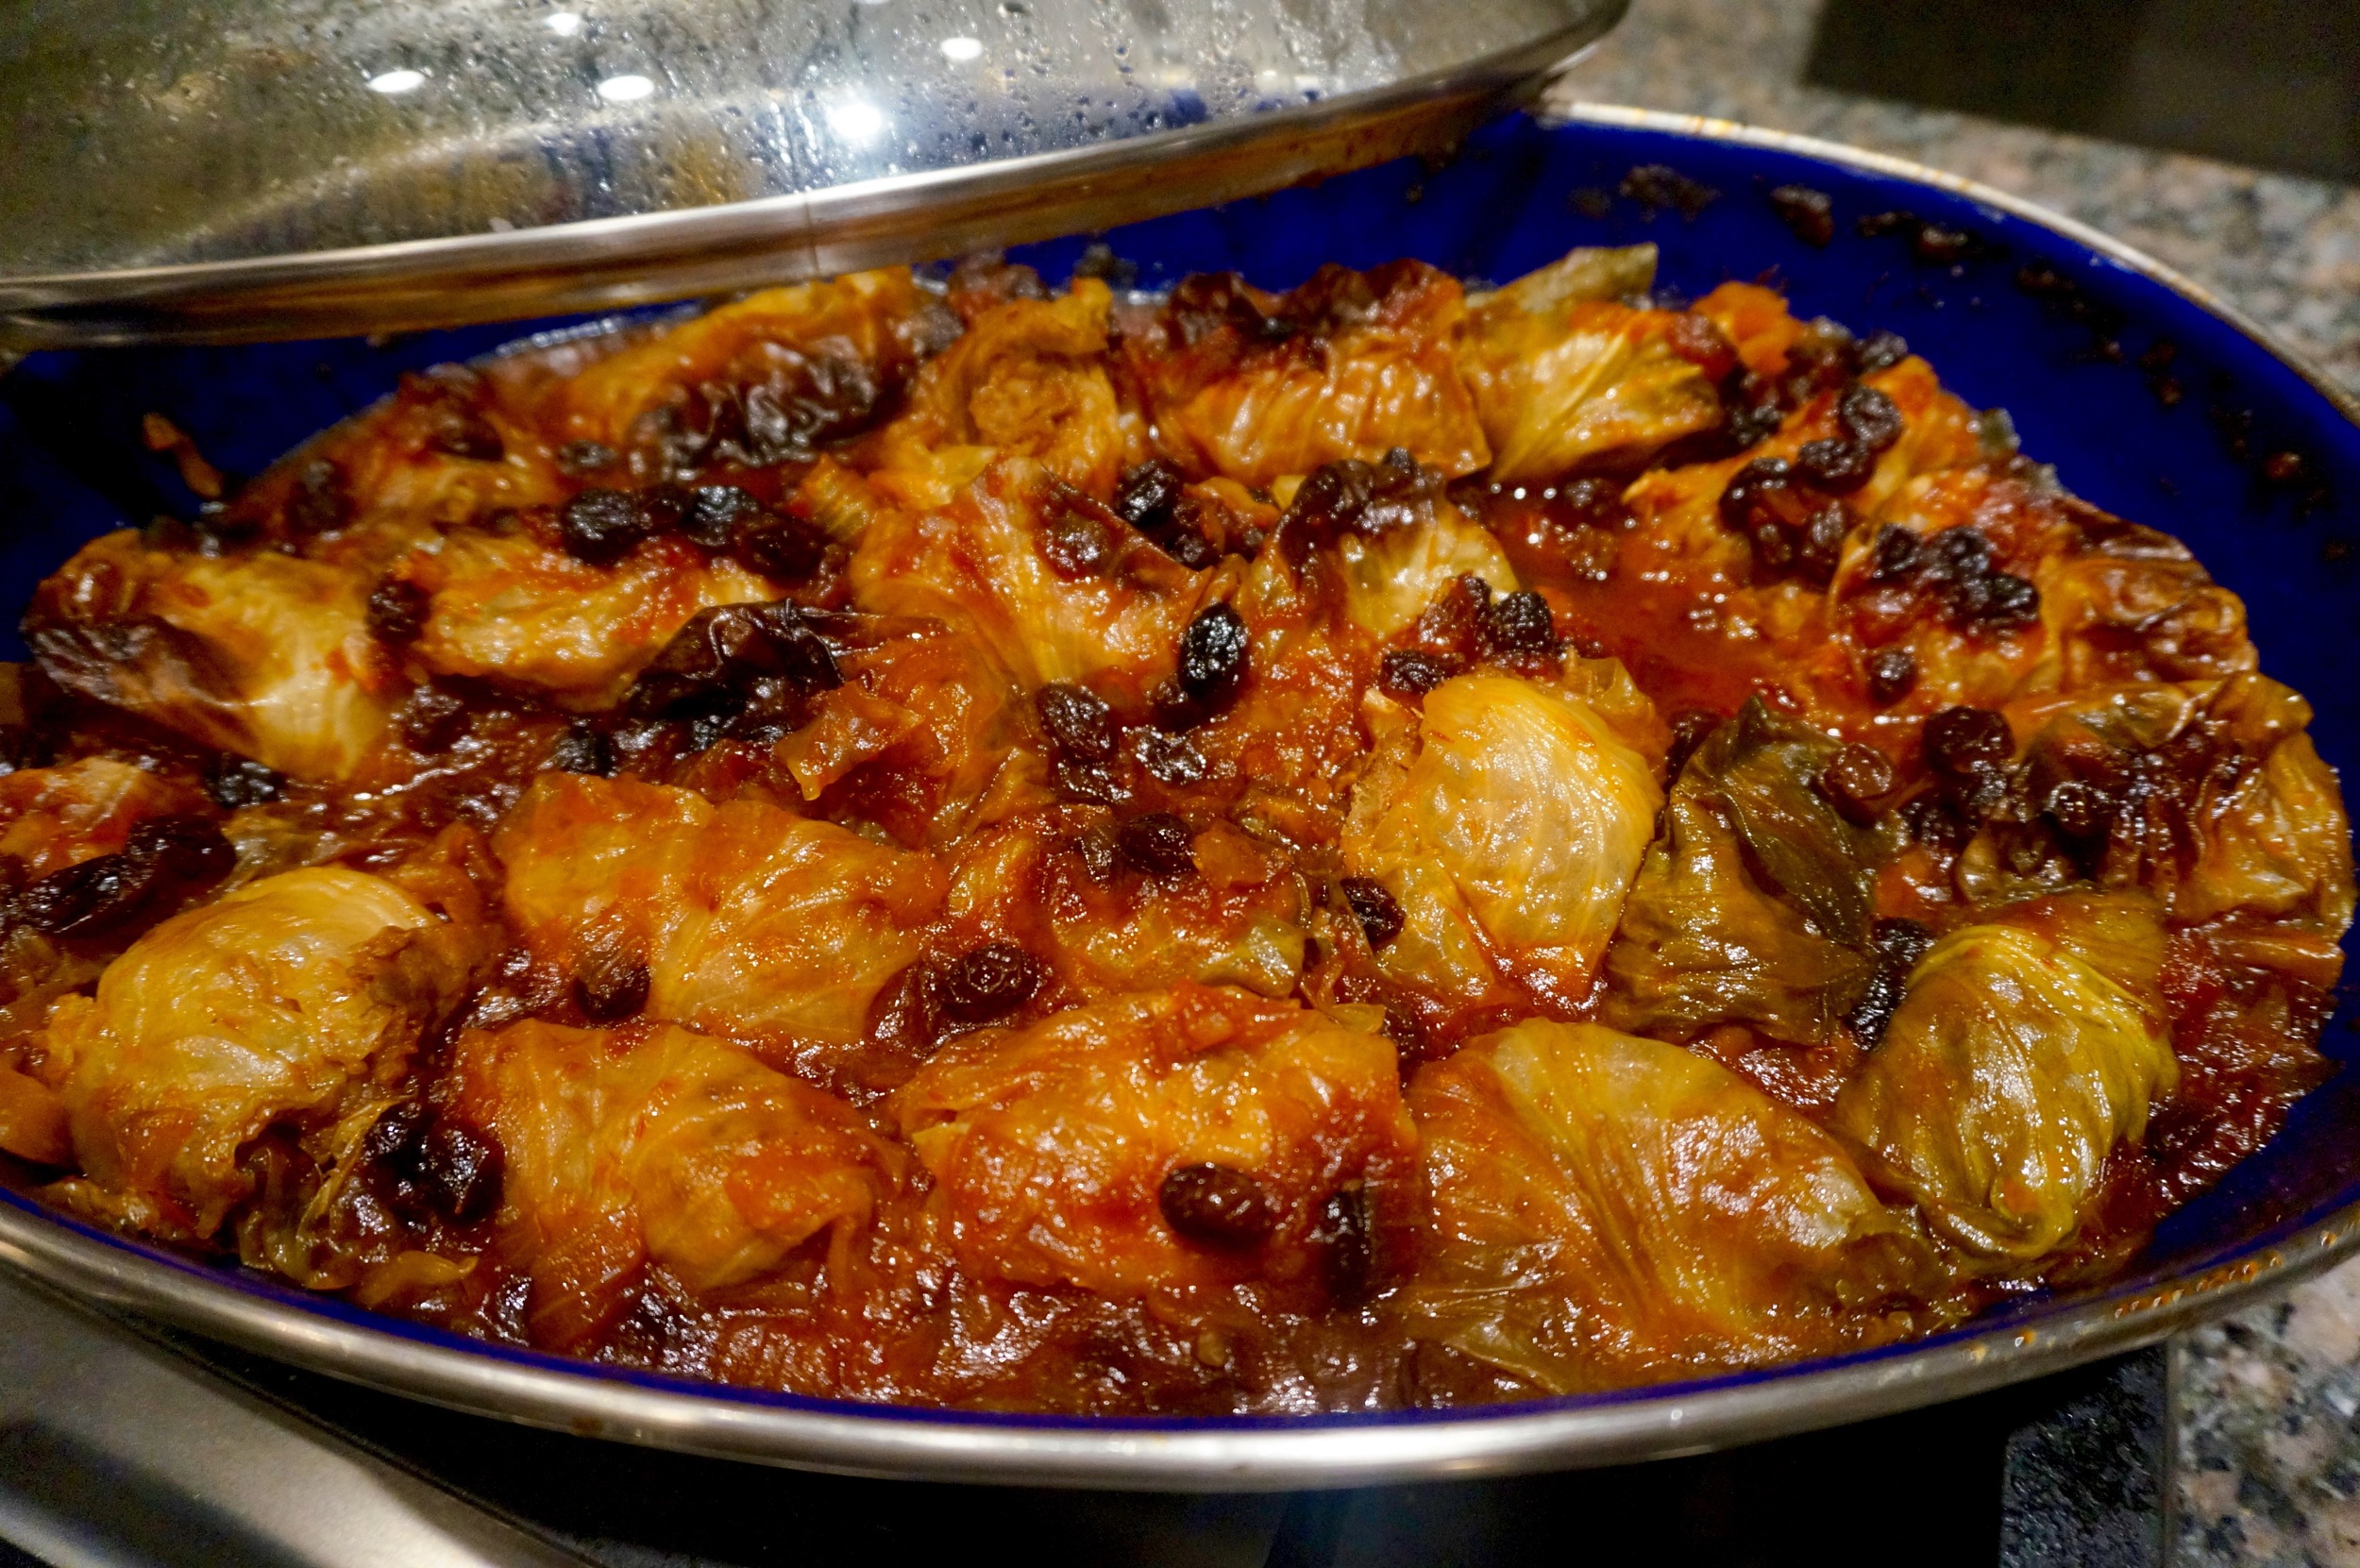
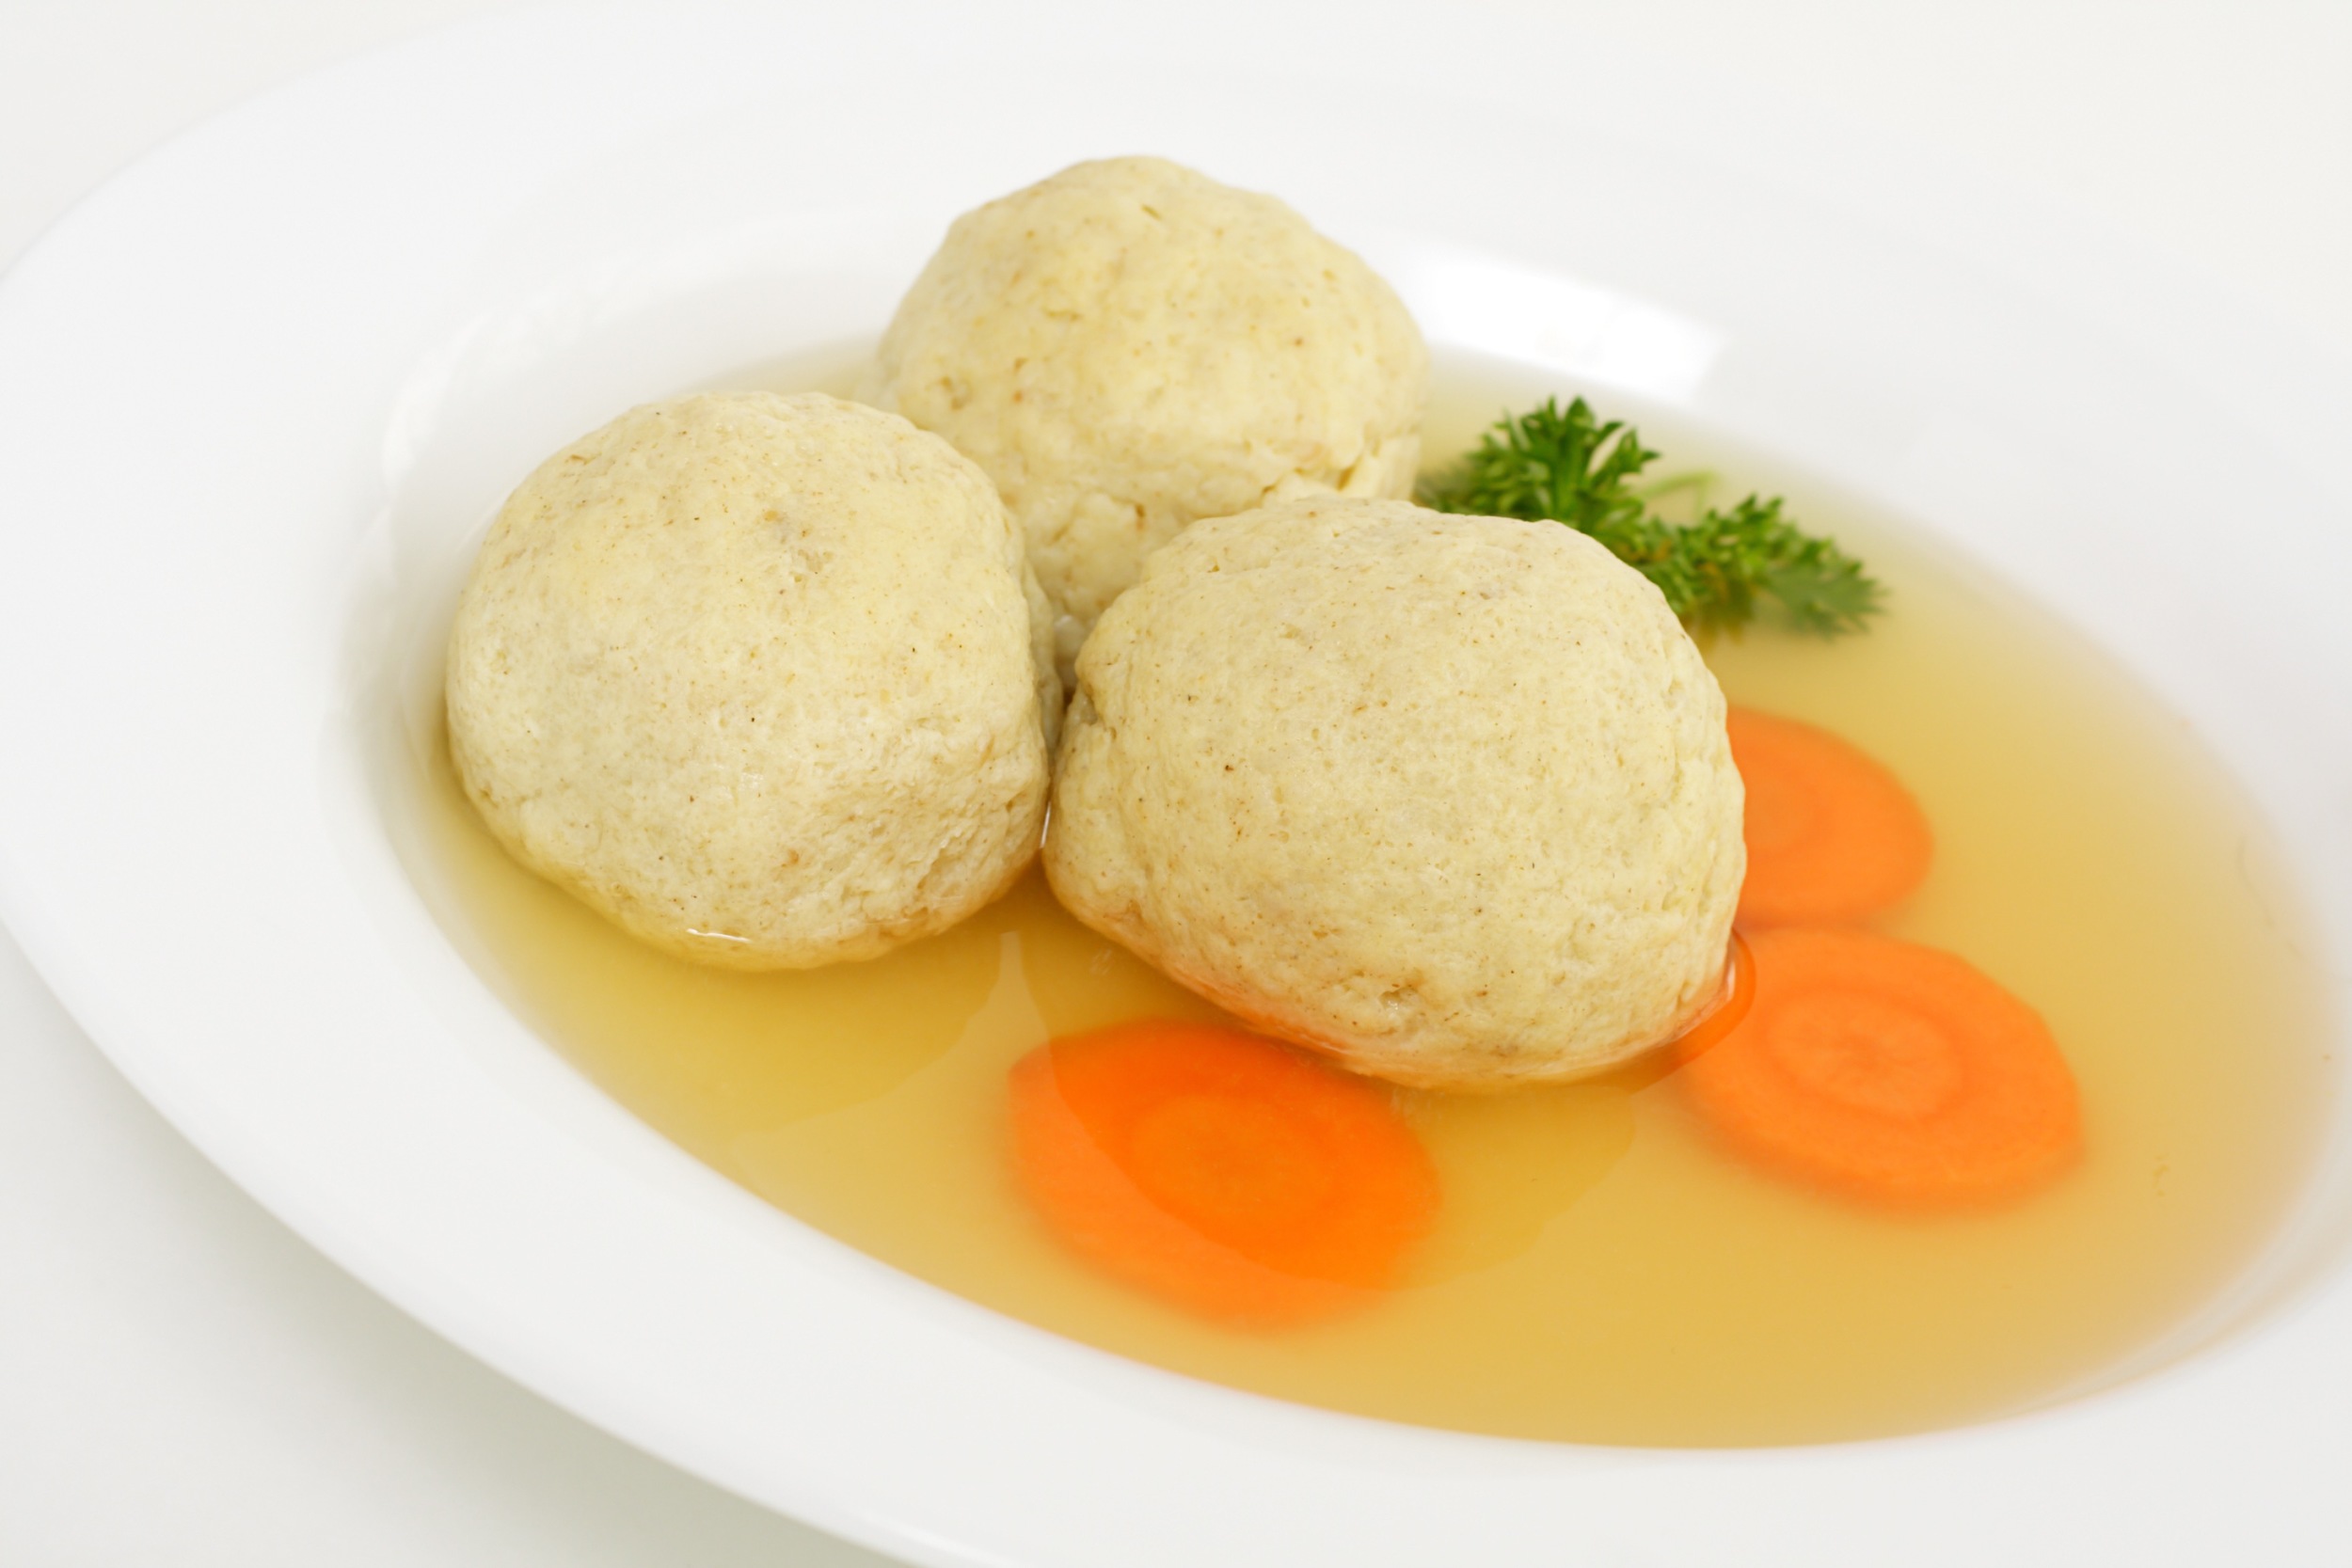
And there’s always a bunch of other stuff like spinach pie and braised eggplant. Cranberry sauce. A lot of veggies. And even though I like to make new recipes and serve less traditional foods, it wouldn’t be Passover without Matzo Ball Soup.

In our family we have had the same important discussions about these as everyone else: which is better, light fluffy matzo balls or chewy firms ones? Like politics, opinions on this subject tend to be definite and once decided, difficult to change. 

When I was a kid and my grandma and then mother had the Seders, my cousin Essie would bring her famous matzo balls. They were cannonballs, like in a children’s picture book — you could picture one falling out of the plate and bouncing out the window and into the city streets and out into the countryside.

But her husband and kids loved them. Fortunately, my mother also made a batch of spongier ones too.

The difference among matzo balls has to do with how many eggs you use, what kind of fat you mix in, how much you handle the dough, how long you cook them, whether you include spices or chopped fresh herbs and so on and so on. I use goose fat, which I put in in the freezer in December (from the goose I make for Hanukkah) because it gives the matzo balls a smooth, rich texture. And I include chopped fresh parsley or dill because it adds some flavor but also enhances the look. And mostly I use chicken soup in the mix, though occasionally I will use seltzer instead.

Here’s the recipe we use. These make medium, slightly-firm, soup soaked delicious matzo balls.

Matzo Balls

1 cup matzo meal

1 teaspoon salt

freshly ground black or white pepper to taste

1 tablespoon finely chopped fresh parsley or dill, or both, optional

4 whole large or extra large eggs, slightly beaten

1/4 cup melted goose fat, chicken fat, margarine or vegetable oil

1/4 cup chicken soup, water or seltzer

In a bowl. combine the matzo meal, salt, pepper and parsley or dill (or both). In another bowl, beat the eggs, melted fat and soup together. Add the egg mixture to the matzo mixture and blend thoroughly. Stir in the liquid. Cover the ingredients and refrigerate for about 30 minutes.. Bring a large pot of lightly salted water to a boil. With wet cold hands shape the matzo mixture into balls 1/2-inch to 1-inch balls (you may have to re-wet hands occasionally). Add the matzo balls one by one to the boiling water. Lower the heat so that the water is at a simmer. Cover the pan and cook for at least 50 minutes (do not lift the cover) or until they are tender. Remove the matzo balls from the water. Place into the soup to soak up more flavor. Makes up to 20

Kichels

DSC03987.jpeg

Fried is one of my favorite foods. Fried anything, but especially potatoes, onion rings, chicken wings and doughnuts.

So on Hanukkah, when “fried” is fashionable, I’m not going to be the person who makes the healthy alternative. We eat relatively healthy stuff almost all of the time. Hanukkah is a celebration of delicious little goodies cooked to a crisp in vegetable oil!

I won’t do it for the entire eight days, but at least on the first night of Hanukkah (December 1st this year) it will be fried, fried, fried. Potato latkes for sure, but I’m thinking also about “kichels”, a kind of cookie my Mom used to make.

Kichels are an old Jewish family favorite and most recipes for them tell you to bake the dough. But my mother fried them. They were ultra-thin, crispy, not too sweet and absolutely impossible to resist. Her recipe is amazingly simple and only calls for one cup of flour, but it’s enough for a family of 4-6 as a first night treat. Or whenever.

Kichels

  • 1 cup all-purpose flour

  • 1/8 teaspoon salt

  • 2 large eggs, beaten

  • 1/4 teaspoon white vinegar

  • vegetable oil for deep fat frying

Place the flour and salt in a bowl. Add the beaten eggs and vinegar and mix thoroughly until a smooth dough has formed. Roll out the dough on a lightly floured surface until the dough is very thin, almost like paper. Cut into squares or rectangles or odd shapes as small as 1-1/2-inches or up to 3-inches. Heat about 2-inches vegetable oil in a deep saute pan (or use a deep fryer) over medium-high heat until the oil reaches about 375 degrees (a bread crumb or tiny piece of dough will sizzle quickly). Drop the cut-outs, a few at a time into the oil (they will puff up) on both sides until they are crispy and faintly browned. Drain on paper towels. Sift confectioner’s sugar on top.

Makes 4-6 servings

Old Fashioned Stuffed Cabbage

For me, Stuffed Cabbage is like hot dogs, blooming onions and caramel corn. Foods I love to eat but don’t, except for once a year because once I take that first bite I over indulge and stuff myself and then feel awful the next day.

Right now is Stuffed Cabbage time.

I never actually tasted stuffed cabbage until after I was married. It was something the women in my husband Ed’s family would cook. My grandmother made Stuffed Grape Leaves, which are similar, but the leaves are tangier and her sauce more sour than the typical one for Stuffed Cabbage.

Over the years I tried to develop a recipe that Ed would like and later, would appeal to my sons-in-law, who like the dish sweeter than I was used to. This year I got it right, according to everyone in the extended family, and that’s saying a lot because we are an opinionated bunch.

Here’s the recipe:

Stuffed Cabbage

  • 1 large head of green cabbage
  • 2 pounds ground beef
  • 1 medium onion, grated
  • 1 large egg
  • 1/4 cup raw white rice
  • 2 tablespoons matzo meal or plain bread crumbs
  • salt and freshly ground black pepper to taste
  • 2 tablespoons vegetable oil
  • 1 large onion, finely chopped
  • 1 cup brown sugar
  • 1 12-ounce bottle chili sauce
  • 1/2 cup fresh lemon juice
  • 1/2 cup raisins

Preheat the oven to 350 degrees F. Bring a large pot half filled with water to a boil. Cut out the hard center cabbage core. Remove the large cabbage leaves. Place the cabbage leaves plus the smaller remaining cabbage in the boiling water. Cook the cabbage leaves for about 3 minutes, or until they wilt. Cook the remaining cabbage core for 3-5 more minutes, or until you can easily remove the leaves. Cut off the hard stem portions from the large leaves so that they can be rolled easily. Set the leaves aside.

ALTERNATELY: if you plan ahead you can freeze the entire head of cabbage for 24 hours (or more). Thaw the cabbage and the leaves will already be wilted and you can avoid cooking them.

In a large bowl, mix the ground beef, grated onion, egg, rice, matzo meal and salt and pepper to taste. Place a mound of this mixture in the center of each leaf (more on the larger leaves of course). Enclose the meat by wrapping the cabbage leaves, envelope style. Place the stuffed cabbage leaves, seam side down, in deep baking dishes. (I separate the large rolls and smaller ones.)

Heat the vegetable oil in a saute pan over medium heat. Add the onion and cook for 4-5 minutes or until softened. Stir in the brown sugar, chili sauce, lemon juice and raisins and cook for 3-4 minutes. Pour the sauce over the cabbage rolls. Cover the pan. Bake for 2 hours (or, to cook ahead, bake for one hour, freeze, thaw and bake for an additional hour).

Makes 18-24

Soggy Cheesecake Crust

static1.squarespace-1.jpg

Hi Leslie - sorry that your cheesecake crust comes out soggy. It may be that water leaks into the seams of the springform pan. You can line the bottom with tin foil (overhang it), then attach the side, then take the overhanging part and crumple it to try to seal all the edges. That may help.

On the other hand — it may be the recipe. It’s important to bake the crust for at least 10 minutes in a preheated 350 degree oven. Then let it cool. Then fill it.

Another trick you can try — add some ground nuts to the crumbs. Nuts always crisp up nicely and stay crispy better than crumbs do.

Another tip: bake the crust for 10 minutes, brush it with an egg wash (beat an egg with a small amount of water) and bake for another 3-4 minutes.

And another: let the crust cool, then layer on a thin layer of melted chocolate, jam, lemon curd or the like. This adds a flavor dimension of course, but it also helps keep the crust crispy.

After sitting in the fridge, even after all that, eventually cheesecake crust will become soggy just from the moisture in the cheese. But the tips above will help get you a better crust at least at the beginning.

Roasted Chicken with Orange, Lemon and Ginger

Roasted Chicken with Orange, Lemon and GingerToday I gave a private cooking lesson and one of the foods I taught was roasted chicken. A long time ago I read that if you know how to roast a chicken you can cook a delicious dinner anytime.This was del…

Roasted Chicken with Orange, Lemon and Ginger

Today I gave a private cooking lesson and one of the foods I taught was roasted chicken. A long time ago I read that if you know how to roast a chicken you can cook a delicious dinner anytime.

This was delicious. It had a refreshing ginger-citrus-honey coating and it came out glossy and dark-skinned and crispy. The pan juices were sweet and tangy all at the same time. There was enough liquid for the meat and also for the rice I made as an accompaniment (roasted asparagus with Balsamic vinegar too).

Here’s the recipe:

Roasted Chicken with Orange, Lemon and Ginger

  • 1 roasting chicken, about 4-6 pounds

  • 1 orange

  • 1 lemon

  • 1 large scallion, finely chopped

  • 2 tablespoons finely chopped parsley

  • 1 tablespoon finely chopped fresh ginger

  • 2 tablespoons softened margarine, or use coconut oil

  • 2 tablespoons honey

  • salt and freshly ground black pepper

  • 1/2 cup orange juice

  • 2 tablespoons lemon juice

Preheat the oven to 400 degrees. Rinse and dry the chicken; remove pinfeathers; remove the giblets. Grate the orange and lemon rinds into a bowl. Halve the fruit and squeeze the orange to extract the juice; add more if necessary to make the 1/2 cup. Squeeze the lemon to make the 2 tablespoons of juice. Mix the orange and lemon juices together and set aside. Place the fruit inside the cavity of the chicken. To the bowl of citrus peels, add the scallion, parsley, ginger, margarine and honey. Mix the ingredients until well blended. Rub onto all sides of the chicken. Sprinkle with salt and pepper. Place the chicken breast side down on a rack in a roasting pan. Roast for 15 minutes. Reduce the heat to 350 degrees. Roast another 15 minutes. Pour the reserved juices over the chicken and roast another 15 minutes. Turn chicken breast side up. Continue to roast, basting occasionally, for another 45-60 minutes or until fully cooked (a meat thermometer inserted into the thickest part of the breast reads 160 degrees. Remove the chicken to a carving board and let rest for 15 minutes before carving. Serve with the pan juices. Makes 6 servings

Barbecued Brisket with Mango Barbecue Sauce for Memorial Day

Judging by the traffic, Memorial Day weekend started yesterday, when it took me an extra half hour to get where I was going. I hate driving in traffic, but it did give me a chance to think about what to serve now that the weather is great and I will be out at the grill more often.

One of my favorites is Texas-style barbecued brisket. I make it a couple of times during the summer and everyone I know, even the people who say they never eat beef, eat this because you just can’t say no to it.

I don’t know if it’s the sauce I use — my own mango barbecue sauce — or the meat, but this dish is a winner.

You have to pre-braise the brisket, otherwise it gets hard as a rock on the grill. If you don’t want to bother with that, you can use the sauce for flank steak, skirt steak and also chicken parts or boneless breasts, without first pre-cooking.

Here’s the recipe for the Mango Barbecue Sauce:

Mango Barbecue Sauce

  • 1 large ripe mango
  • 1 tablespoon vegetable oil
  • 1 small onion, finely chopped
  • 1 large clove garlic, finely chopped
  • 1 cup bottled chili sauce
  • 1/4 cup orange juice
  • 1/4 cup molasses
  • 1 tablespoon soy sauce
  • 1/4 teaspoon cayenne pepper

Peel the mango and puree the flesh in a food processor. Heat the vegetable oil in a nonstick saucepan over medium heat. Add the onion and cook for one minute. Add the garlic and cook for another minute. Add the mango puree, chili sauce, orange juice, molasses, soy sauce and cayenne pepper. Stir to blend the ingredients thoroughly. Cook over low-medium heat for about 15 minutes, stirring occasionally, or until slightly thickened. Let cool.

Makes about 2-1/2 cups